Ever wanted custom wooden cabinet knobs or pulls for your project but couldn’t find exactly what you wanted? Well Rockler has some new turning kits that let you turn you own knobs and pulls on the lathe that will open up your options. You can pair any species of wood with the nickel turning kits and come up with a totally custom knob or pull that matches your piece perfectly. I’m a novice woodturner (I’ve only made a few projects on my lathe) and I was able to use my mini-lathe to turn some walnut handles and knobs pretty easily. The possibilities are almost endless when you think about all the different wood species and profiles you could use to make your custom hardware.
These knobs and pulls will be used in an upcoming sideboard build and I can’t wait to show you how they look installed. Today I’m going to walk you through the process of making the door knobs and I’ll be back shortly with how to make the drawer pulls.
Affiliate links are used on this page. See my disclosure page for info on affiliate programs.
About the Turning Kits
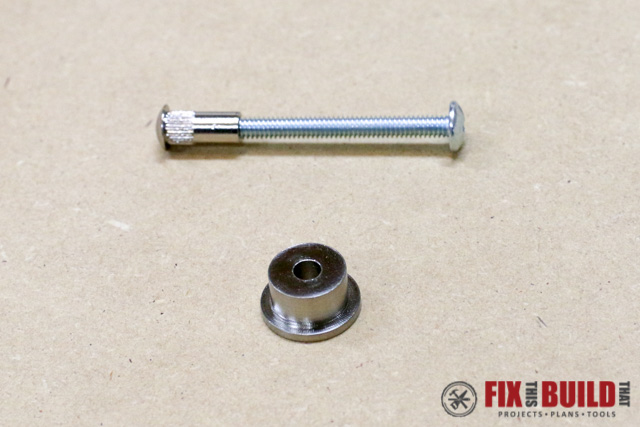
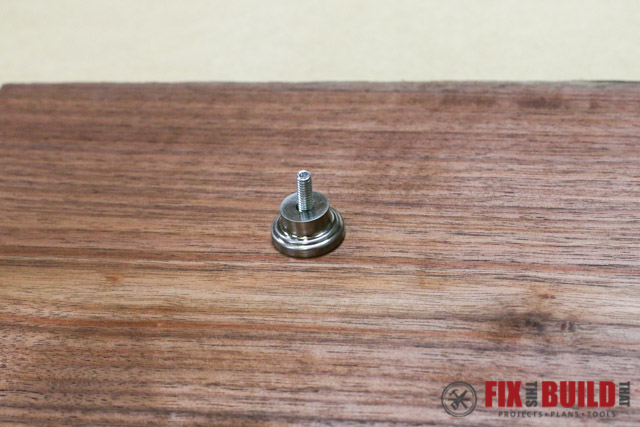
First let me show you what the kits look like. There are two options in the knob kits; a traditional style and a modern style. The knob kits come with a base, a cap and a machine screw to hold everything together. You need a special mandrel to turn the knobs, and I’ll cover that later.
The traditional is a little more ornate with some curves.

And the modern is all about straight and clean lines.
I’ll walk you through turning the knobs today then show you the pulls in another post.
Preparing the Knob Blank
Making the knobs on the lathe is very similar to other small parts work with the exception that the knob has a through hole in it. This actually makes it a little easier since you have support from the tailstock for much of the way.
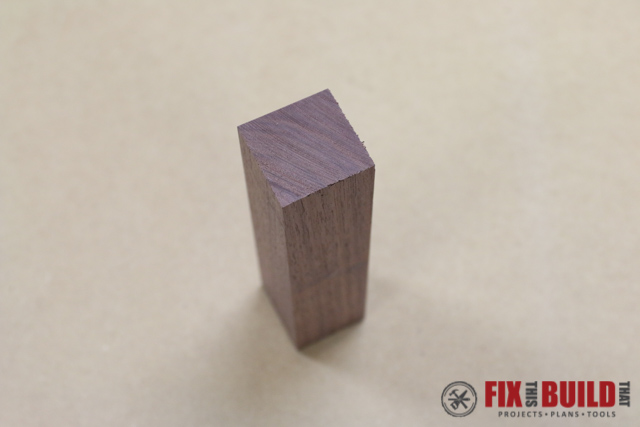
Start off by selecting and sizing the turning blank. I used an offcut of walnut from the top of my sideboard project, which is great because I will have a perfect match since it’s from the same piece of wood.
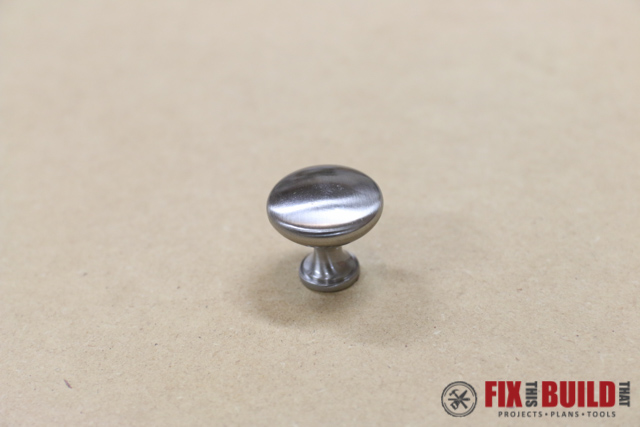
I looked at some other knobs I had laying around that I liked and wanted to mimic their style. So I got some rough dimensions from the knobs and made modifications as I saw fit. Here is the one I was looking at.
I decided I wanted the knobs to be about 1-1/8″ in diameter (because 1″ would just be too normal). So I sized the blanks slightly larger at 1-3/8″ square and 2″ long. The metal base is 1/4″ tall, so the actual turning will only be ~3/4″ when cut to size.
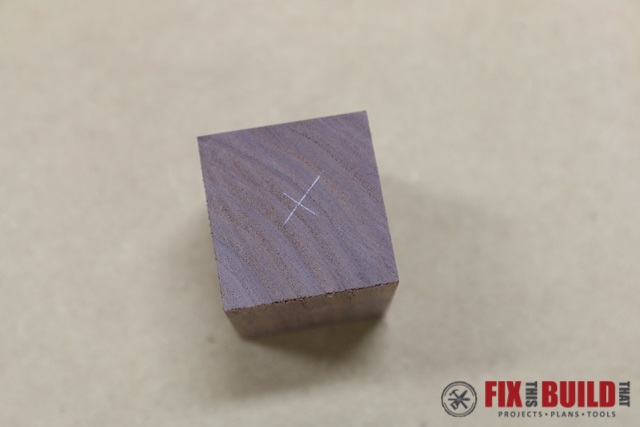
Use a center finder and mark the center of your turning blank.
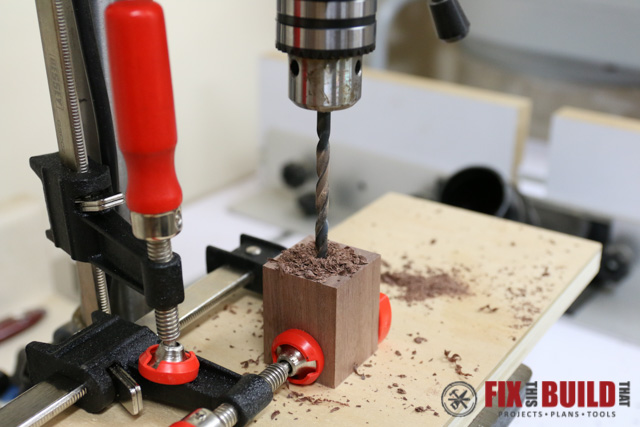
Take the blank to the drill press and drill a 15/64″ hole through the center you just marked. Backup the blank with some scrap to prevent blowout.
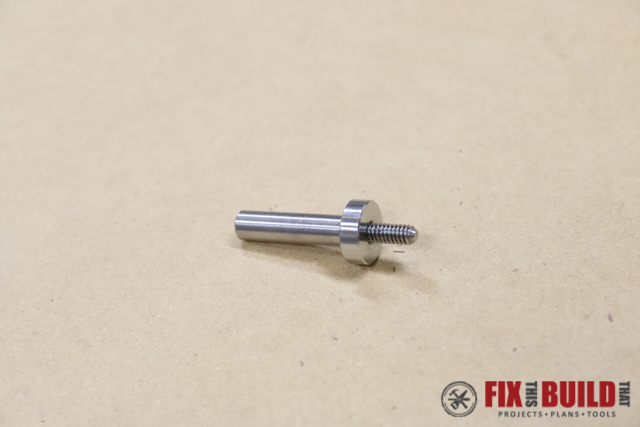
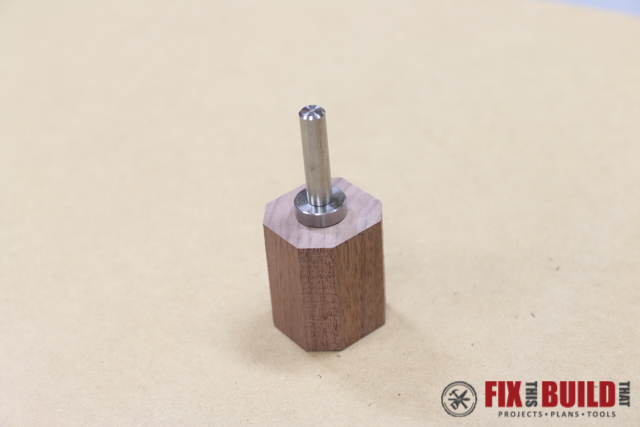
The turning blank is mounted on a special mandrel which is later locked into a Jacobs chuck for turning. The mandrel has 1/4″-20 threads on it for seating to the blank.
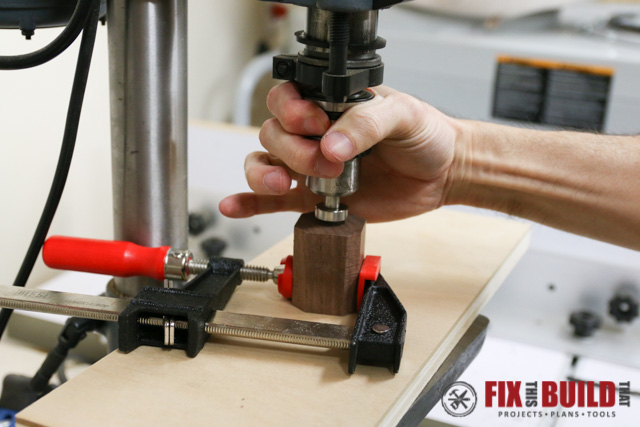
To seat the mandrel squarely in the blank, install it into your drill press and screw it into the blank by hand. Make sure your drill press is off/unplugged.
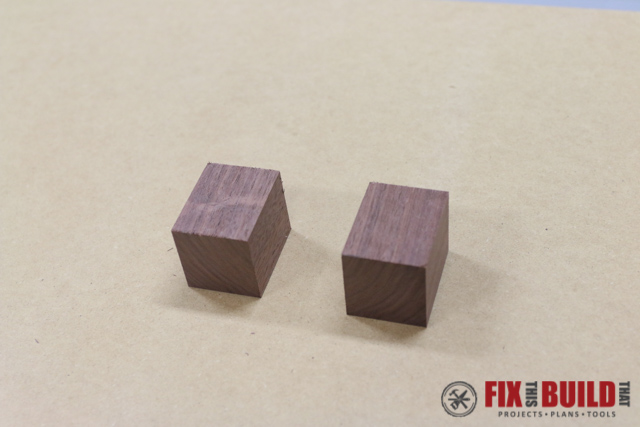
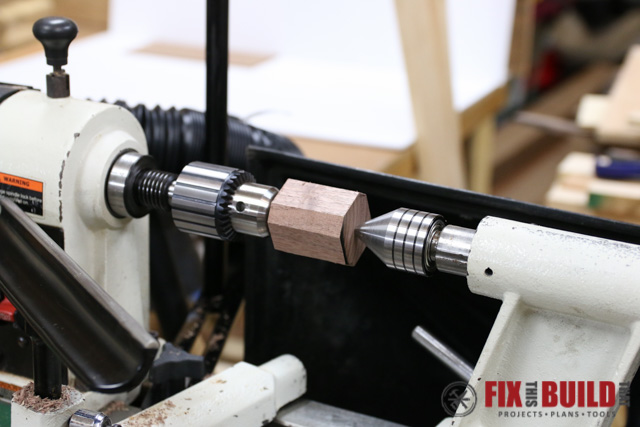
 Before I started in on the lathe, I knocked the corners off the walnut piece on the bandsaw. This just makes the turning a little faster and reduces wear on your turning tools.
Turning the Knob
You’re now ready to mount the mandrel and turn the knob. Install a Jacobs chuck in the headstock of your lathe and a live center in the tailstock. (I talk more about these in my first lathe post if you want to read more about them). Mount the mandrel in the Jacobs chuck and set the tailstock in place.

 I use the Rockler carbide turning tools for my turning and they are such a breeze to work with. No “riding the bevel”, just present the tool perpendicular to the blank and go to town. I roughed out the blank to a cylinder with the square radius tool. I’ve found it to be a little more forgiving and easier to use than the square tool.
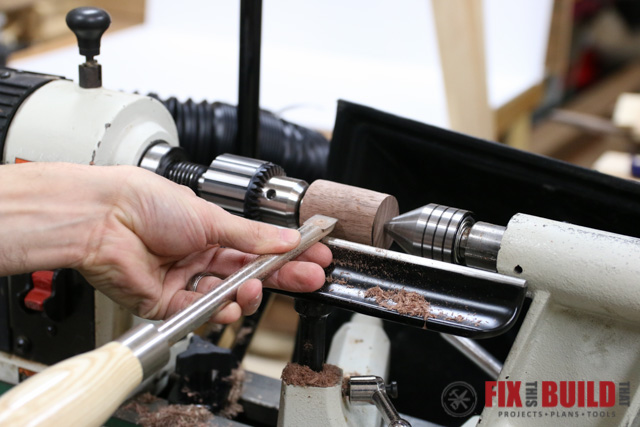
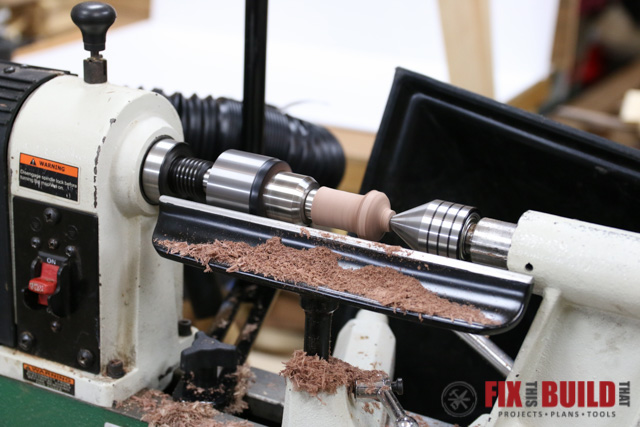
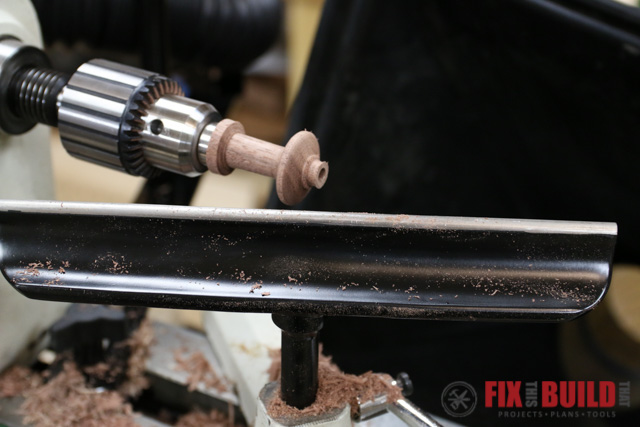
Now it’s time to get creative. Go with whatever shape your little heart desires and add all the details you want. I was going for clean and simple (read fast and easy) so I turned the stem down to just over 1/2″ and roughed out the shape of the knob with the square radius tool and diamond tool.
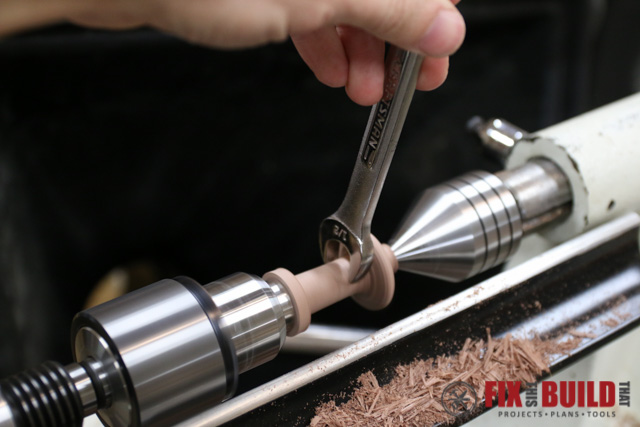
Here is a quick tip, use a box wrench to gauge the size of your blank as you are turning. I grabbed a 1/2″ wrench and kept fitting it until it just slid over the stem.
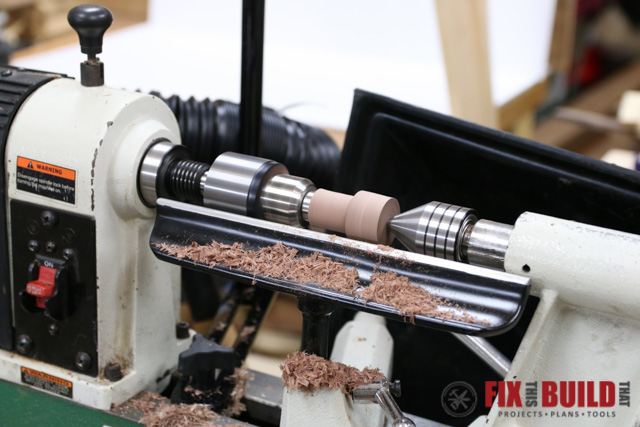
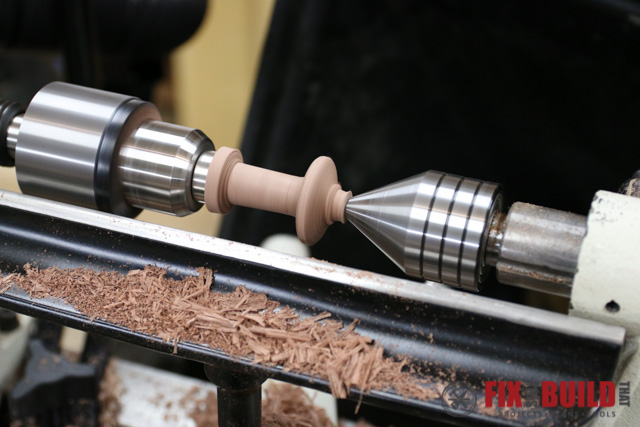
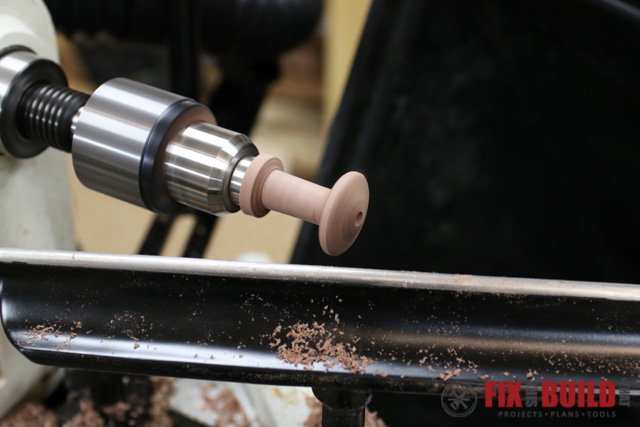
Next back off the live center and tailstock so you can turn the top of the knob. I brought the knob to final shape using the diamond and round finishing tools.
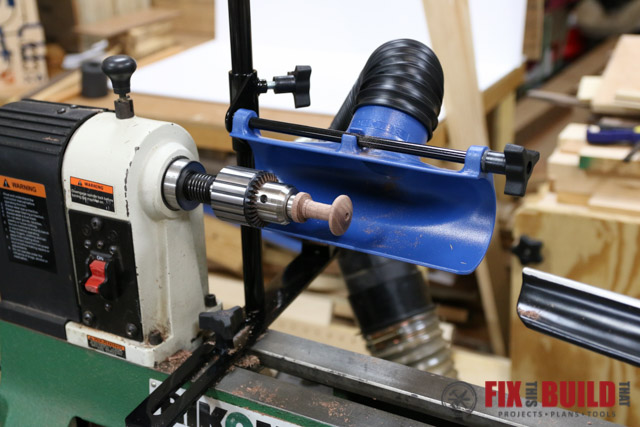
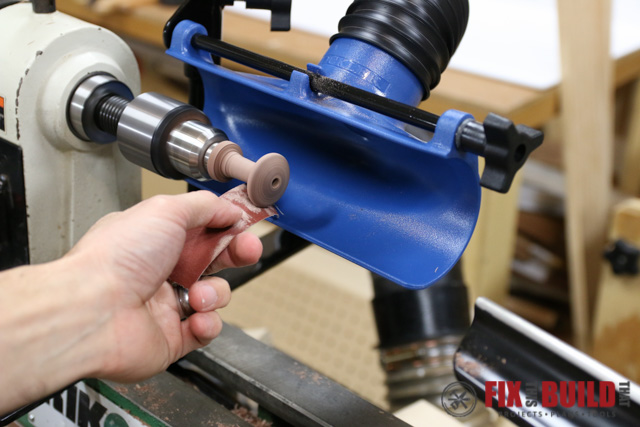
 To smooth out the knob sand in grit order of 150, 240, 320, 400, 600. I installed Rockler’s new Dust Right Lathe Dust Collection boom arm before sanding. It hooks right onto the bed and you can position it right where you need it. It did an excellent job of sucking up all the dust.
 Next apply your finish. I used General Finishes Wood Turner’s Finish and sanded between coats with 1500 grit. I applied 5 or 6 coats.

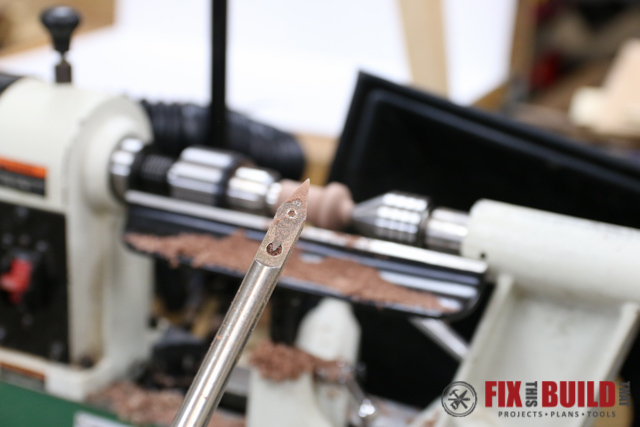
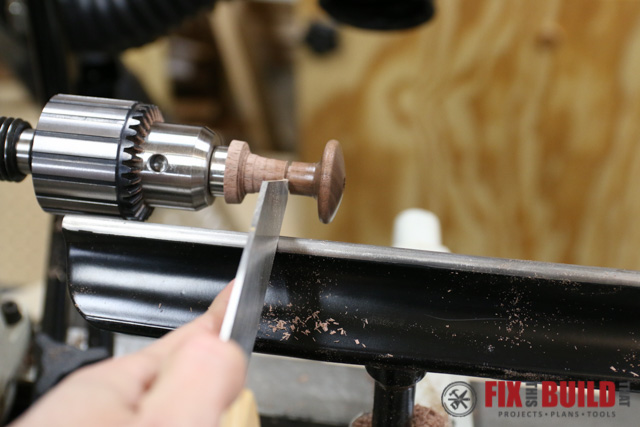
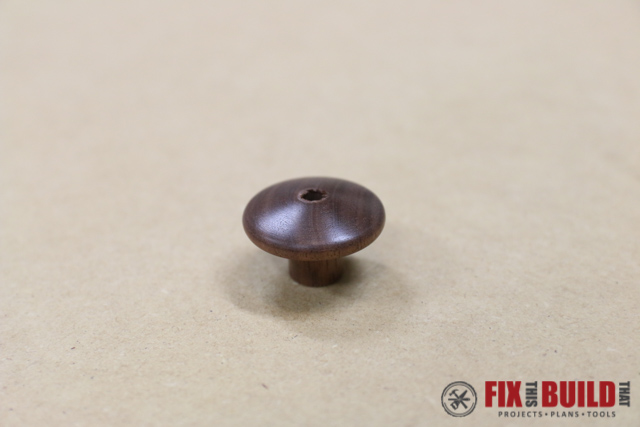
Finally, I parted the knob off 3/4″ back from the tip with a 1/16″ parting tool.
Assembly and Install
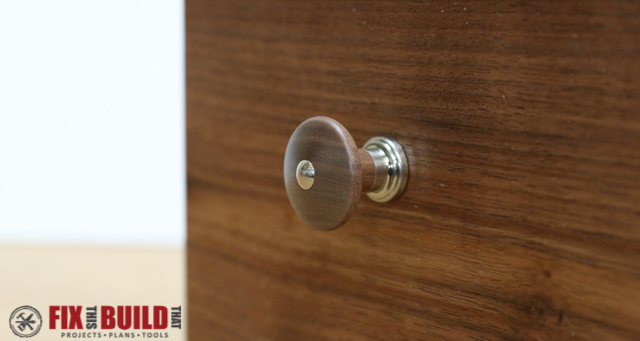
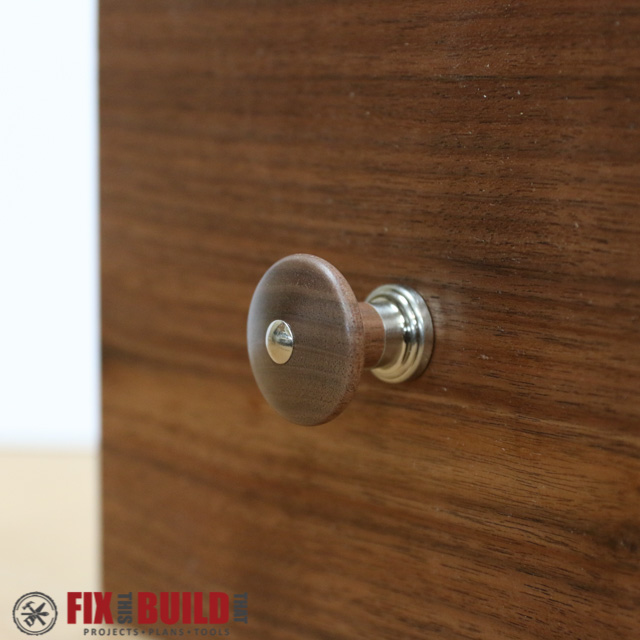
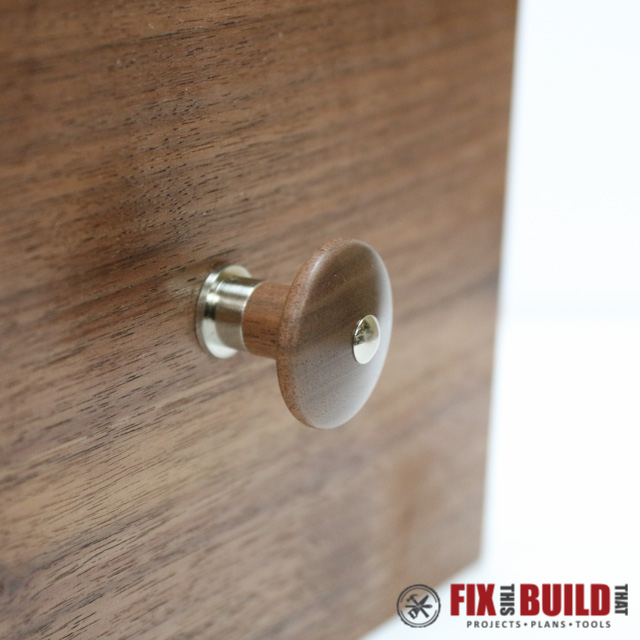
Assembling the knob is very easy. Insert the cap into the tip of the knob and then stack the knob on top of the base. Drill mounting holes in your drawer or door and run the machine screw through from the back and into the knob and cap. You may need to use a longer or shorter machine screw based upon your material.
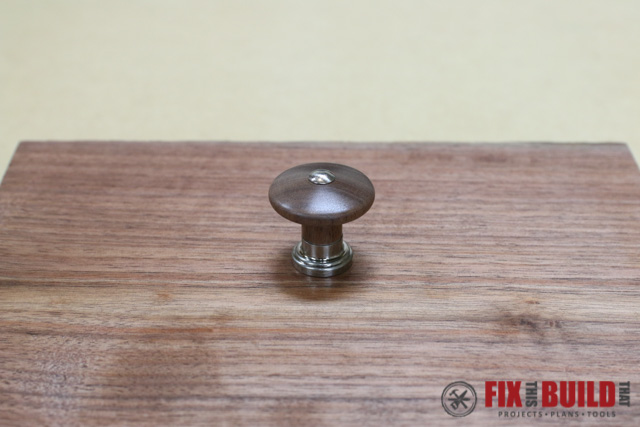
Now you can enjoy your custom wooden cabinet knobs on your project! Stay tuned for my post on turning the drawer pulls coming soon.
Rockler provided me with product and/or monetary compensation as a sponsor of this build. All opinions are my own and are not filtered by the sponsor.


Love the simplicity of the knobs. Looks great! I would have lost a finger if I tried that! lol
Thanks, Sherry! Turning isn’t really that hard. You should totally try it if you have the chance.