Today I’m going to show you how I made the Ultimate DIY Drill Charging Station and how you can too. This is the perfect spot to store all of your drills, chargers, batteries and drill bits. With my drill charging station you’ll know where all your drills are when you need them.
Before we get started, make sure to follow me on YouTube, Facebook and Instagram to keep up with all my latest builds!
Tools Used
- Track Saw & 62” Rail: Kreg
- K5 Pocket Hole Jig: Kreg
- Micro-Pocket Guide: Kreg
- ISOtunes Bluetooth Earbuds $10 off code: FTBT
- Tablesaw (or circular saw)
- Cordless Drill
- 18ga Brad Nailer
- 1″ Forstner Bits
- Grr-Rip Block Push Blocks
- Plywood gripper
Materials/Supplies
- 4′ x 8′ 3/4″ plywood, 1 sheet
- 4′ x 4′ 1/2″ plywood, 1 sheet
- 2′ x 2′ 1/4″ plywood, 1 sheet
- 1-1/4” pocket screws
- 1” pocket screws
- 1″ wood screws
- 1-1/4” brad nails
- 10″ full extension drawer slides
- No-mar Countersink Bit
- Magnetic Bars
- Total Boat Halcyon Clear Poly 15% off code: FIXTHIS
Affiliate links are used on this page. See my disclosure page for info on affiliate programs.

How to build a Drill Charging Station
- Build a cabinet
- Make storage drawers
- Add hanging drill storage
- Add magnetic drill bit storage
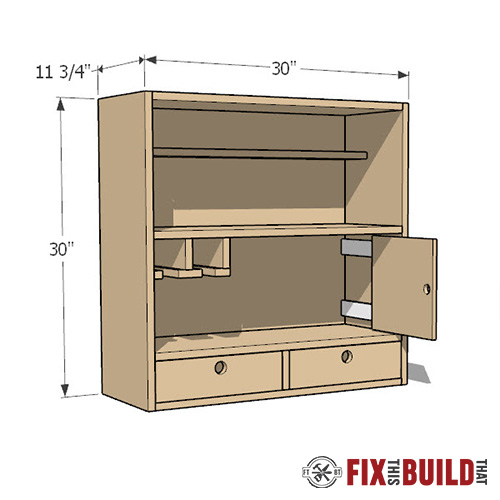
1. Build Cabinet for Drill Charging Station
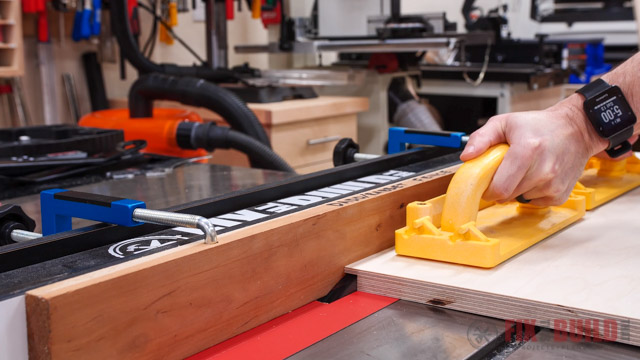
Break Down Plywood and Cut Rabbets
I began by breaking down full sheets of ¾ and ½ baltic birch. Then I cut rabbets on the back panel notch out for the ½” back piece. To do this, I set up my dado blade and a sacrificial fence. This allowed me to take the cut in one pass.
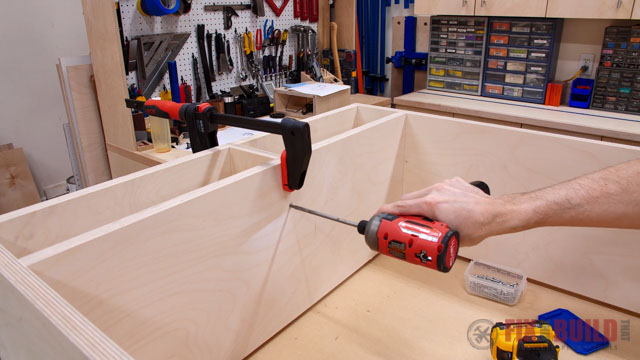
Assemble Frame
With my sides ready I cut the pieces for the inner parts of the cabinet. Then I used my Kreg K5 to add pocket holes for the joinery. After that I clamped and screwed the carcass into place.
Attach Lower Shelf
Next I attached the lower shelf and screwed it into place. Then I inserted a small piece of wood to divide the opening and give the shelf more stability. I’ll be adding drawers in the openings later on
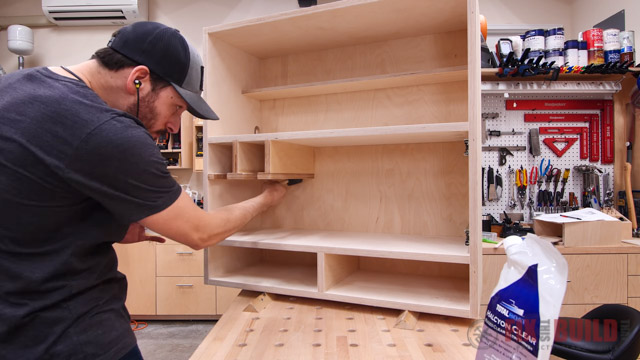
Attach Middle Shelf
At this point I was ready to add a middle shelf to the drill charging station. First I made sure my drills would be able to fit underneath the shelf. Then I used scrap wood to hold the shelf at the right height while I screwed it into place.
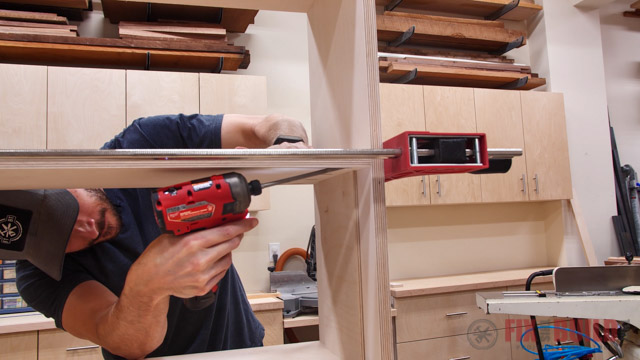
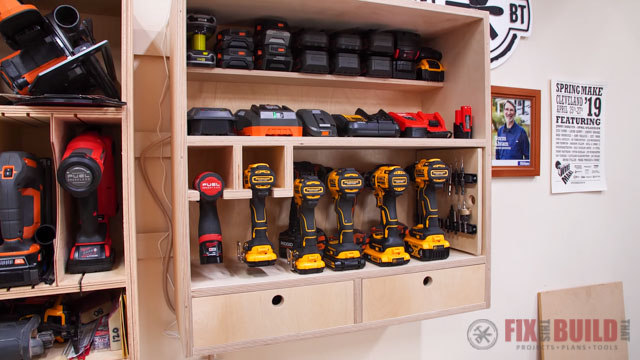
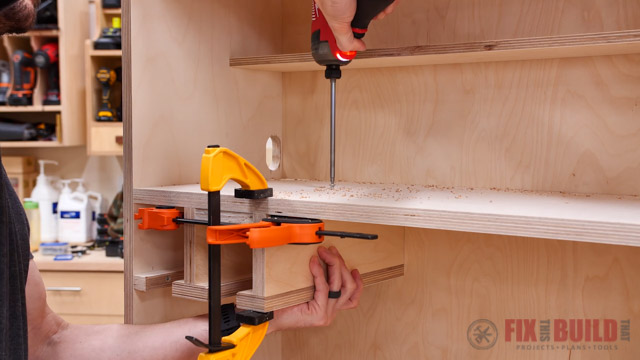
Attach Battery Shelf
I have a lot of batteries and they tend to pile up. I needed to optimize my battery storage, so I created a half shelf to hold them. The battery shelf gives them a place to land when I’m not using them and helps keep the whole area tidy.
I started by picking a height that allows me to stack two charged batteries at a time. Then I cut ½” plywood to size, clamped it into place and attached it with pocket screws. Since the material is only ½” I use the micro-pocket drill guide on my K5.
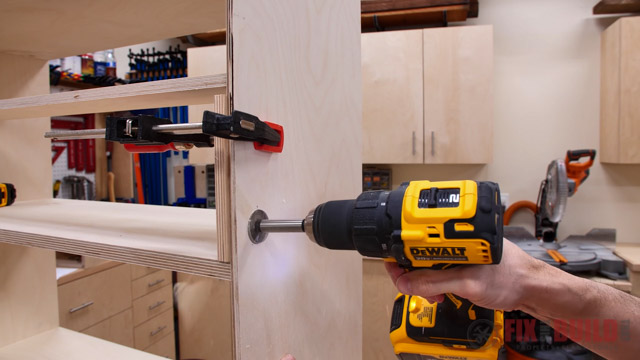
Add Hole for Power Cords
Before attaching the back to the drill charging station, I drilled a hole for the power cords. I plan to keep a surge protector in the cabinet so this hole will allow the charging cord to run out. I used a fortsner bit to drill the hole and a file to clean it up.
Attach Back to Drill Charging Station
Finally I checked the cabinet for square and glued and nailed the back into place. I also put some ¾” screws into the middle of the half shelf. This should prevent the shelf from sagging under the weight of the batteries.
2. Make Storage Drawers
Next I’m going to make the drawers that fit in the bottom. Because the cabinet is 30” wide I decided to make two drawers; one drawer for drilling and the other drawer for driving. The construction of the drawers is very simple; I’m not even using drawer slides.
Drawer Materials
To make the drawers I’ll be using ¾” plywood for the fronts, and ½” for the sides and the back. The drawers will have a captured bottom as well to hold a ¼” plywood panel.
Add Integrated Drawer Pull
I decided to add an integrated pull to the drawer fronts. To do this I used my drill press and drilled a 1” hole in the drawer front. Then I finished off the holes with a chamfer on each side for a little creature comfort.
Assemble Drawer Boxes
Once the drawer front and sides are assembled, the drawer bottom will go into channels on the front and the sides. However the back piece is designed to be shorter. This will allow the bottom to be screwed into it and held in place.
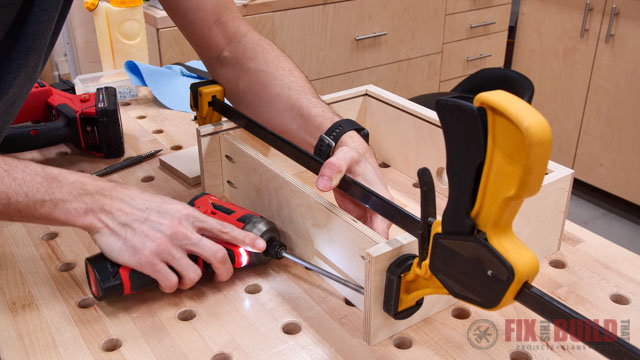
Assemble the Drawers
With all of the parts cut and prepped, I was ready to assemble the drawers. Want to see exactly how to cut and assemble the drawers? The detailed plans for Drill Charging Station will walk you through the whole process step-by-step.
3. Hanging Drill Storage
My old drill storage needed a few improvements and hanging drill storage was at the top of the list. Most of my drills stand up well, but a few of them have batteries in their handles which causes them to fall over. Not the biggest problem in the world. but it is annoying.
I solved this problem by creating hanging drill storage. Check the plans to see exactly how you can create your own hanging storage.
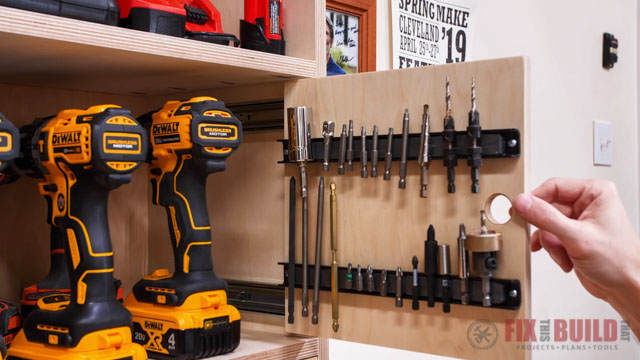
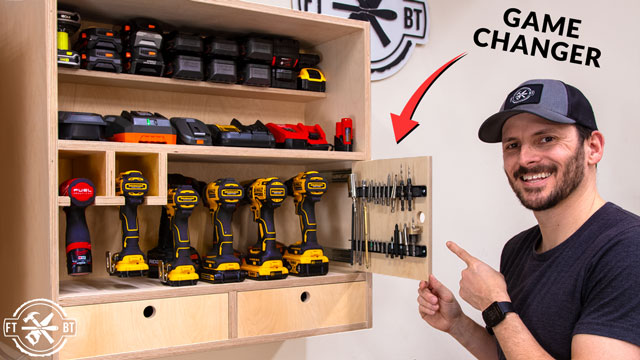
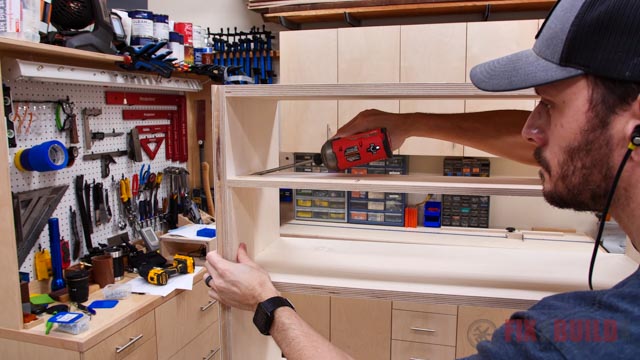
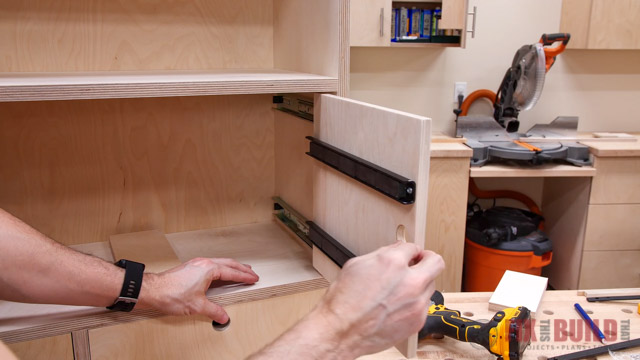
4. Add Magnetic Drill Bit Storage
Another upgrade I added was a convenient place to store my most used drill bits. I started by cutting down my plywood to fit the space, and rounding the edges. Then I drilled a hole to use for a simple pull.
After mounting the panel to the drawer slides I added two magnetic bars. Finally I was able to install the panel and I was in business.
Add Finish to Drill Charging Station
Before putting everything back together I applied Total Boat Halcyon Clear on all the parts. This is my go to finish these days as it goes on thick, dries quickly and gives the shop furniture a good layer of protection. Finally I attached the drill charging station to the wall using a french cleat system.
And that’s how I made my DIY Drill Charging Station! Now I have a spot to store every drill, and the pull out panel is perfect for all my most used drivers and bits. I also really love having two drawers to for more storage.
If you liked this project, make sure to check out more of my Shop Organization Projects!