*This post is sponsored by The Home Depot
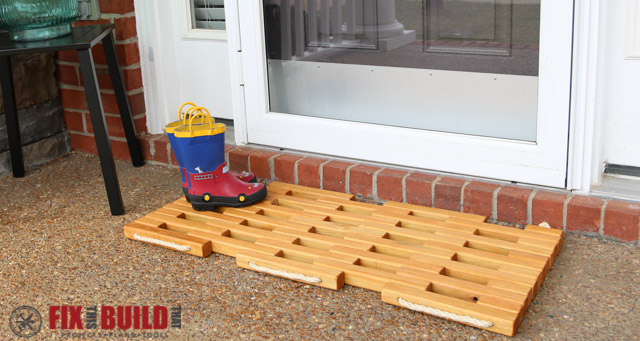
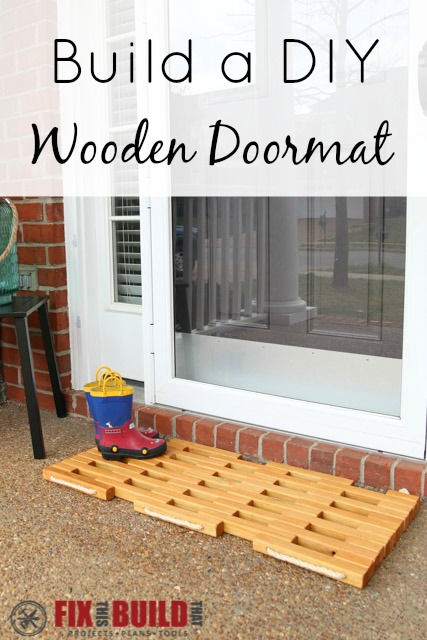
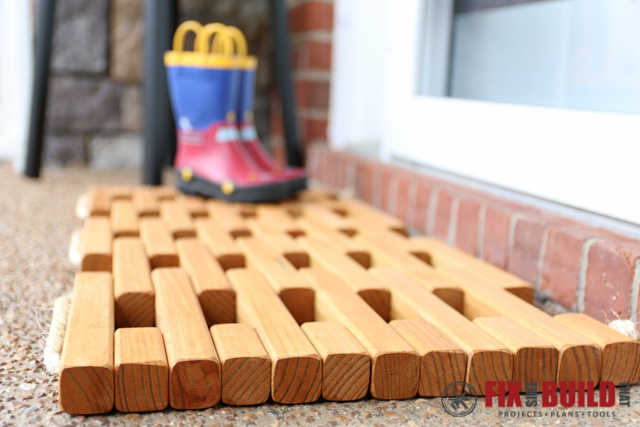
Today I’m going to show you a great project for Spring to spruce up your front porch. This DIY Wooden Doormat can be made easily in a few hours and will look great in front of your house or even at the back door. This wooden doormat is my version of the DIY Workshop build being held all around this country this weekend. Read down to the end to see more versions by some other awesome bloggers! #DIYWorkshop
I’ll show you how I made this with my tools, but the beauty is you could make it with only a cordless drill and a handsaw. So anyone can build this one!
Tools Used
Materials/Supplies
Affiliate links are used on this page. See my disclosure page for info on affiliate programs.
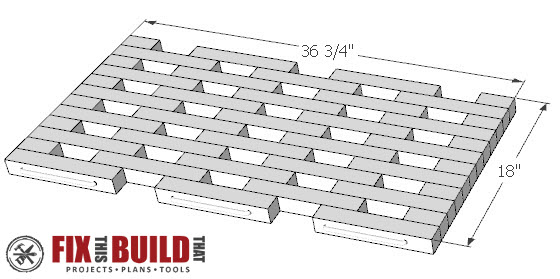

Click above for free plans for this project!
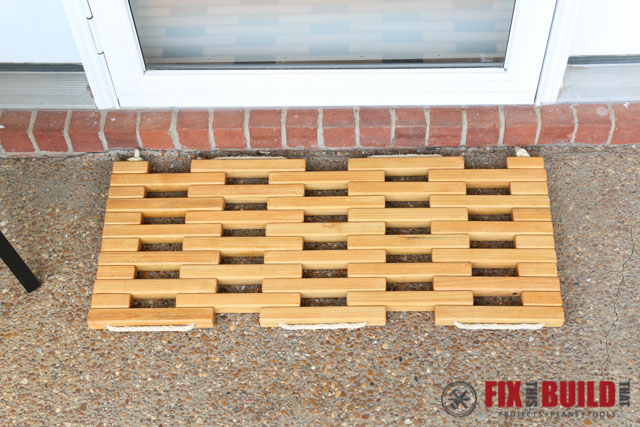
Alright, let’s get down to business! The final doormat will be 36″ wide and 18″ deep using these plans. We’ll start with 10 of the 36″ 2×2 pressure treated balusters. These guys are cheap at just over $1, so buy a few extra and take time to pick the straightest ones without knots.
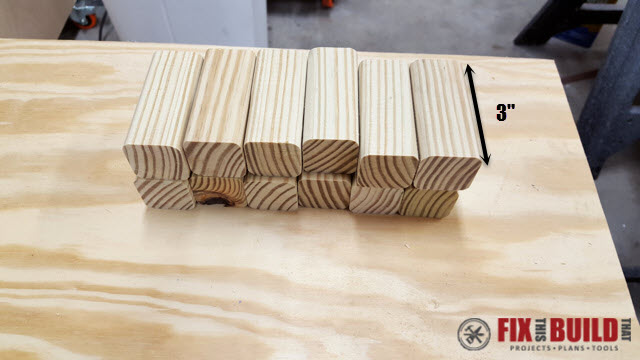
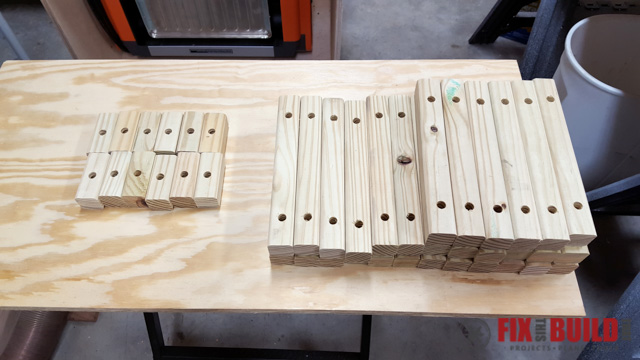
Start by cutting 30 pieces (3 per 2×2) to 9-3/4″ long.

Using the offcuts from the remaining pieces, cut 12 pieces to 3″ long. You should just be able to get 2 pieces from each offcut.
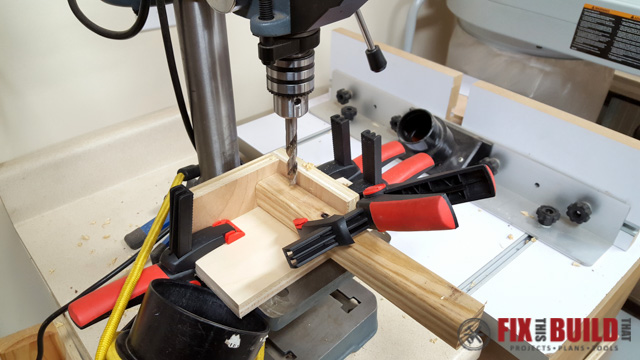
Next you’ll drill 7/16″ holes in the pieces for the 3/8″ sisal rope. The holes will be 1-1/2″ from the end and 3/4″ from the side of each piece. I used my drill press and made a quick jig for repetitive holes by brad nailing some scraps of plywood together to form a 90 degree angle. If you don’t have a drill press, a cordless drill can just as easily be used.

For the long pieces you will drill holes in both ends.
After you are done (phew, drilling 72 holes is no joke) then you’ll have a couple big piles of boards with holes in them. Don’t worry, we’re almost to the fun part. Sand all the cut edges with a sander before the next step.
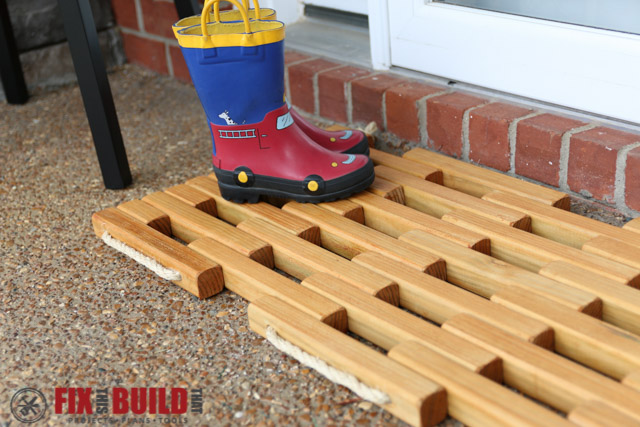
Before we get to the fun part though, we’ll need to apply finish to the boards. You can do any number of things here, but I went with an exterior weatherproof stain in a cedar color. This will keep it looking good in the sun and rain.
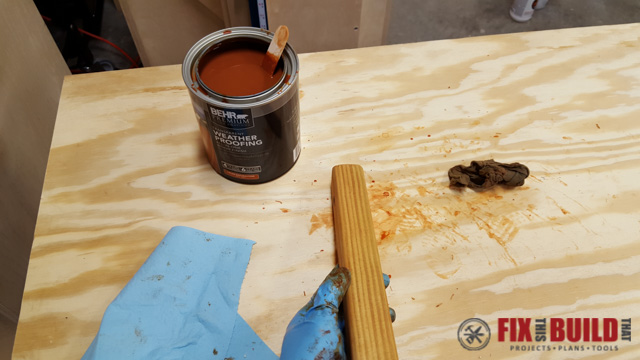
I used 2 coats per the manufacturer’s recommendation and I think the color turned out great.
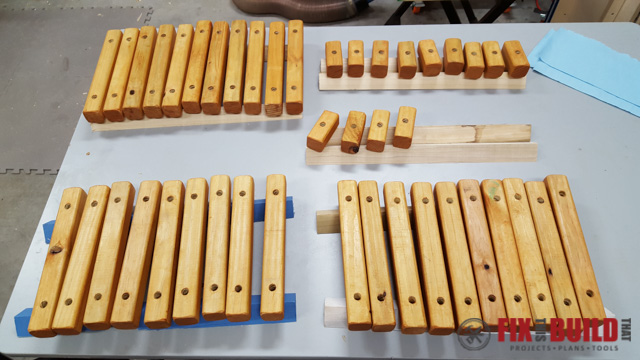
Okay, NOW we’re at the fun part where you get to see it all come together! I grabbed a 50′ roll of 3/8″ sisal rope to hold things together, but if they sell it by the foot you can get by with 15′ and have some to spare.
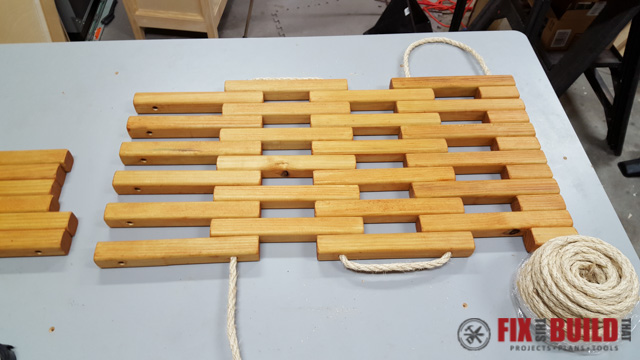
Start by wrapping tape (i used electrical tape) around the frayed end of the rope. This will help you feed it through the holes easily. Then start with a small piece and alternate back and forth until you have 6 of each strung.
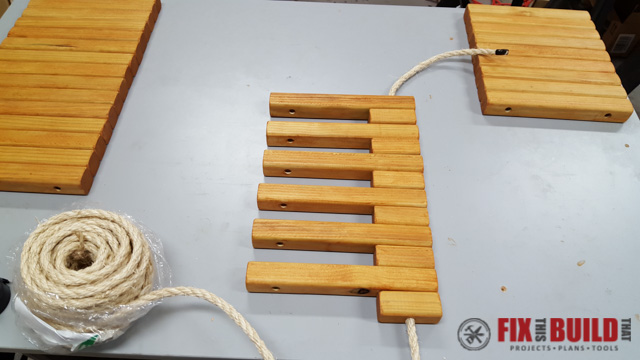
Then you’ll loop the rope across the long piece and bring it back down, but this time fill in the gaps with more long pieces. Then swing back up the other side using the same method.
For the last side you will go back to alternating long and short pieces.
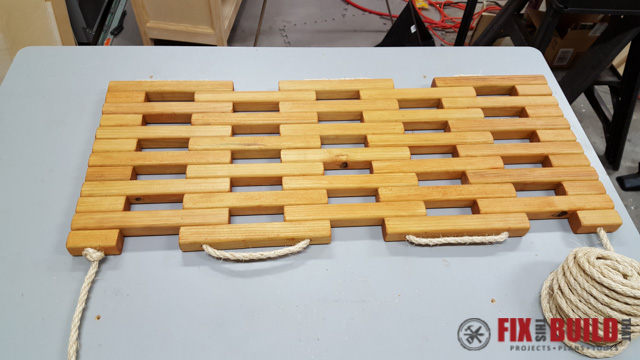
Tie a knot in the end of the rope and then go back and tighten up the slack in the rope through the whole doormat.
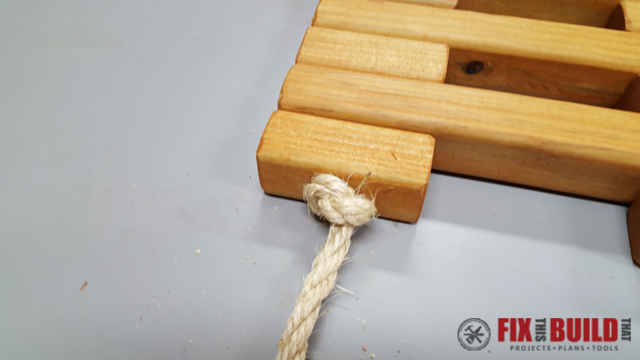
Pull the rope as tight as you can and cut it from the spool with enough rope for another knot. Cinch the knot down as tight and close to the wood as you can. Cut the extra rope off and you are all done!
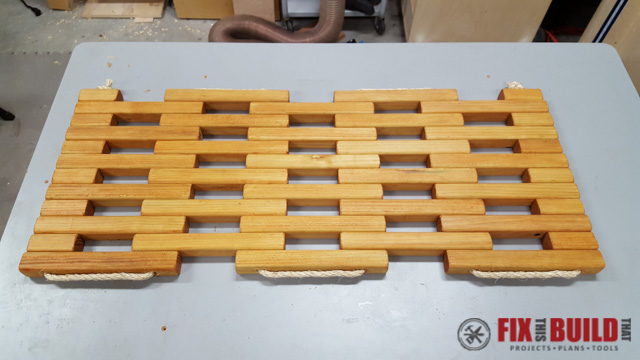
Put your doormat out and just wait for the compliments to roll in when your friends and family come over and see it!
Okay, i told you I would give you some links to other great bloggers projects. I invited four of my blogging friends a “virtual party” to build this project. You can see their versions here:
Frank from Glued N Screwed
Cara from Build It, Craft It, Love It
Sam from DIY Huntress
Crissie from Sawdust To Sequins
On top of that the other Virtual Party leaders also invited some of their friends. You should have a TON of ideas to choose from now!
That’s My Letter / Ciburbanity / Brooklyn Limestone / Wills Casa / The Bold Abode
House of Wood / Shades of Blue Interiors / Place of My Taste / Bower Power Blog / Making Home Base
Build Basic / Sawdust 2 Stitches / My Love 2 Create / Her Toolbelt / Addicted 2 DIY
Remodelando La Casa / The Batchelor Way / The Kim Six Fix / Heathered Nest / Creatively Living
I acknowledge that The Home Depot is partnering with me to participate in this Workshops Program (the “Program”). As a part of the Program, I am receiving compensation in the form of products and services, for the purpose of promoting The Home Depot. All expressed opinions and experiences are my own words. My post complies with the Word Of Mouth Marketing Association (WOMMA) Ethics Codes and applicable Federal Trade Commission guidelines.


Hi Brad, I started making this and just want to point out that the holes need to be at 5/8″ from the sides in order to be centered.Great project!
The center of the hole should be 3/4″ from the sides. It will be something less than that from the sides to the edge of the holes (3/4″ minus 7/32″ to be exact) 🙂
Love your design Brad!! This was a super fun project to be a part of. Thanks for the invite friend!!
Thanks for joining along, Crissie. It was fun!
Looks great, Brad! Awesome job, my friend!
Thanks, Jen! Yours was so awesome. Loved that tribal design!
Looks great! Hey, your Glued N Screwed link is broken.
Thanks, Bruce! Got that link fixed too…good catch.
I swear I see the mat – but seriously….I am having trouble focusing due to the green haze of jealousy over your drill press 🙂 xo – kb
So cool. I love your take on this! It turned out great!!
I love the color you got with that stain! It really warmed it up! Great mat pattern too!
Awesome Brad!! Great minds think alike! 🙂