
*This post is sponsored by The Home Depot
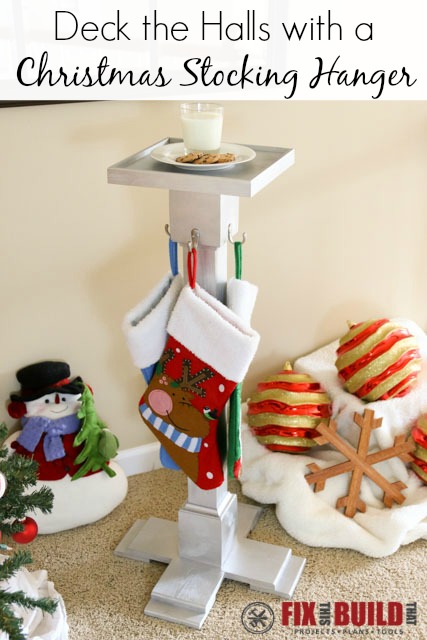
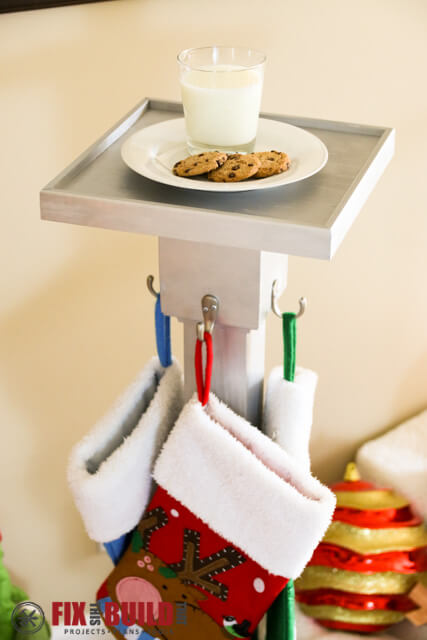
It’s beginning to look a lot like Christmas! Okay, maybe not since it was 70 last week, but December 25th is still barreling towards us even if we are in shorts. And today I’m going to show you how to make a DIY Christmas Stocking Hanger! It’s for all you folks who don’t have proper mantels or just want to hang your kid’s stockings in some place other than the fireplace. So pull out your Santa PJ’s and keep reading to see how I build this stocking hanger complete with a place to serve up Santa some milk and cookies.
This is the 4th installment of the DIY Workshop builds I’ve been helping The Home Depot promote this year. If you missed them I’ve already made a DIY Wooden Doormat, DIY Football Toss Game, and a DIY Rustic Wheelbarrow (I helped my wife make this one). The DIY Workshops are held at Home Depot’s all across the country and are meant to help get folks into building.
Materials/Supplies
- (1) 8′ pine 2×4
- (1) 10′ pine 1×6
- (1) 4′ pine 1-1/4″ stop trim
- (1) 3′ pine cove molding
- Aluminum silver spray paint
- (4) robe hooks
- 1-1/4″ Pocket Hole Screws
- 1-1/4″ wood screws
- 2-1/2″ wood screws
Affiliate links are used on this page. See my disclosure page for info on affiliate programs.
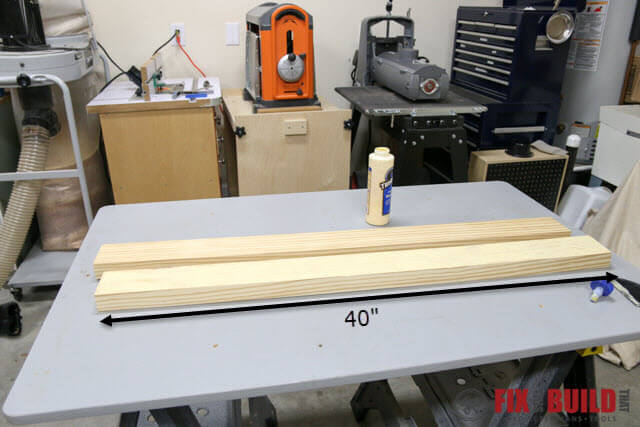
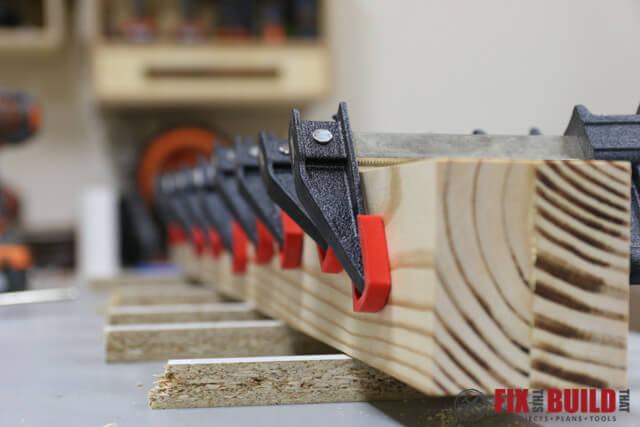
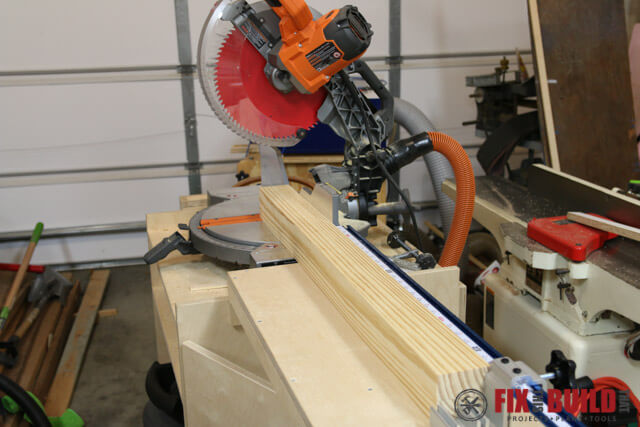
The entire Christmas stocking hanger is made from a 10′ pine 1×6 and a 8′ pine 2×4 plus trim pieces. To start off I cut the 2×4 into 40″ sections and ripped off the round edges. This gave me two 3″ wide parts that I then glued together. You could also use a pressure treated 4×4 if you’d like, but I don’t like working with that stuff.
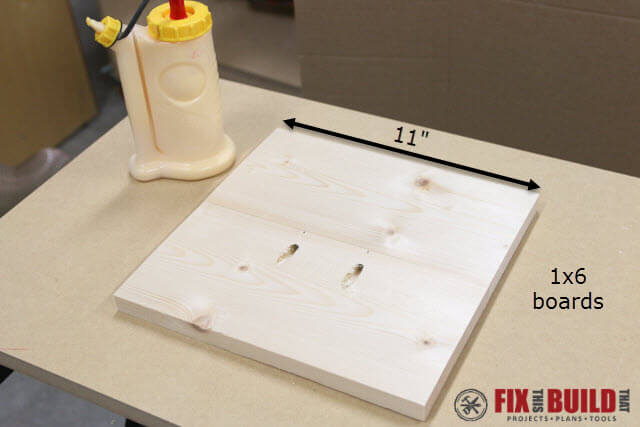
Next cut two 11″ sections from the 1×6 and join them together with pocket holes and glue. Put the pocket holes in the inner 4″ of the board so you won’t have to fill them later.
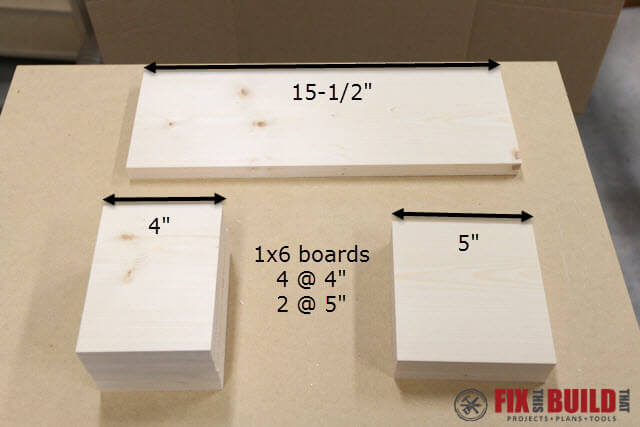
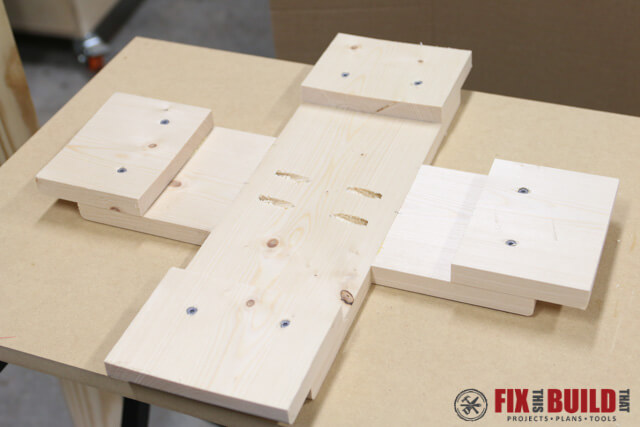
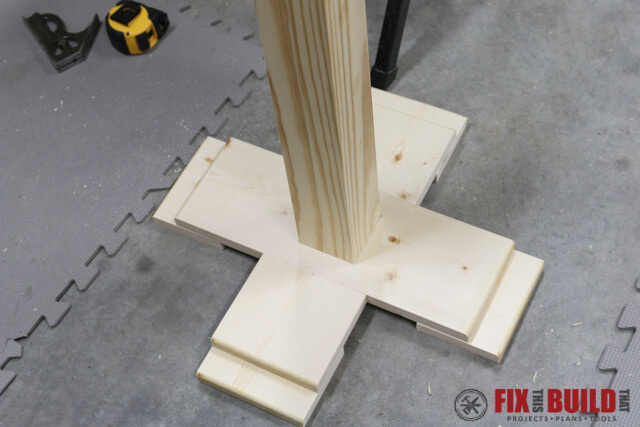
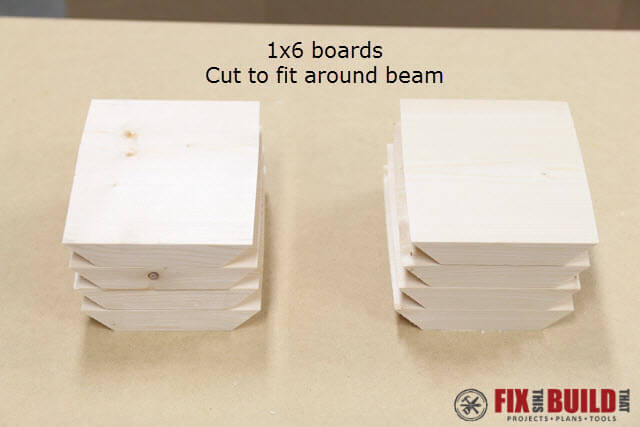
Next cut the 1×6 into sections for the base. You’ll need one 15-1/2″ piece, two 5″ pieces and four 4″ pieces.
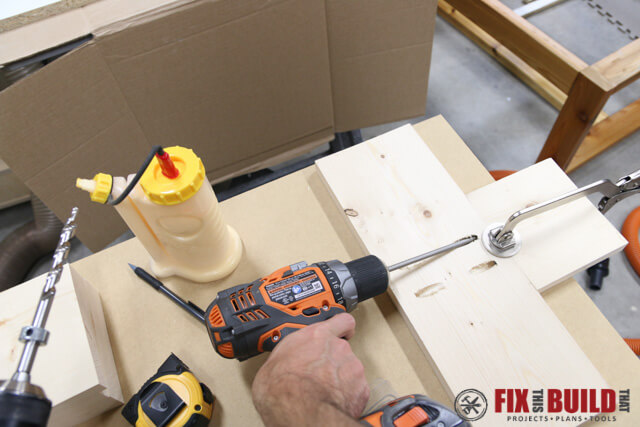
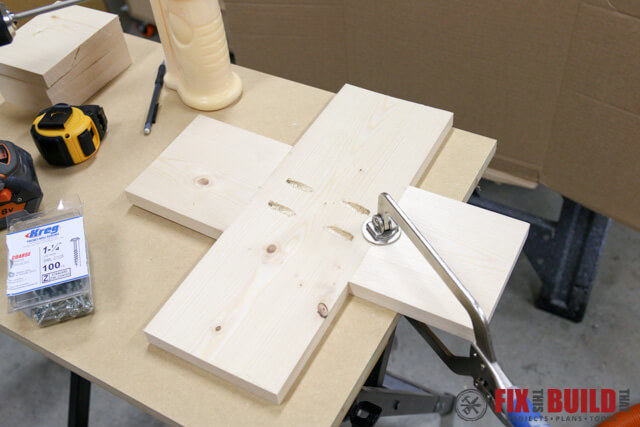
Attach the 5″ pieces to the main board on each side to form an X. Using a face clamp here helps hold everything together.
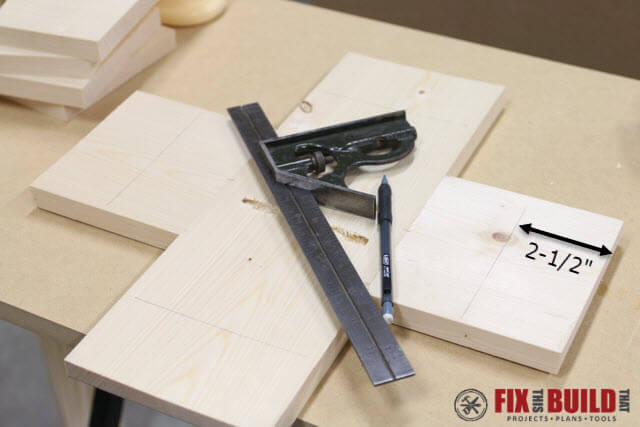
Next layout a line 2-1/2″ in from each end. Then attach the 4″ pieces on that line with 1-1/4″ screws and glue from underneath. This side you are working on is the bottom.
Flip the base over and roundover the corners of the base with a router and roundover bit. I did this to the 4″ feet before attaching them as well.
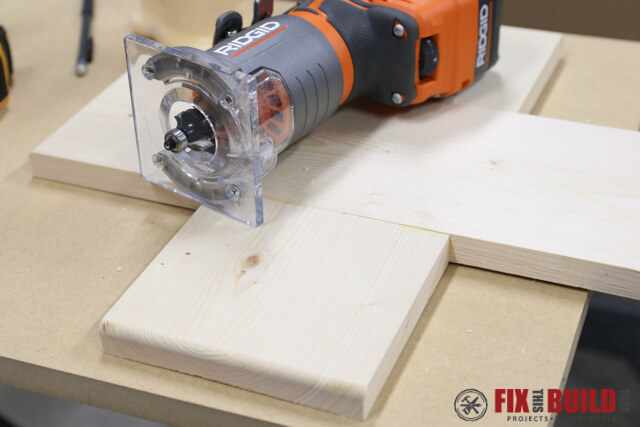
Now the base is finished.

After the glue is dry on the 2×4 post, cut it to size at 38″ long. If there is any roughness between the boards then sand it flat.
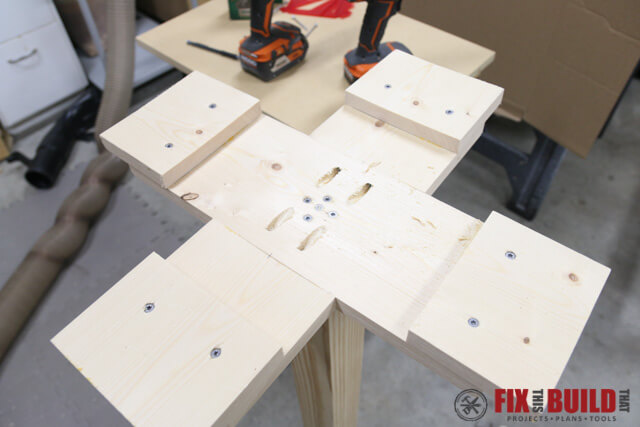
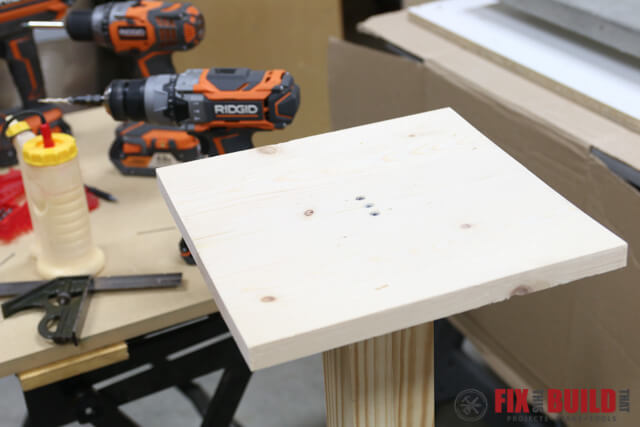
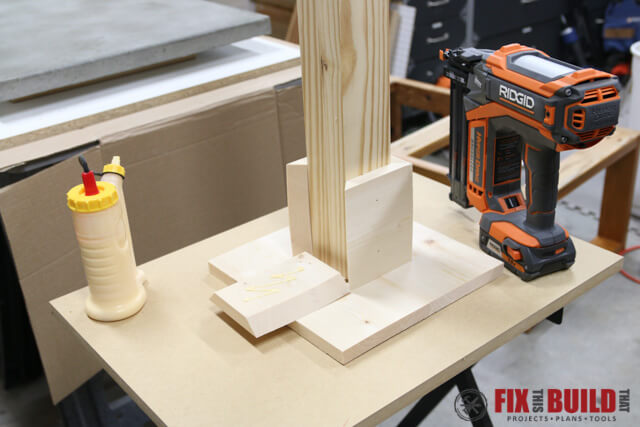
Turn the post upside down and attach the base to the post with 2-1/2″ wood screws. Attach a screw in the middle first then check your alignment adjust as necessary and secure with four more screws.
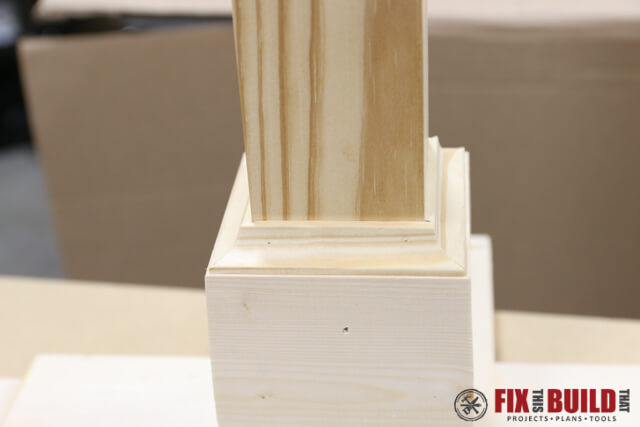
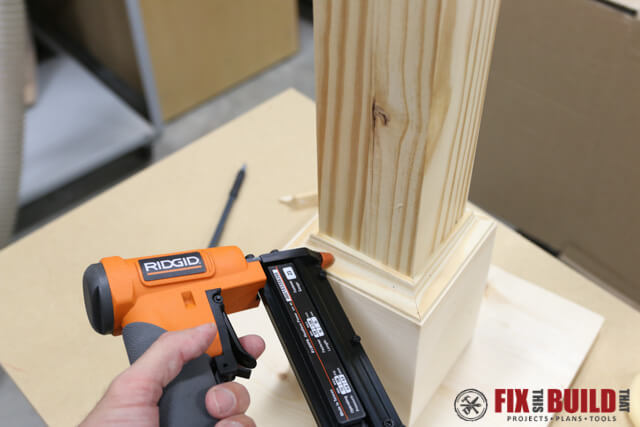
Next you’ll cut sections from the 1×6 to make mitered trim around the base and where the post meets the top. Cut the pieces to size to fit the base and secure with glue and brad nails.

To add a little detail, cut cove molding to go around the top of the base trim.
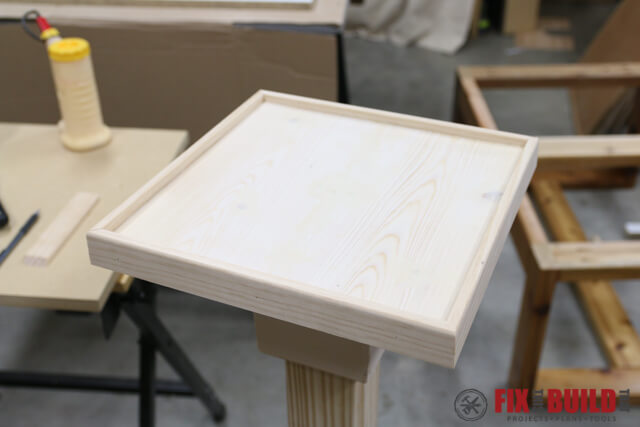
Attach the top to the post in a similar fashion as the bottom with 2-1/2″ screws.
Flip the post over and rest it on the top and install the trim the same as the base. Having it upside down puts gravity in your favor.
Flip the post back over and install the stop molding around the edge of the top.

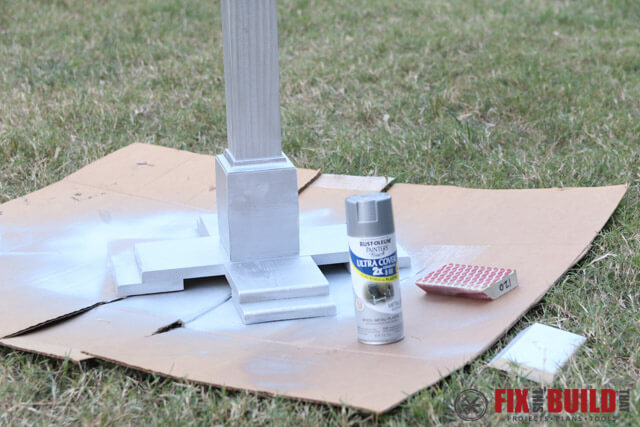
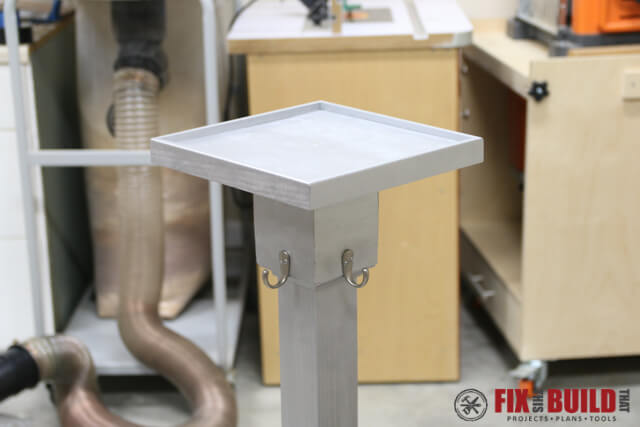
Fill all the nail holes and any gaps with wood putty and sand everything to 150 grit. Then apply your choice of paint or stain. I went with an aluminum sliver spray paint.
The last piece is to attach the robe hooks on the upper trim of the post and you’re set to hang some Christmas stockings!
Enjoy your Christmas Stocking Holder and get ready for Santa.
Here are the four awesome bloggers that joined me on this build. You can see their versions here:
- Amy from Her Toolbelt
- Rachel from Shades of Blue Interiors
- Adam from Lazy Guy DIY
- April from Uncookie Cutter
And here are all the other bloggers that also build their own verions. You should have a TON of ideas to choose from now!
That’s My Letter / My Altered State / Paper Daisy Design / Smart Girls DIY / Domestic Charm
House of Wood / The Handmade Home / Just a Girl and Her Blog / Cherished Bliss / Ella Claire Inspired
Build Basic / Homemade By Carmona / Sawdust 2 Stitches / Ciburbanity / The Chronicles of Home
Remodelando La Casa / Chaotically Creative / Designer Trapped / Shine Your Light Blog / The Heathered Nest
And in case you are wondering about these workshops or have never heard of them before here are some details.
- The Home Depot offers Workshops at all of their locations for do-it-yourselfers of all ages and experience levels
- There are three types of Workshops offered – Do-ItYourself (DIY), Do-It-Herself (DIH) and Kids
- Customers can learn how to build decor projects, how to make easy home repsirs and how to operate tools through demonstrations and step-by-step instructions
- Visit workshops.homedepot.com to learn more
I acknowledge that The Home Depot is partnering with me to participate in this Workshops Program (the “Program”). As a part of the Program, I am receiving compensation in the form of products and services, for the purpose of promoting The Home Depot. All expressed opinions and experiences are my own words. My post complies with the Word Of Mouth Marketing Association (WOMMA) Ethics Codes and applicable Federal Trade Commission guidelines.


