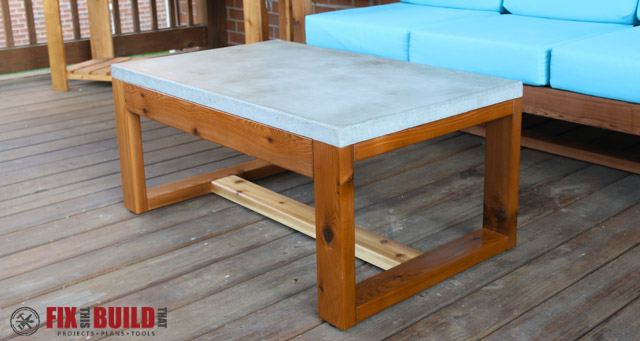
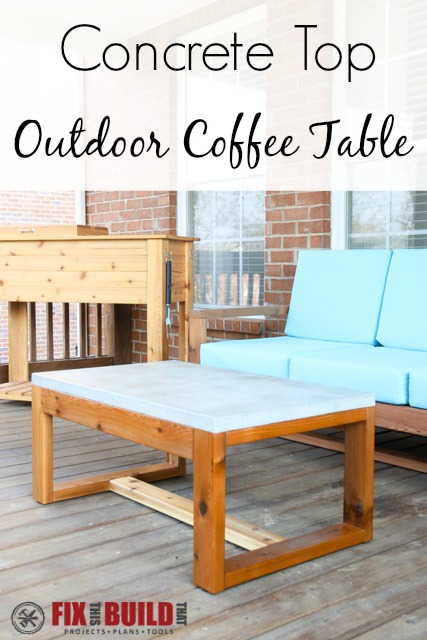
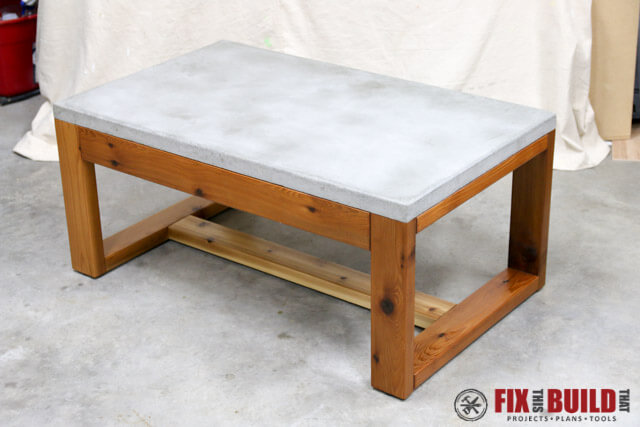
Today I’m going to show you how to build DIY Concrete Top Outdoor Coffee Table. I’ve been adding to my patio furniture and have been wanting to try my hand at concrete for sometime. The design I came up with is a perfect match for my Modern Outdoor Sofa as it’s made out of cedar as well. The concrete table top is going to be rugged and wear well out on the back porch.
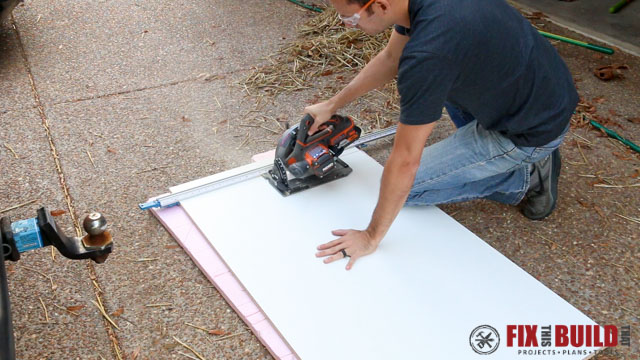
The outdoor coffee table base is very easy to make and is a true beginner project that anyone can take on. Plus the whole thing only takes three 2×4’s so it doesn’t cost much. The base was the easy part, but wow did I learn a lot working with the concrete. Make sure you watch the YouTube video below where I give you my lessons learned from working with concrete for the first time. RIDGID is sponsoring this project and their cordless tools made parts of this process much easier like breaking down the sheet goods in my driveway.
Get your own Concrete Top Outdoor Coffee Table Plans for step-by-step instructions on how build the coffee table, including building the form and prepping for the concrete.
Materials/Supplies
- (3) 8′ 2×4 cedar boards
- (1) 4’x4′ 3/4″ melamine sheet
- (2) 80lb Quikrete countertop mix
- Wire mesh rebar
- 2-1/2″ Exterior Pocket Hole Screws
- Outdoor spar urethane
- 1″ rubber feet
- Silicone caulk
- Concrete sealer
Affiliate links are used on this page. See my disclosure page for info on affiliate programs.
How to make a concrete top outdoor coffee table
- Build the coffee table base
- Prep form for the concrete table top
- Make concrete table top
- Assemble the concrete top coffee table
1. Build the Coffee Table Base
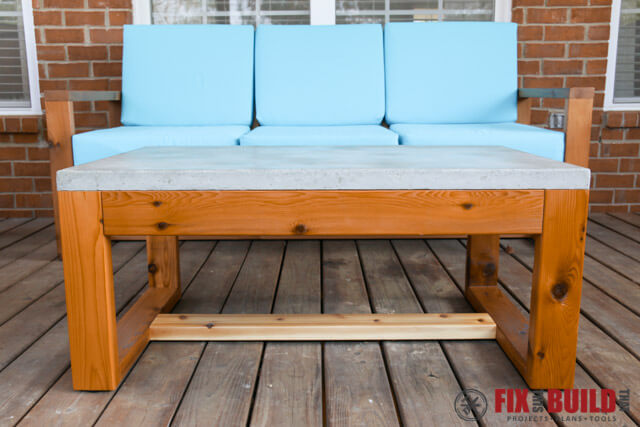
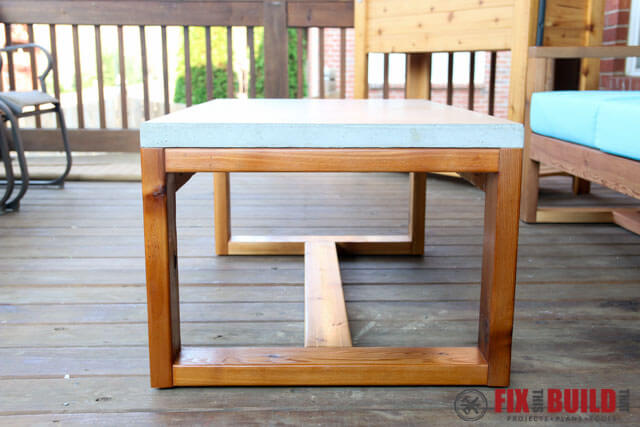
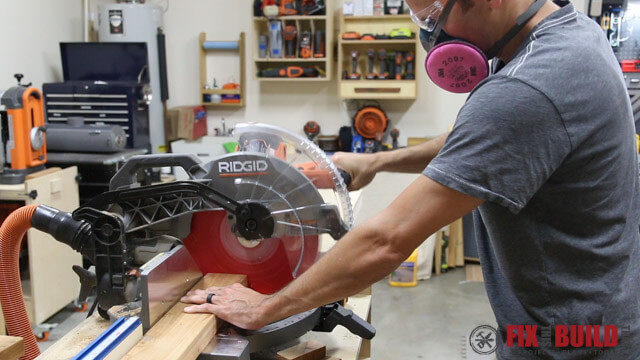
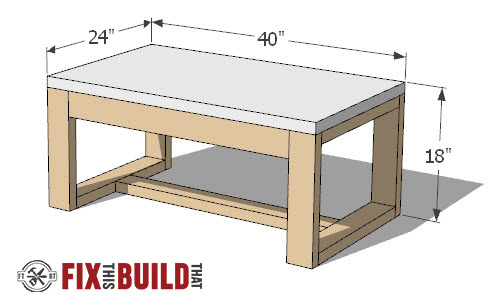
The base of the concrete coffee table is made from cedar 2×4’s. You can get all the parts out of just three 8′ 2×4’s. Cut all the parts to size with three 33” pieces for the aprons and lower stretcher, five 21” boards for the side top and bottom and center support, and four 16-½” boards for the legs.

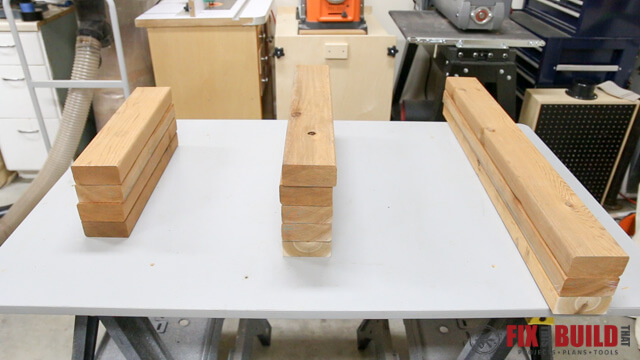

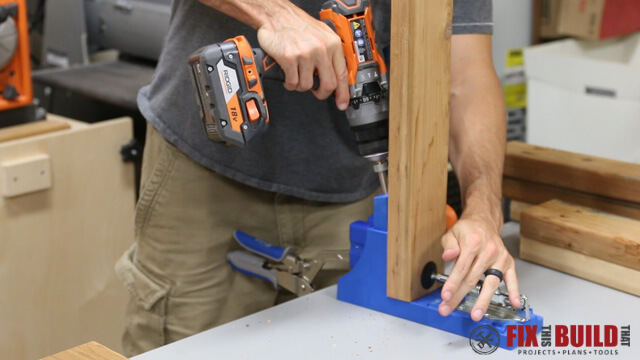
I used pocket hole joints for this build for quick and easy assembly. Drill pocket holes on the backside of all the parts except for the legs.

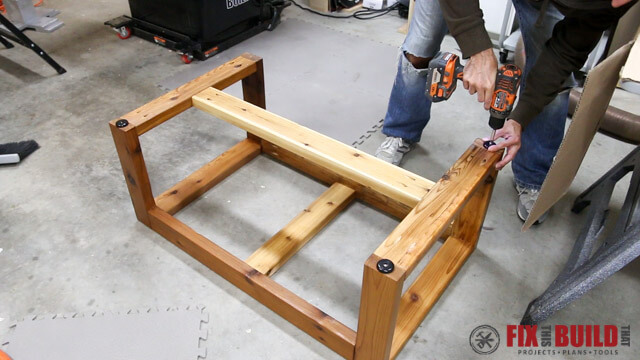
Assemble the outdoor coffee table sides by joining the legs to the top and the bottom with glue and 2-1/2″ exterior pocket screws. Use a clamp to hold the parts together to minimize any shifting as the screws go through.
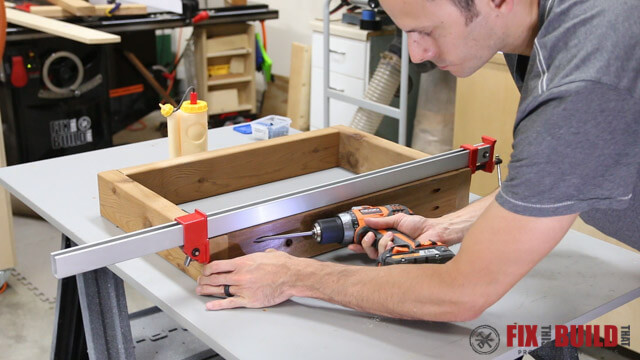

Flip the side assemblies on edge and connect them with an apron. Clamp the parts down to the work table with a face clamp to keep everything flush and secure them with glue and screws.
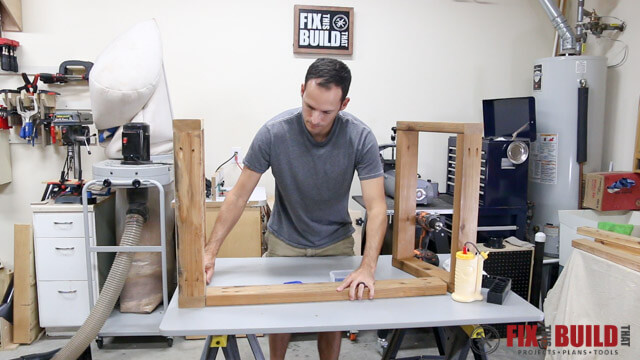

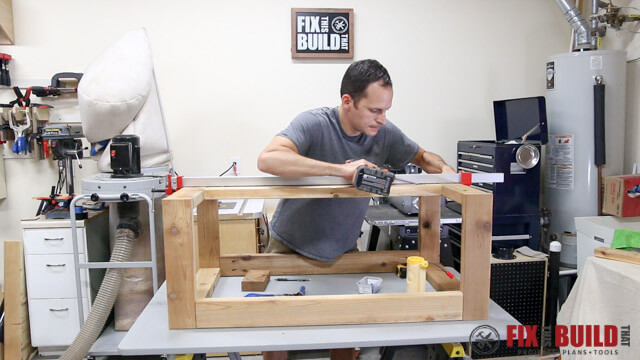

Flip the outdoor coffee table base back over and Install a center support to help with the weight of the concrete. Position it between the aprons then secure it with glue and screws as well.
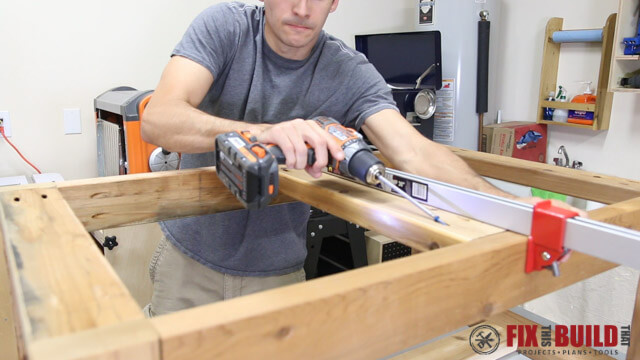

Apply your choice of finish to the base (I used an outdoor spar urethane) and let it dry while you work on the concrete.
2. Prep Form for the Concrete Table Top
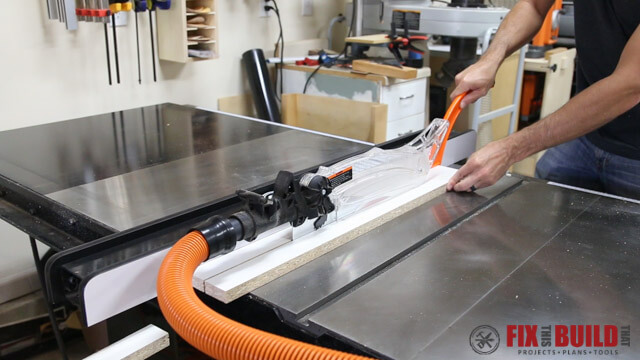
Now you’ll make the form for the concrete table top. Start with a half sheet or 3’ section from a full sheet of 3/4″ melamine. Cut the sheet to 30” wide by 48” long. Use the offcut to get two long sides at 1-1/2″ wide and the full 48” long.
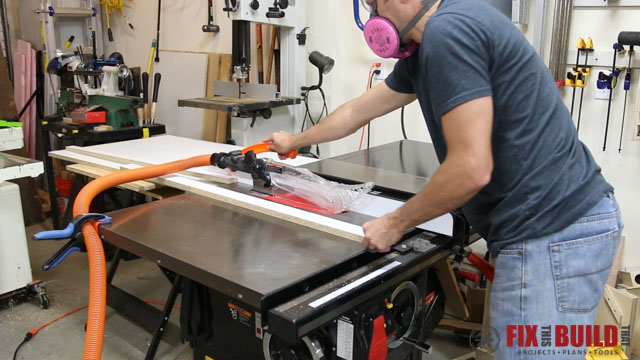

Crosscut the 30×48 piece down to 30” by 44” and use the offcut and rip down two pieces to 1-1/2″ by 30”. Using a cordless circular saw like the RIDGID Gen5x makes this very convenient.


The concrete table top is going to have a flush fit with no overhang so I needed a perfect fit. Take the oversized form base to the work surface and put the coffee table base upside down on it.
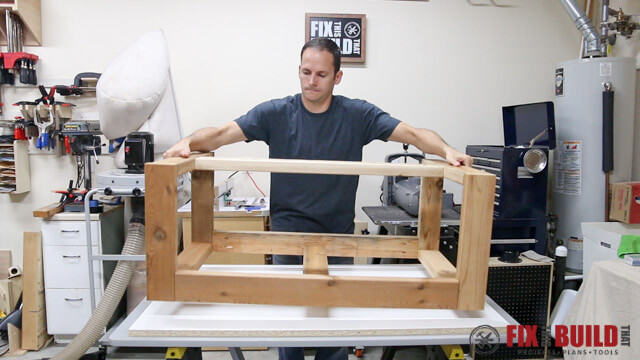

Now you’ll build the form around it. This way if the base is slightly off or even a little out of square it won’t matter and the concrete table top will fit perfectly. First secure the long sides on edge using 2″ countersunk screws. Use the short sides clamped to the table to help keep things straight.
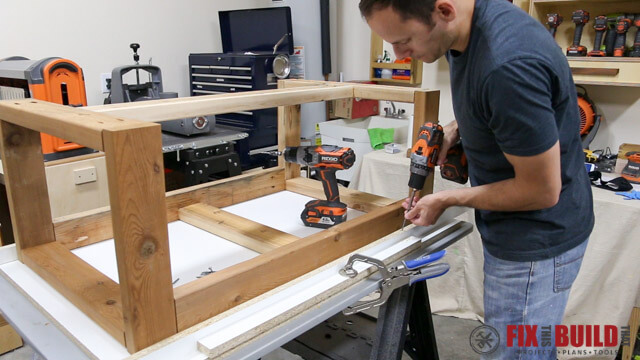

With the long sides in place, cut the short sides to fit and install them the same way.
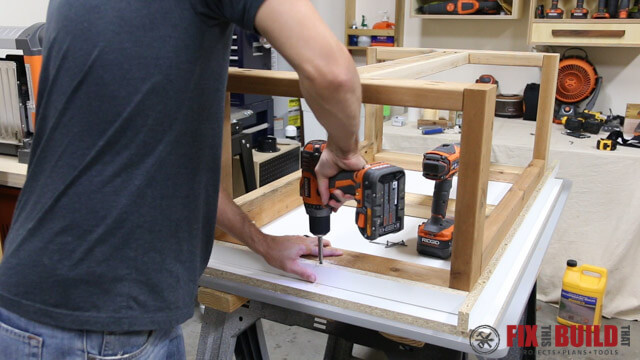

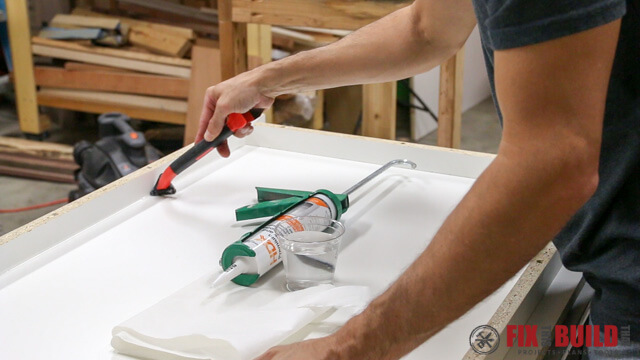
Vacuum out the form and caulk the seams with a silicone caulk. Use a corner tool to get smooth beads. The caulk will make the shape of your table top edges so make sure everything is as smooth as you can get it. Any small bumps will translate to the concrete. Also, put tape over all the screw heads so concrete won’t get in them.

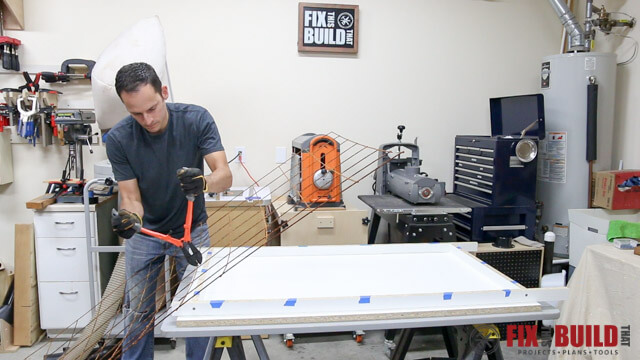
Cut rebar mesh for support for the concrete top. Use bolt cutters and trim it about 1″ in from all the sides. Lastly, clean up the form with some rubbing alcohol to get any residue off the surface and be prepped for the concrete.

3. Make Concrete Table Top
I used Quikrete countertop mix for my concrete table top and I mixed it in a 21 gallon mixing tub per the manufacturer’s recommendations. When you’re mixing the concrete I suggest adding small portions of concrete then water vs. dumping all the dry mix in at once. Make sure you watch the YouTube video for more tips on mixing the concrete.
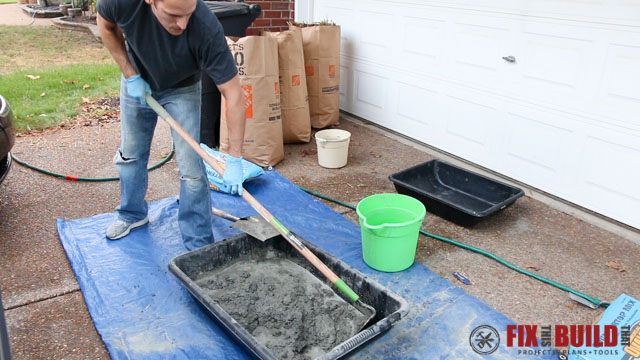

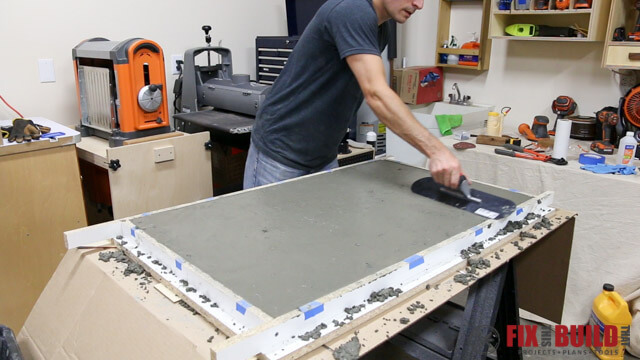
Fill the form and work the concrete around to about 1” thick.
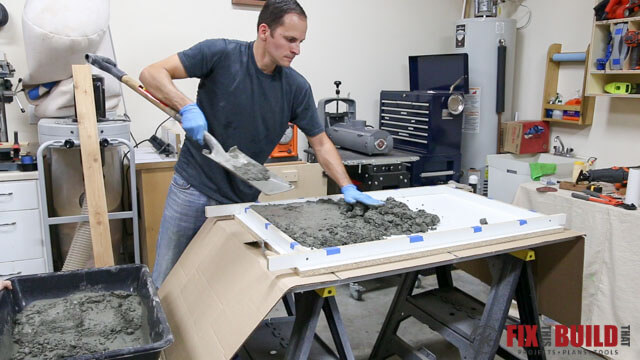

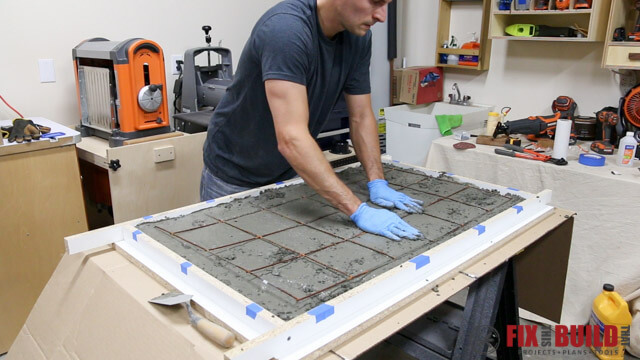
Then press the rebar mesh into the concrete. Make sure it lays flat so it won’t come out the top or bottom and then fill the form to the top.

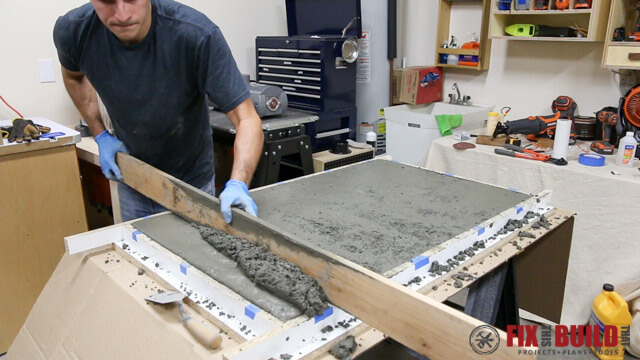
Use a straight piece of wood to screed the surface flat. Ride the board along the top of the form in a sawing motion and this levels and distributes the concrete.

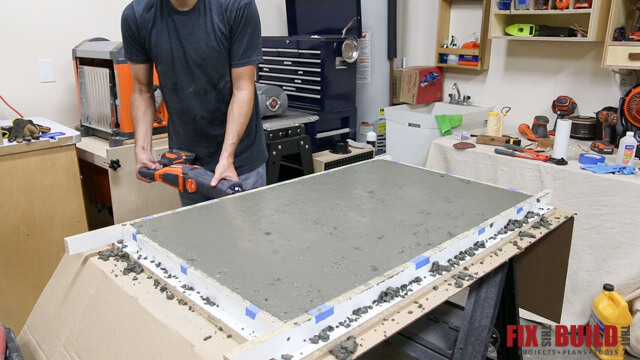
Use a reciprocating saw (no blade installed), sander, or something similar and vibrate around the form to help release air bubbles. I’d suggest doing this for at least 5 minutes as I only did a couple minutes and got some air bubbles.

Trowel the bottom surface smooth so it will sit flush on the base. Then cover the form with plastic and let it cure.

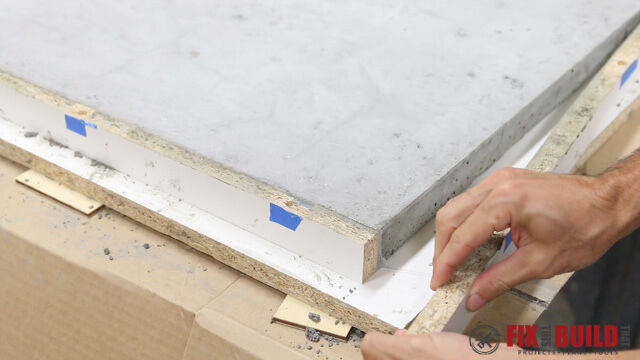
After the concrete has cured, remove all the screws from the form and pry the sides off by hand.

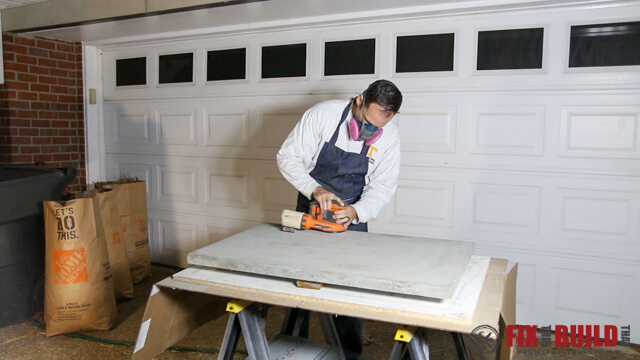
Sand the top with 120 grit then 220 grit sandpaper. The sanding will expose more air pockets you will fill next.

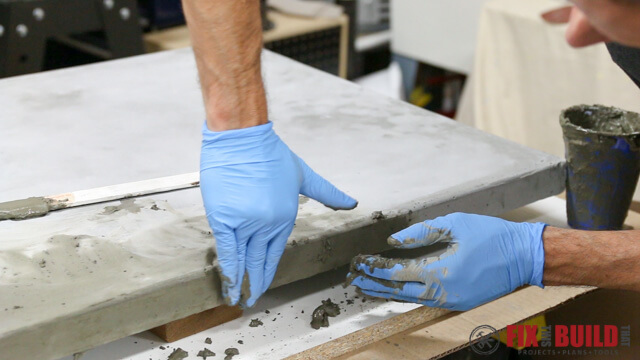

Apply concrete sealer per manufacturer’s recommendation with a microfiber cloth. You may need to wait up to 30 days to do this depending on your sealer.
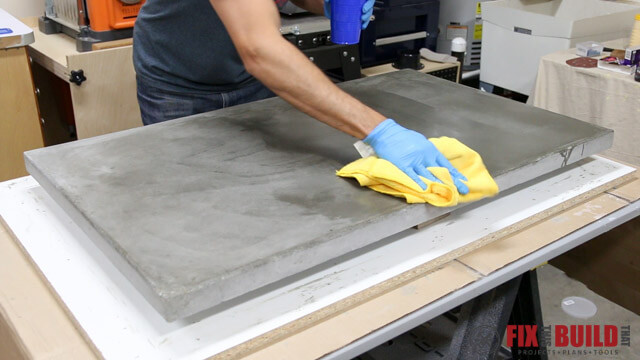

4. Assemble the Concrete Top Coffee Table
Before installing the top I put some rubber feet on the bottom of the coffee table base to keep the wood away from standing water.

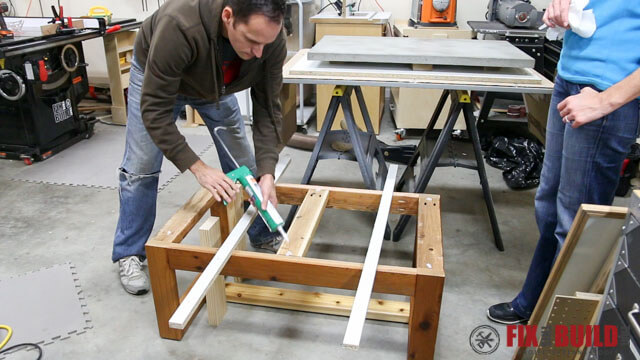
Put a dollop of silicone caulk on at several spots on the top to keep the top from shifting. I used the long sides of the form as spacers when installing the top so we didn’t pinch our fingers.

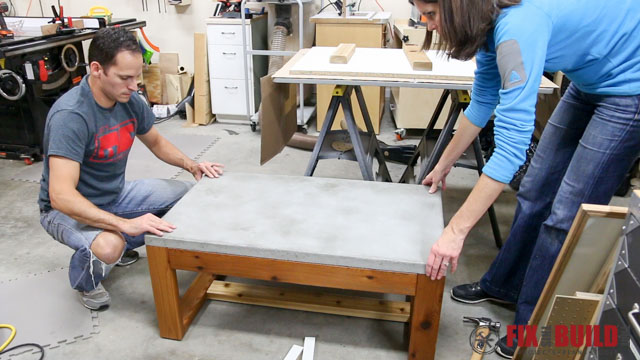
Set the top on the base and you’re DIY concrete top outdoor coffee table is ready for show time!


If you want to see more awesome outdoor projects like my Patio Cooler & Grill Cart Combo or my DIY Modern Outdoor Sofa, you can check them out on my Outdoor Projects page.
RIDGID provided me with product and/or monetary compensation as a sponsor of this build. All opinions are my own and are not filtered by the sponsor.




Pretty cool.