Today I’m going to show you How to Install Wainscoting for a DIY Board and Batten look. I’m updating my laundry room and this is the first step! I’m partnering with Maytag on this build and two more to come.
Installing board and batten really changes the whole look of the room. You can use these same techniques and learn how to install wainscoting in any room. Check out the video below and read the full tutorial for more details.
Materials/Supplies
- (1) 4’x8′ Sheet 3/4″ MDF
- 1-1/4″ Pocket Hole Screws
- 2″ Brad Nails
- Paintable Caulk
- Spackle
- Painting Supplies
This page uses affiliate links. See my disclosure page for info on affiliate programs.
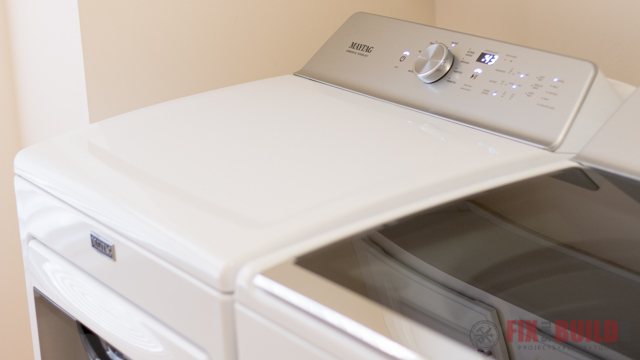
Here’s the laundry room I’ll be working in. It’s narrow and bland the DIY wainscoting will be the first of several projects we’ll be doing in here. We definitely need to up the game in here since we’ve gotten the new Maytag ® washer and dryer. We really love our new washer and dryer but they aren’t available anymore, so check out Maytag for similar units.
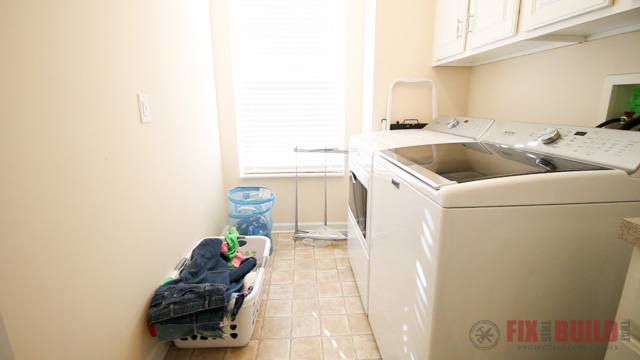
The dryer has a 7.0 cu. ft. capacity (that’s a lot) so it can handle the load we put in it with a family of five. And it’s got this cool Advanced Moisture Sensing feature which stops the cycle when the clothes are dry by monitoring temperatures and moisture levels vs. the guessing game we played with our old one. We’re really enjoying them and are so thankful for Maytag partnering with us on this project. Now let’s get started!
How to Install Wainscoting DIY Board and Batten
- Layout Top Rail and Paint Upper Walls
- Cut, Fit and Prep Baseboards
- Rough Cut and Paint Vertical Battens
- Install Baseboards and Top Rail
- Fit and Install Vertical Boards
- Install Cap Board and Trim
- Finish with Paint
1. Layout Top Rail and Pain Upper Walls
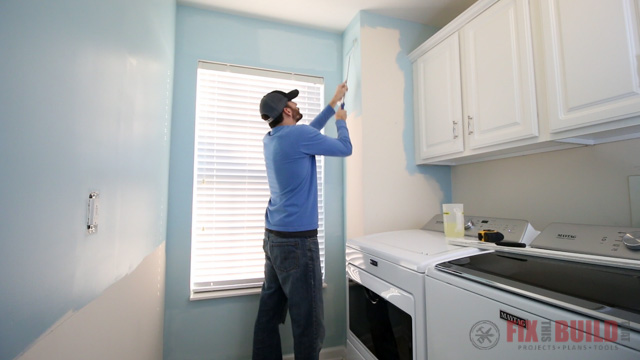
This was my first time installing board and batten; so along the way I’ll tell you some of the things I’d do different next time. I started by laying out a rough line where the top horizontal rail would be on the wall. I went with a 36” high rail and they say the general rule of thumb for low wainscoting is ⅓ the wall height.

We definitely needed to add some color and get rid of the contractor beige, so I’ll be painting the whole room a nice blue-green. Firstly I cut in and rolled the room everywhere except below where I marked my line for the wainscoting. I used a small 6” roller with a ⅜” nap to roll because it was such a small area.
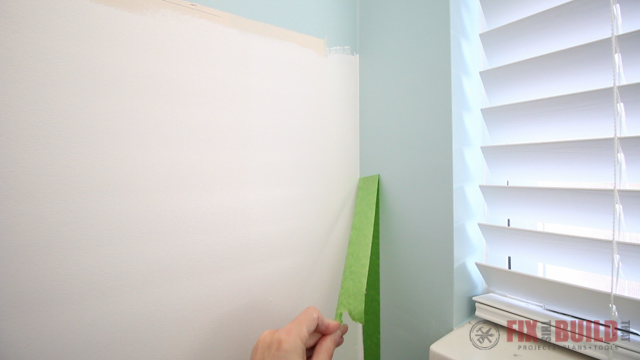
I used some green painters tape to make a clean line for the transition between the blue and the white in the corner. After that I rolled the lower section with the white I’ll be using on the trim. It’s way easier to paint the wall now then to have to deal with all the trim pieces later.
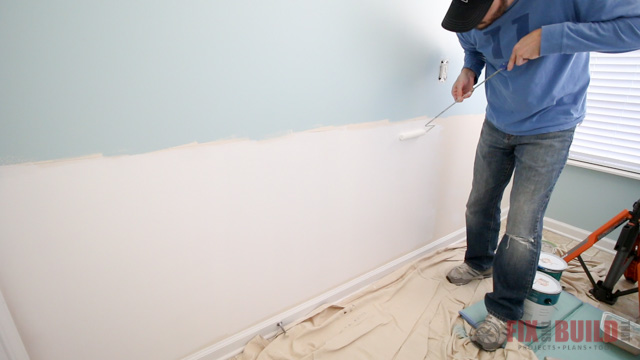
I put on two coats of white and when the paint dried I had a nice clean line.
2. Cut and Fit Baseboards
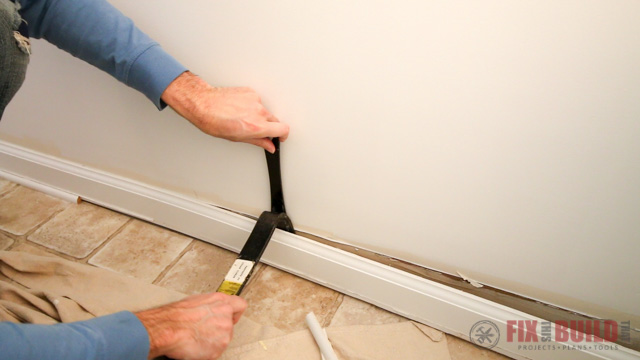
Remove Old Trim and Cut New Boards
When I do the wainscoting install I’m going to use taller baseboards. So I removed all the current baseboards starting with an outside corner then working my way around the room. I’d probably remove them before painting if I did it again just in case there was any wall damage that wouldn’t be covered by the new taller baseboards.
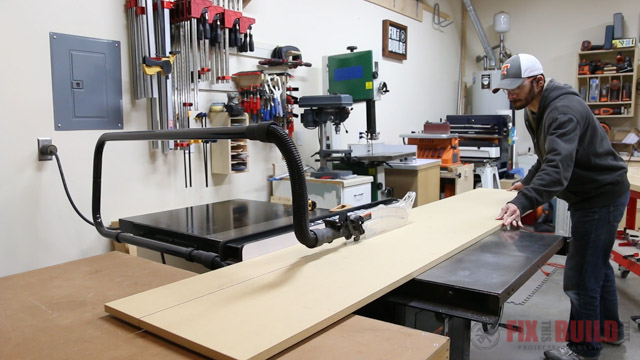
I used one 4×8 sheet of ¾” MDF for the DIY board and batten parts which is about $35. I had them rip one 18” section the length of the board at the store. Back in the shop I ripped the small section down to become the long runs of the trim. If you don’t have a table saw you can just have the store make these cuts too.
I’m installing new 5-½” baseboards around the whole room to match the DIY board and batten wall. I measured and cut the boards for the whole room including the small piece I’ll need to extend the 8’ board to the length of the wall.
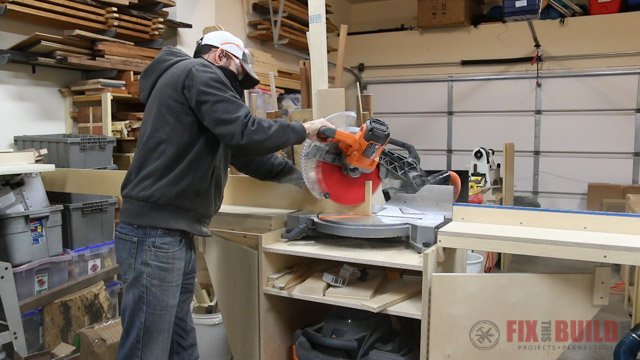
Cut Miters on the Baseboards
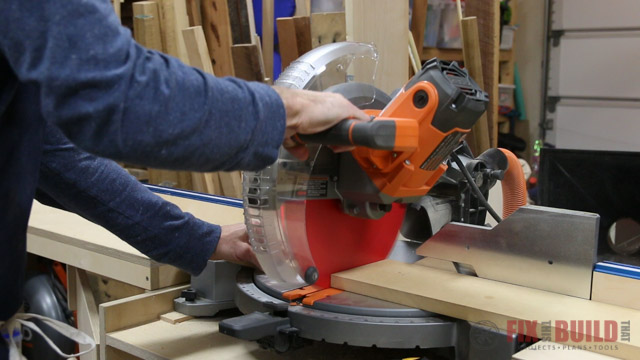
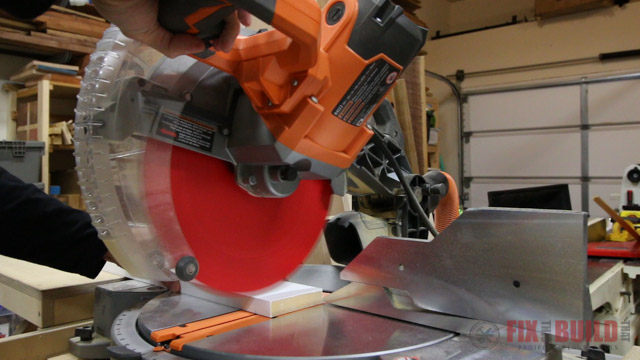
I like cutting miters vertically on the miter saw instead of using the bevel feature which is a pain to zero back to 90 degrees. But when you’ve got tall trim you might hit the board with the saw and not be able to complete the cut like you see here. So you might need to flip the board and complete the cut which isn’t ideal.
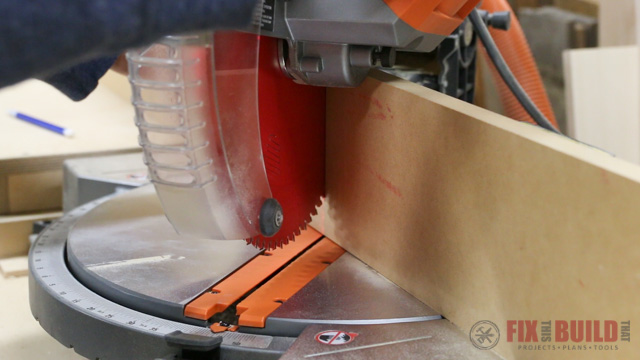
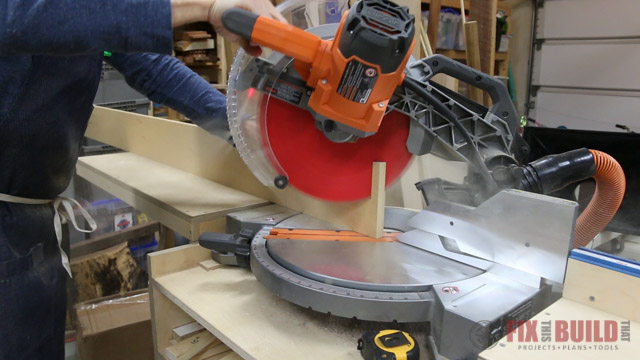
The issue is the arbor or motor hitting the board on the right side of the saw. You can cut the board at 90 degrees about ½” longer than you need to solve this. Then make your miter cut with the board on the left of the saw. This will avoid the issue on most saws.
Fit the Baseboards
I took the baseboards up to the laundry room and dry fit them in place to make sure everything matched up. I also checked that the small patch board was the right size to extend the baseboard.
To make sure the long trim boards were seamless once installed I joined the boards together before installing. You could just nail them in place next to each other, but you’ll likely have a ridge or gap there. I used pocket holes and glue to join the boards. Now let me warn you, this is NOT a strong joint. It’s purely cosmetic and you should handle it with care before final install.
Prep and Paint Baseboards
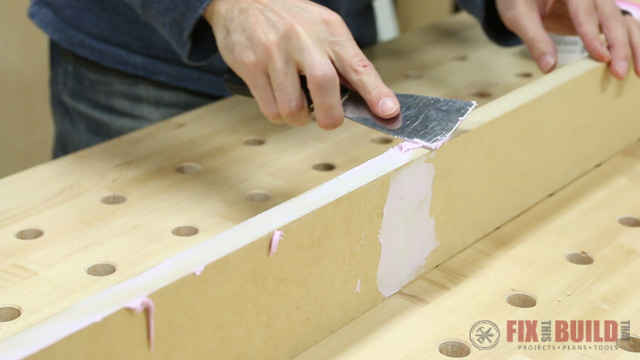
To prep for paint I spackled the joints where the boards were joined together. I also applied spackle to the top edges of the MDF. The edges are extremely porous and If you don’t seal them up they will just suck up the paint. Sealing and sanding will also give you a much smoother finish than just the fibrous edges.
3. Rough Cut and Fit Vertical Battens
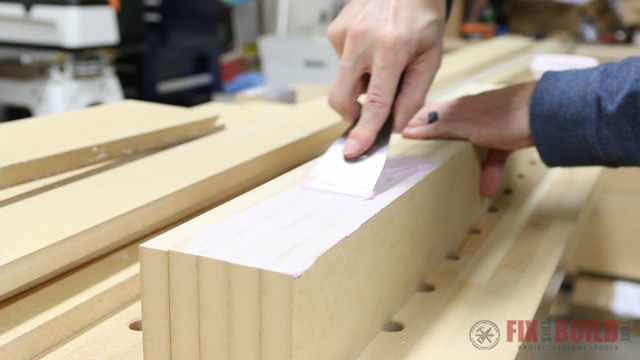
Next I went ahead and cut the vertical battens for the DIY wainscoting wall. They’re all 3.5” wide and I cut them a little over sized at 28” long. This way I could cut them to fit during the board and batten install. I gave them the same edge treatment as the other boards using spackle.
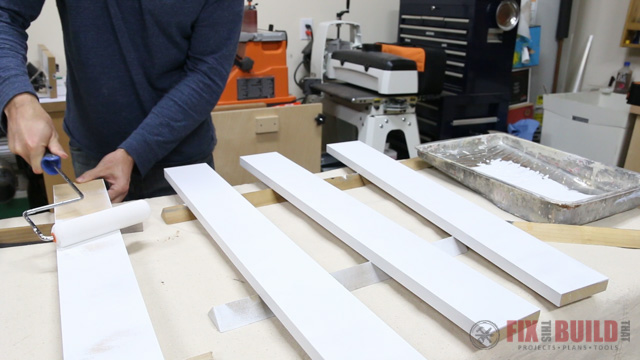
When the spackle dried I primed all the MDF pieces using a foam roller. If I did it again I would probably add one finish coat before install then just patch and do one final coat.
4. Install Baseboards and Top Rail
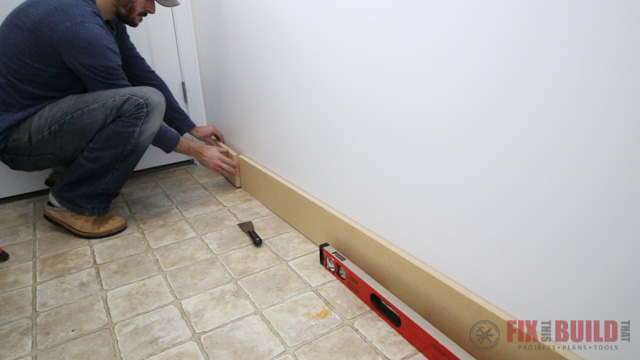
I took the baseboards back up to the laundry room and started laying them out for the wainscoting install. The board under the window was the highest so I leveled it first and nailed it in place.

Then I shimmed up the long baseboard to the same height and nailed it in place. I checked for level then nailed the rest of the baseboards in place as well.
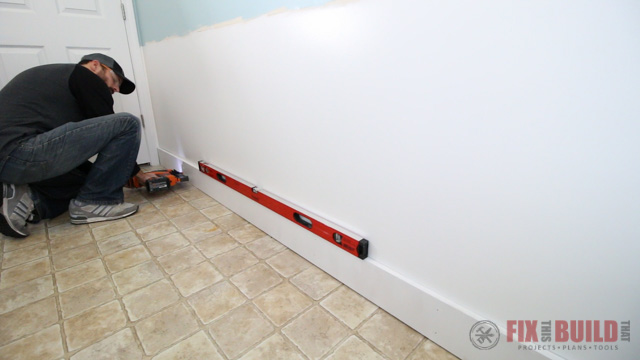
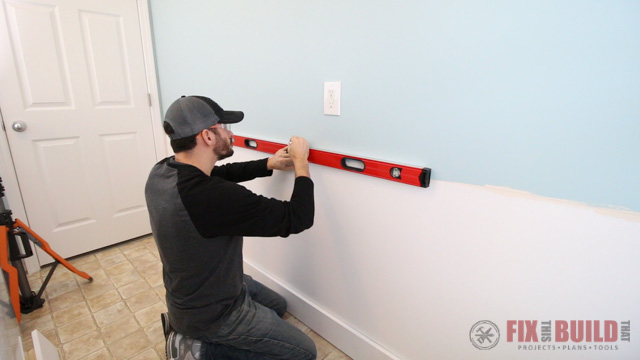
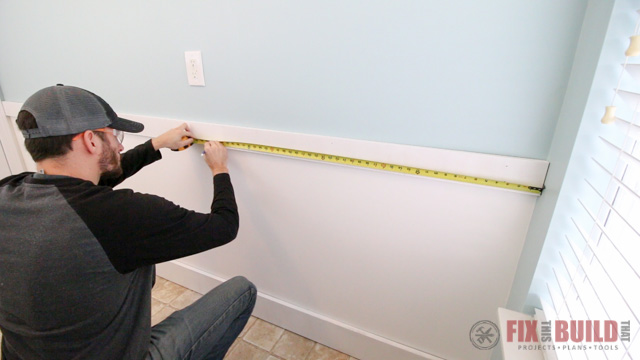
After that I measured up 36” and marked a line across the wall using my 4’ level. I’ll use this for attaching the board and batten top rail next.
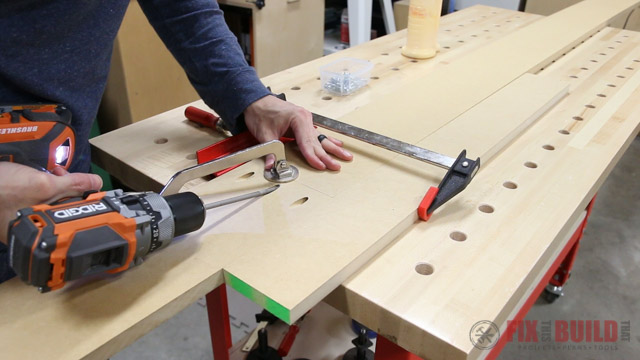
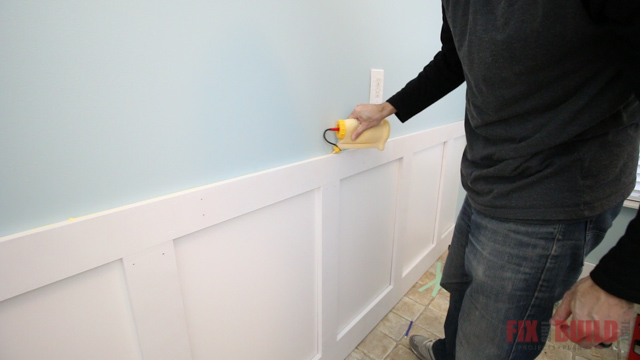
Since I was working solo I used a spanning clamp as an extra hand to hold one end of the rail while I attached the other side. I leveled the other end, attached it in place then secured the rail with more nails.
5. Fit and Install Vertical Battens
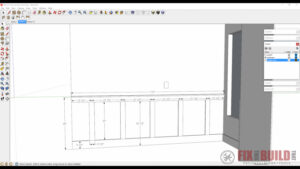
When I was deciding how to install wainscoting in the room I started by laying out the vertical battens. I modeled the room in SketchUp, an easy to learn free 3D drawing software and tried a few configurations.
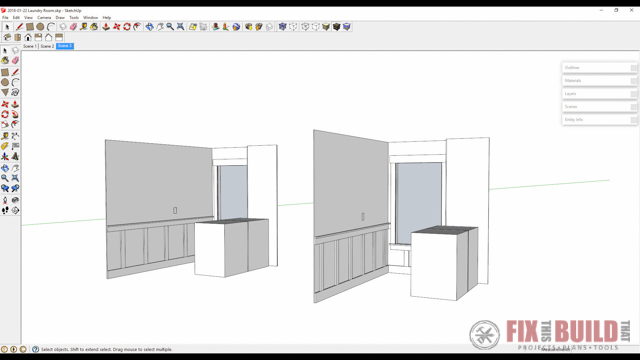
We looked at doing six vertical battens but thought the spaces were a little too narrow. Five battens looked a lot better to us with a beefier feel. The beauty of SketchUp is you can then use the dimension tool to show the exact measurements for all the boards. You can download the model here if you want to use it as a starting point.

I marked the center of each board for my DIY board and batten setup based on the drawing.
Then I set each board in place and marked where I needed to cut it.

I went back down to the shop and cut all the battens to size on my miter saw.
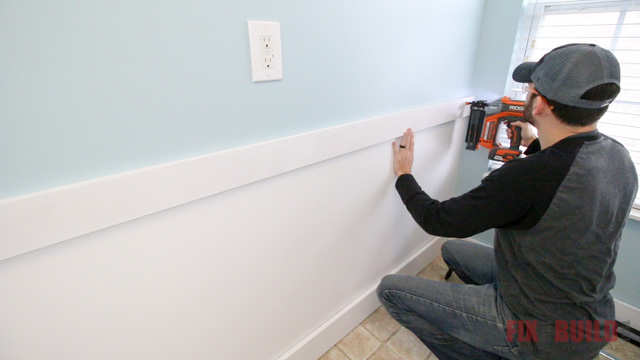
After that I lined up each piece of the board and batten wainscoting and nailed it in place using 2” brad nails. It’s worth mentioning here, I didn’t use any adhesive on the back of the trim boards and I probably should have.
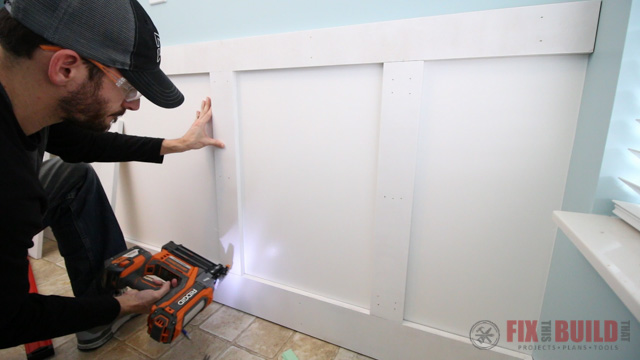
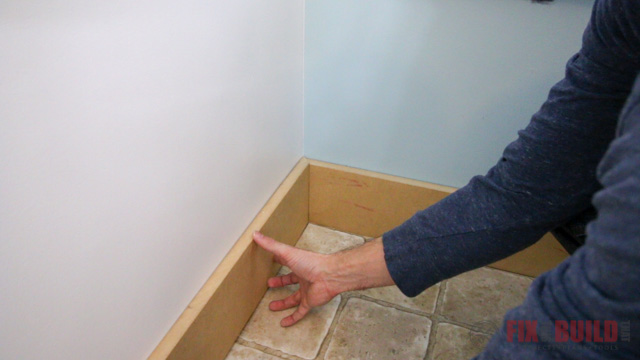
On the end board you can see there is quite a gap between the wall and the baseboard. I taped some thick cardstock to the back of the board to act as a shim to get the board flush with the baseboard and top rail. This will give me a flush fit where it counts and I’ll caulk the gap between the wall and the batten. But adhesive would’ve really helped here too.

6. Install Cap Board and Trim the Wainscoting
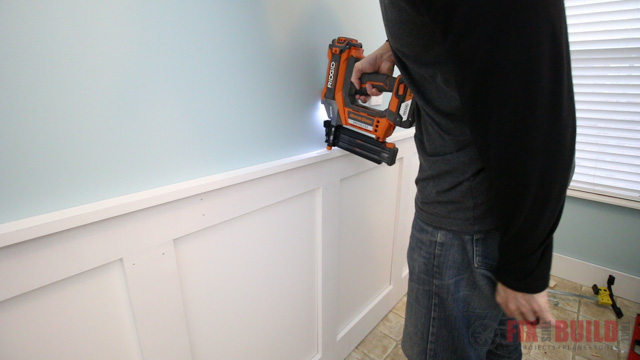
I’m using a 1-½” cap board on the top rail of my DIY wainscoting. I like the look of the extra trim, but you can leave it off for a slightly cleaner look. I glued it in place and secured it with brad nails.
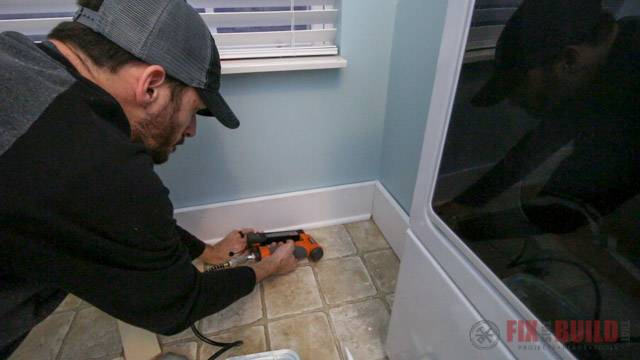
The last piece to finish the wainscoting install was to trim out the baseboards with shoe molding. I measured and cut the shoe mold to fit and attached it with pin nails.
7. Finish the Wainscoting Install with Paint
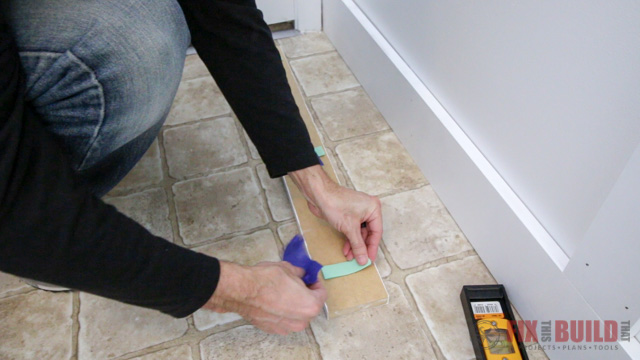
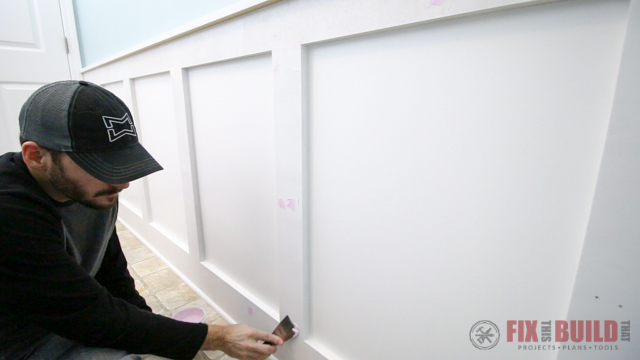
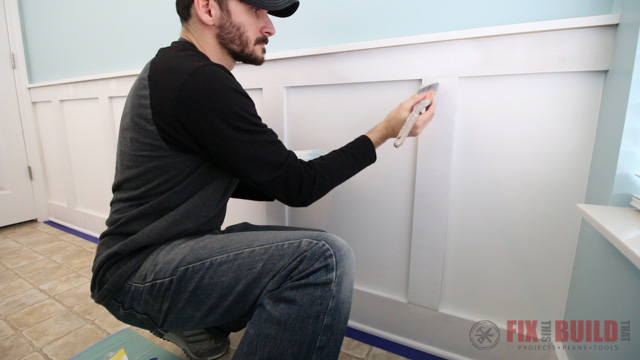
I went back and caulked all the seams between the trim and the walls with a paintable caulk. This was definitely needed because the walls were so out of square.
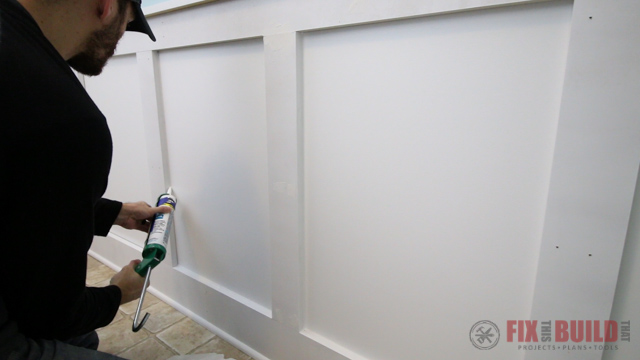
I used a wet finger to smooth out the joints for a clean look. Just make sure you have plenty of paper towel or rags on hand for clean up.

I also spackled all the nail holes and the joints board and batten install. Then I came back and sanded everything flush once it dried.
Finally I finished by brushing on two more coats of white paint to the trim boards to finish things off. I didn’t have to do any work on the drywall since it was already done which was nice.
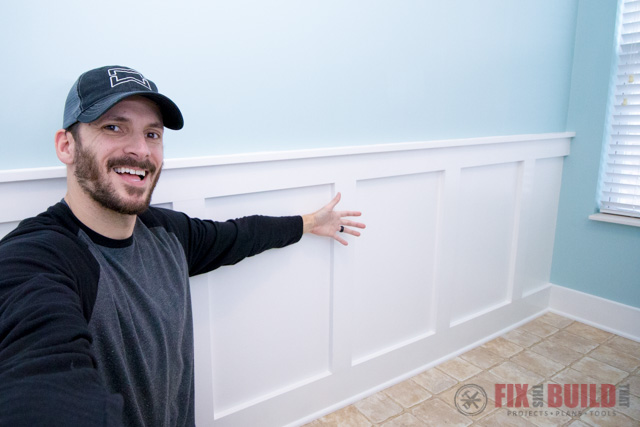
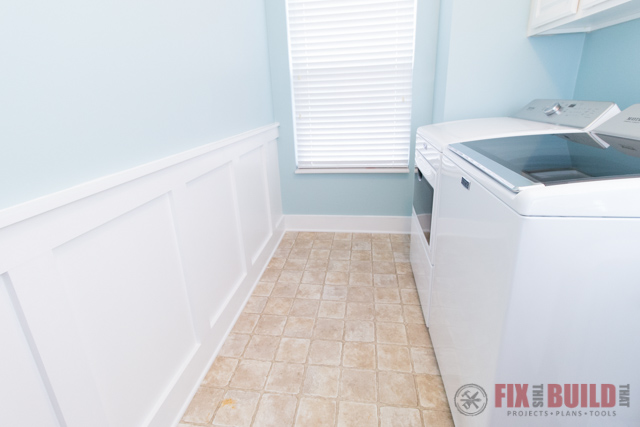
I absolutely love the way this wall treatment turned out. This room looks sooo much better now!
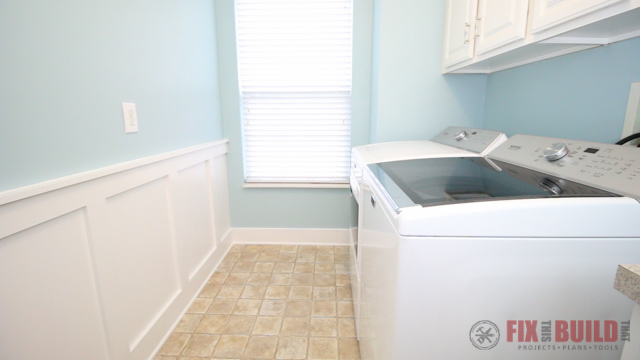
Now you know how to install wainscoting for a DIY board and batten look! Stay tuned for more projects in my series with Maytag. Until then you can head over to my Home DIY projects page to check out some other great ideas.

Maytag® provided me with product and/or monetary compensation as a sponsor of this build.


What kind of paint did you use? What is the name of the blue green color?