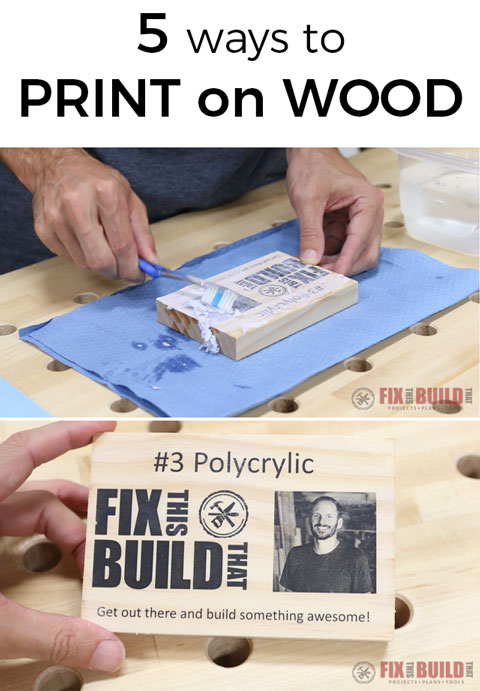
Today I’ll show you 5 ways to print on wood! Wood prints are a great way to make customized signs, ornaments, awards or just to brand your work. I tried four DIY image transfer methods and then used a sweet piece of technology for the fifth. I was actually really surprised by the results since that one I love was sitting in my shop and I didn’t even know it!
Be sure to watch the video below to see each wood printing method in action!
Tools Used
- FSL Hobby Laser (no longer made)
- Other Laser Engravers
Materials/Supplies
- (1) 8′ 1×4 select pine board
- Acetone
- Nitrile gloves
- Polycrylic
- Acid brush
- Liquitex gel medium
- Foam brush
- Spray lacquer
Affiliate links are used on this page. See my disclosure page for info on affiliate programs.
5 Ways to Print on Wood
- Acetone
- Clothes Iron
- Polycrylic
- Gel Medium
- CNC Laser
I’ll walk you through each of the 5 ways to print on wood I’ve listed above. I’ll show you what you need, how to apply it and any clean up needed on the wood prints. I’ll also give you the pros and the cons of each method and what the wood prints look like after some finish is applied.
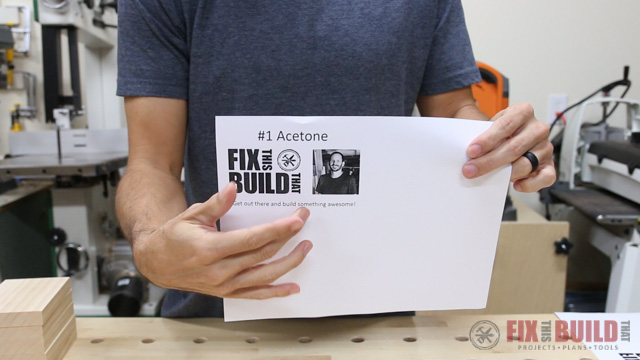
Here is the artwork I’ll be using to evaluate each wood printing method. All the prints were done on my laser jet printer, not an ink jet. And I mirror imaged the artwork for the ones I actually used to do the wood prints. I’ve included my logo which has large block text, a picture, and some normal sized text. This will do a good job showing how each way to print on wood reacts to different text and image types.
Okay, let’s get started with the first one!
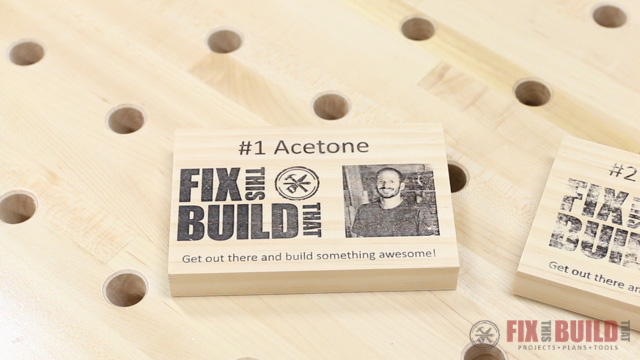
1. Making Wood Prints with Acetone
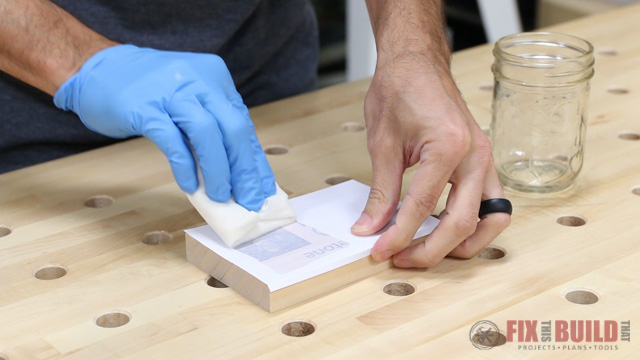
The first way to print on wood is using acetone to transfer the toner to the wood. All you need for this process is some acetone (I’ve heard lacquer thinner also works), a paper towel, nitrile gloves to protect your hands and optionally you can use an old key card or credit card. And be careful with the acetone and read and follow all the cautions on the can.

I laid the mirror image print out on the wood and creased the paper over the edge to hold it in place. You could also use tape here. Then I used a plastic hotel key card wrapped in a shop towel dipped in the acetone to soak the paper and press firmly downward.
After a few passes the toner is transferred to the wood. Then the paper peels right up with no stickyness and reveals the wood print with the image on it.
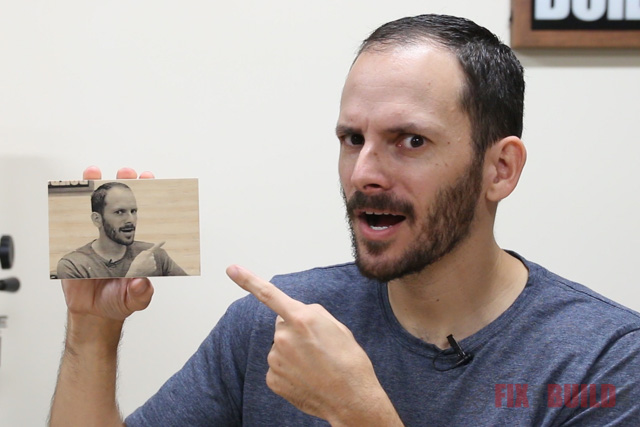
And here is what the acetone wood print looks like jut seconds after removing the paper.

Printing on wood with acetone pro’s and con’s.
Pros: Very quick, decent image quality, clean process
Cons: Average image quality, acetone is a harsh chemical
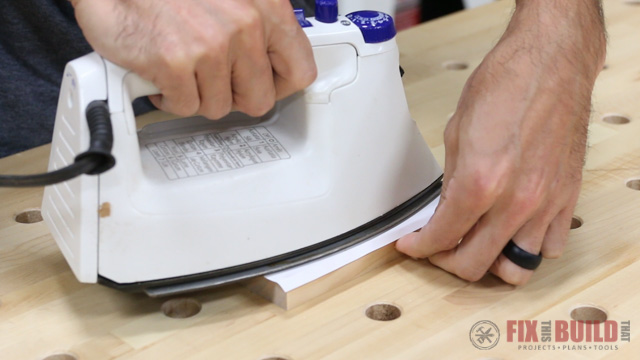
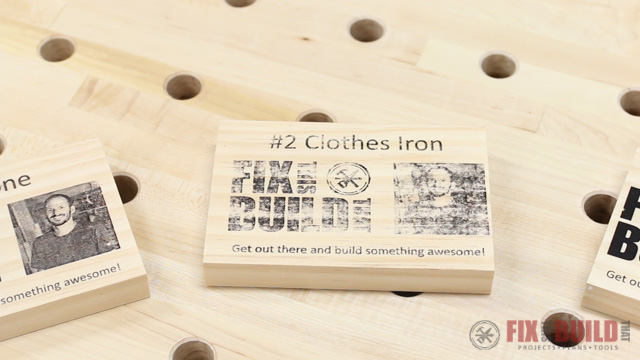
2. Making Wood Prints with a Clothes Iron
The next way to print on wood is using a simple clothes iron. All you need is literally just the clothes iron here. I put the paper down like before creasing it over the edge.
Then I literally just ironed the paper, making sure to keep it from moving around. I tried to press down hard and had the iron on high, but I still don’t think it was enough heat.
When I peeled up the paper, the wood print did NOT look good. I think it was because this iron is pretty light duty and just didn’t get hot enough. I’ve also since heard that printing on wax paper might make a difference or using a branding tip on a soldering iron.

Pros: Cheapest method, fairly quick to do
Cons: Poor image quality, possible to burn your self or scorch the wood or paper
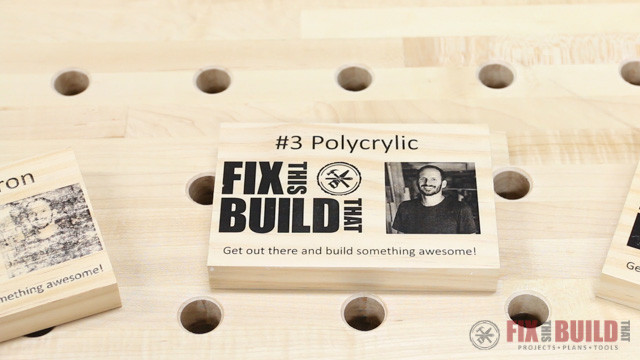
3. Making Wood Prints with Polycrylic
The third method to print on wood is using a water based polyurethane. It’s a slightly different process as you stick the paper to the wood then remove it after it’s dry. I’m using Polycrylic which is just a name brand poly. You’ll need the polycrylic, an acid brush (or other small brush), a stiff toothbrush and some water.
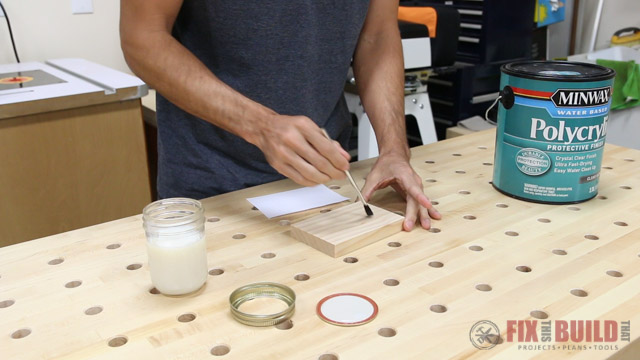
I brushed on the polycrylic with a small acid brush trying to get a thin film that was wet but not puddling. I think less is better than more in this instance, and you don’t need a lot. Then I pressed the paper down into the wet polycrylic and smoothed the paper from the center outward to remove any air bubbles and firmly seat the paper into the polycrylic before setting the wood print aside to dry for about an hour.
After the finish had dried, I found the easiest way to remove the paper from the wood print is to wet the whole back first then peel off as much as you can by hand before scrubbing. Then it’s just gentle scrubbing with the toothbrush until all the paper is gone.
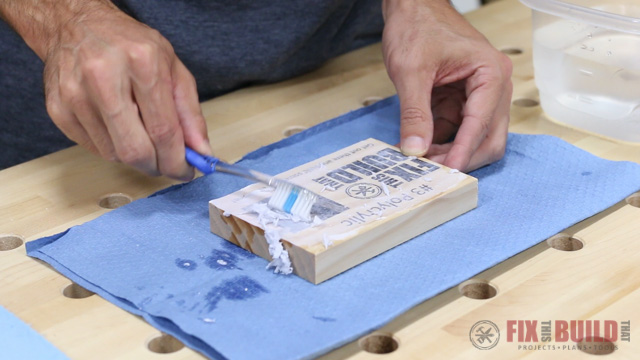
I wiped off the wood with a shop towel then looked at the wood print quality. Honestly this was the one that surprised me the most. The quality was excellent! Other than that little chip on the side of the “F” the wood print looked amazing. I was really pleased with this method of printing on wood.
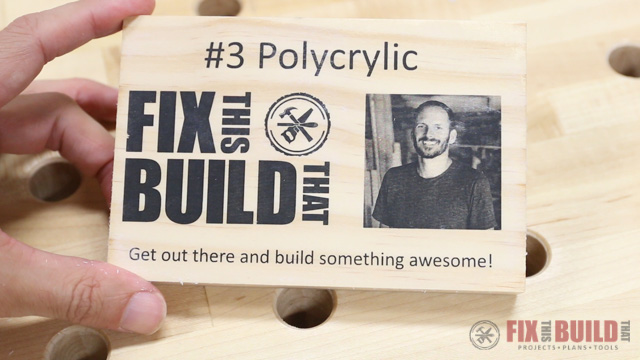
Pros: Excellent image quality, water based safe finish
Cons: Messy removal of the paper, takes an hour to dry
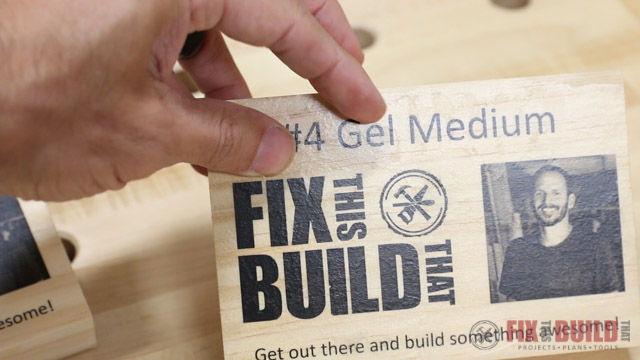
4. Making Wood Prints with Gel Medium
The fourth way to print on wood is to use a gel medium. I used Liquitex gloss, a foam brush, a key card, a tooth brush, and water for this method.
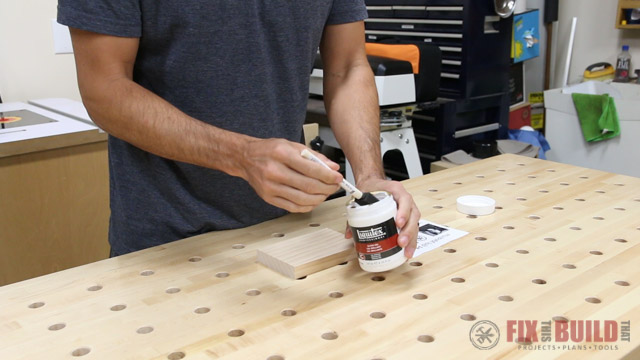
The gel medium goes on similarly to the polycrylic except it’s a gel vs a liquid. I found a foam brush worked well to distribute the gel because the brushes left too many ridges. Again, less is more here.
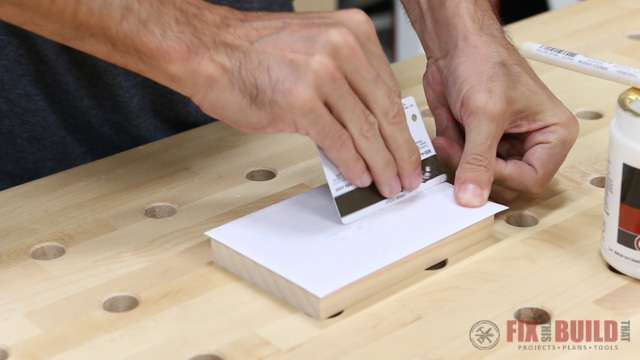
I pressed the paper into the gel then pushed out the air bubbles with my fingers then the key card since the gel was a little thicker and not as easy to move as the polycrylic was. Then I set it aside to dry for about 90 minutes.
The only thing different about scrubbing the gel medium is it seemed to grabbed much harder. I think this is because the gel is thicker and there is more build up on the surface. I think thinning the gel with water before application could help.
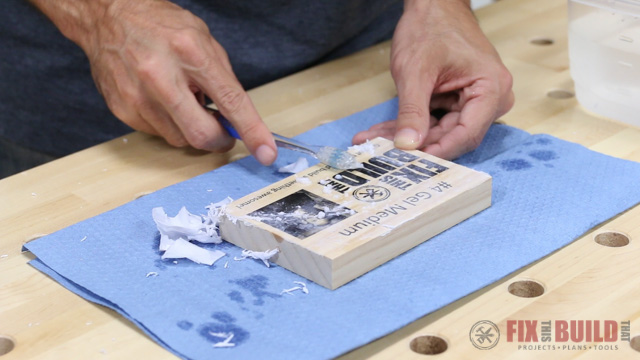
After getting off most of the paper here is what the wood print looked like. There were a few spots that still had a little paper that I couldn’t get off on the first go.
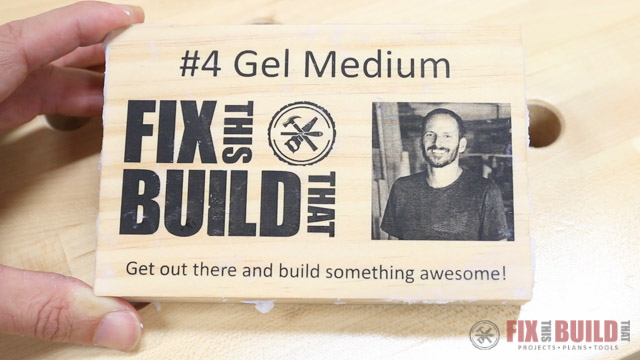
Pros: Excellent image quality, safe water based gel
Cons: Harder to remove than polycrylic, leaves behind rough surface, longer to dry
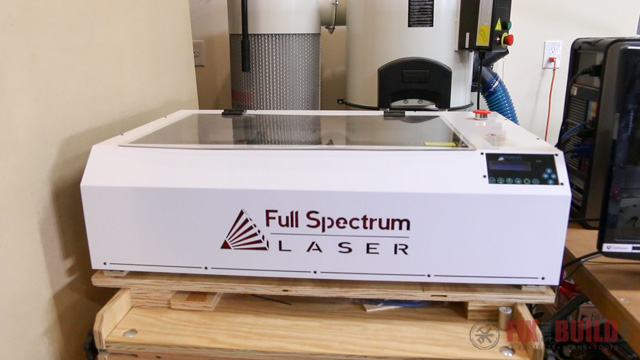
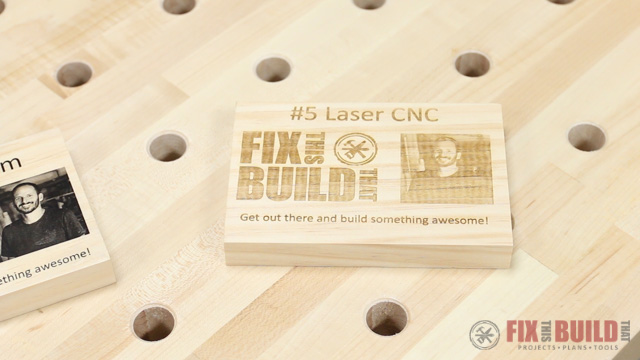
5. Making Wood Prints with a CNC Laser
The next method to print on wood is definitely not DIY. I used a Full Spectrum hobby laser that I got from Rockler Woodworking. This machine is discontinued but you can find other laser engravers here. It can engrave wood, plastics and leather.
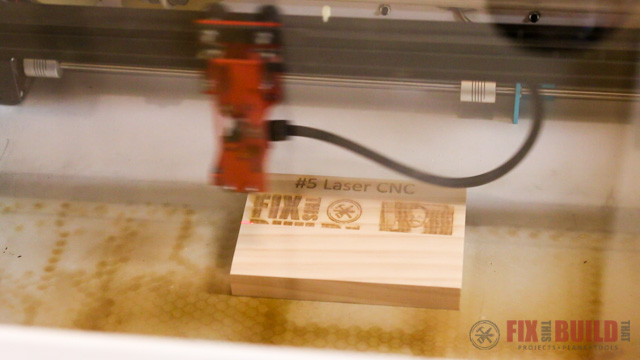
The setup is pretty easy. I put the wood in the machine, line up the positioning dot then press print similar to printing on paper.
The laser starts it’s path and it isn’t fast but it’s fun to watch. And after about 8 minutes the print was done while I was cleaning up things in the shop.
The wood print turned out really sharply defined as expected. The only issue was with the image which a laser has a hard time replicating. But the text and logo design that are solid black looked great.
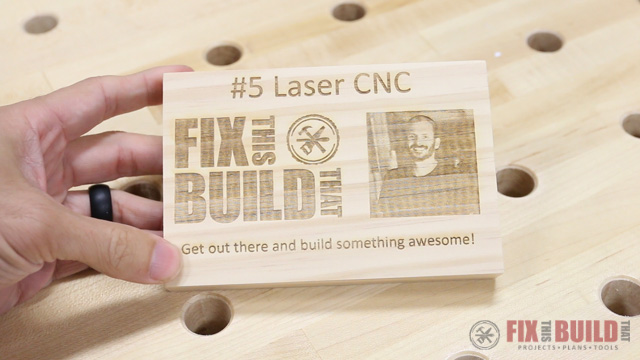
Pros: Excellent detail on text and logo, set it and let it go
Cons: Expensive to buy, must travel to find one to rent, not great on pictures
Wood Prints with Finish Applied
After going through the five methods to print on wood I wanted to see how they reacted to a finish. I sprayed on two coats of spray lacquer and they actually changed quite a bit.
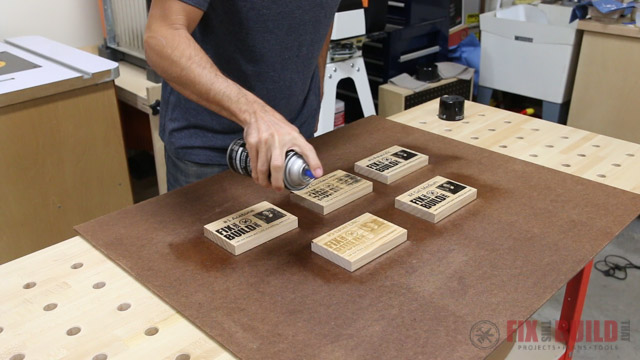
Here is a quick snippet of each one and my final takeaways for each wood printing method:
The acetone wood print really darkened up with the lacquer applied. I liked this one a lot more after the finish and I’d put it ahead of the gel medium.
The clothes iron wood print….what can I say, it still stinks 🙂
The polycrilic wood print darkened up even more and still looks great. This is definitely my first choice.
The gel medium wood print also darkened but the finish was not very smooth. The extra paper bits I didn’t get off really showed through. So to get it as smooth as the polycrylic I’d have to spend a lot more time cleaning.
The CNC laser wood print didn’t really darken up. It’s more of a burnt wood look, but the detail is still great.
So there you go, 5 ways to print on wood. Hope you learned something new and if you want to check out some of my build projects you can find them on my Projects Page.
Rockler Woodworking and Hardware provided me with product and/or monetary compensation as a sponsor of this build. All opinions are my own and are not filtered by the sponsor.


You can also use “Goof-off,” which is similar to Acetone. I’ve been using it for years in my mixed-media art pieces. Laser prints or any toner based print will work.
good tip!
May I know what kind of paper are you printing on? Thank you
Thank. you. I like it.
Hi – I tried the polyacrylic twice and both times it took most of the paint off when I removed the paper. First time I let it dry for an hour. Thinking maybe that wasn’t enough time, I left it for several hours on the next try with no luck. I had the picture printed off on laser jet, any ideas? Could it be the paper they used? The guy at Office Depot has done the same thing (pic on wood) so must have known what to use. Thanks for any help.
Is there any alternate product which is available in India for “Polycrylic”.
Hi, Brad, to print/burn the text and image via the CNC Laser, do you need to set up the files in CAD or some other software/converter first, or can it print a PDF file?
You can print a PDF file or even from Word with this software. The Laser software basically is setup as a printer.
Which laser software are you using?
where can I buy this acetone and polycrylic?
Will this work on a painted piece of wood?
Hello, thanks for teaching so simply, a question, in my country I found this product, do you think it will serve me the same as the one you used?ABOUT ULTIMATE POLYURETHANE WATER BASED Get the highest-possible finish clarity” in a water base”with Rust-Oleum® Varathane® Crystal Clear Water-Based Polyurethane. Designed to let wood’s natural beauty shine through, this formula provides maximum scratch and stain resistance on indoor furniture, doors, etc.Maximum scratch and stain resistance Low odor Easy water clean-upHas a brilliant finish, does this work the same? Thanks for the reply Anibal
Great presentation! I want to try the acetone method tomorrow, but have a question; I want to transfer a print to the wood so i have something to trace when i use my burn pen to permanently burn the image in.. you think this will be a problem withthe acetone? Also, do you think the acetone will cause any problems applying colour pigmented oils and waxes to the wood at a later stage? Thx.
Obrigado, aprendi como fazer.
Thanks for the tutorial. Do you think the polycrylic method can work on a poster? I was thinking of doing some transfer with a poster I got from the store , a photo printed on white glossi paper. Thanks!
Can you use polycrylic spray?
we have a hp laserjet printer so far we have tried the ironing and also the acetone with no results-is the printer the problem?
Very helpful article, thank you. I tried the acetone method and the polycrylic. Polycrilic came out good, just definitely leaves some residue behind. The acetone transferred well, but my ink was green when I lifted the paper off. Any ideas on that one? I used a laser printer. Thanks.
Never heard that one. Might be the wood type and some kind of reaction there.
Coo article…Thanks for posting it! I am curious, does the acetone method only work with toner (laser printer) or will it work with ink (inkjet printer)? And, does it work with colors, or is it something in the black toner only that allows the transfer? I’m definitely gonna try these! Always looking for something new to do or some new way to do it! 🙂
Acetone will work with ink jet but not as well. And Polycrilic should work with color
I’m curious what laser printer you used. In the DIY circuit board making, people will frequently transfer images with a clothes iron like you did. But the toner that brother uses is known for having a higher melting point than other toner, which might have contributed to the that test’s poor quality.
Will the polycrylic work on Bamboo too?
Hey the picture has to be a Lazer print right?
so all this was done by laser jet? can inkjet work with the poly?
yes, all laser jet. I think most will work with ink jet, just not as well. But haven’t tried myself.
I then burn the image into the wood as it’s being used for an exterior furniture.
Hi, Thanks for doing this comparison – very informative. I have previously done photo transfers using the gel medium (Modge Podge) method fairly successfully.I am trying to find a way of ‘labelling’ my wood products with my logo. My main product is cutting boards. I do hope to eventually get a laser engraver, but until that happens, I want to use one of the other methods. Which one would you think would hold up to regular washing, etc. that a cutting board would be exposed to? Also, what about it being “food safe”? I’m only doing this on the edge of the board, so it doesn’t come in contact with the cutting area, but still curious.I tried the Polycrylic method yesterday, but most of the image came off with the paper. My test piece had already been finished with mineral oil and beeswax, so I sanded the area. That may still have been the problem since the finish soaks in. I also might not have applied enough of the Polycrylic or squeezed too much out.I’ll try again with an unfinished piece, but my big question, as above, is the durability. Thanks for any help you can provide.
OK, technique question… In the video you stated that you used a brush to remove the paper from the polycrylic, but reading the comment below you state to peel the paper. I have been working on some projects in which I’ve been doing this from the information from your video, but it takes FOREVER to remove the paper. Even when you think you’ve got the paper removed, once it dries, there’s still a film of paper still there. The other issue that I’ve been having is that half or more of the images come out OK to crappy. Very few are great like what you showed. After reading and viewing other videos, is it because I’m not using enough polycrylic and it’s drying too fast, or squeezing out too much poly?
Have you ever tried using Mod Podge? I have seen it work in a similar fashion as the polycrylic and the gel medium.
Tried the acetone option with an ink jet print and it didn’t do anything (literally nothing came off the paper). I did try the polycrylic option with a laser image and it turned out pretty good for a first timer. I used a color laser printer and the image was in color, so I was a little concerned that it wouldn’t turn out well. The removal of the paper was the biggest challenge and that is when some of the print came off. Overall, once I finally master how much polycrylic to use and work with different printed options, I think it will be a pretty awesome resource to use. I’m trying to make drink coasters for a military heritage room at my unit, so I want to make sure they look good! Thanks for the video & tips!
Great presentation! I’ve been considering a transfer on a project, wondered about which process to try. You’ve made my decision easier! And, who knew, that poly I already have would do the trick? Thank you.
Could you tell me if you think the polycrylic method would work on a cutting board purchased from a store? This would just be used for decoration
Do you think adding stain over the image would damage the image? Should I add stain first, and then use something like the Polycrilic since I’d want to put a finish over the stain anyways. So 1) Stain, 2) Polycrilic, 3) Image, 4) more Polycrilic?
Yes, that would be the way I would do it.
Does it have to be a laser jet printer?Will an ink jet printer not work at all?
Dumb question here….do I use photo paper? regular paper?
I used regular copy paper, Jeffrey