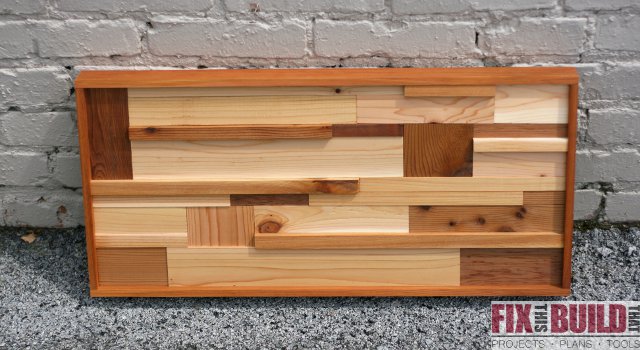
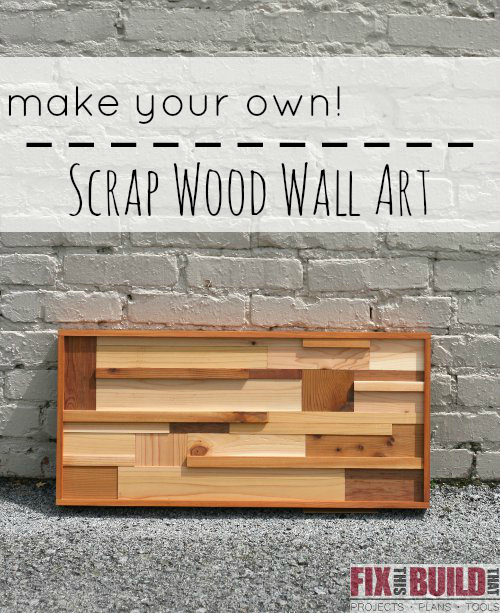
Wondering what to do with all those leftover scrap pieces from your last project? I was facing the same thing after my Ultimate Party Station build. I had a bunch of awesome cedar scraps I didn’t want to toss out. Bingo! Scrap Wood Wall Art time!
Before we get started, make sure to follow me on Instagram, Facebook, YouTube and Pinterest to keep up with all my latest builds and free projects!
Affiliate links are used on this page. See my disclosure page for info on affiliate programs.
I’ve made a few wall art hangings in the past out of pallet wood before I started blogging when I was just on Instagram. They are fun and easy projects that you can put together in an afternoon. I wanted to try something new and modern so I channeled my inner Pauline from MyAlteredState.co and Chad from @chadryder on Instagram. They make awesome wall art and I took inspiration from their work.
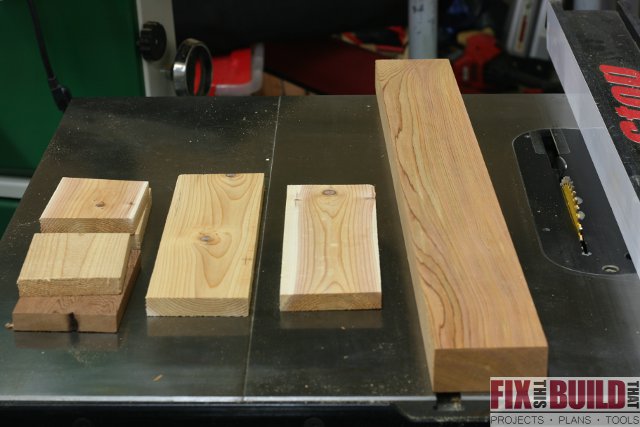
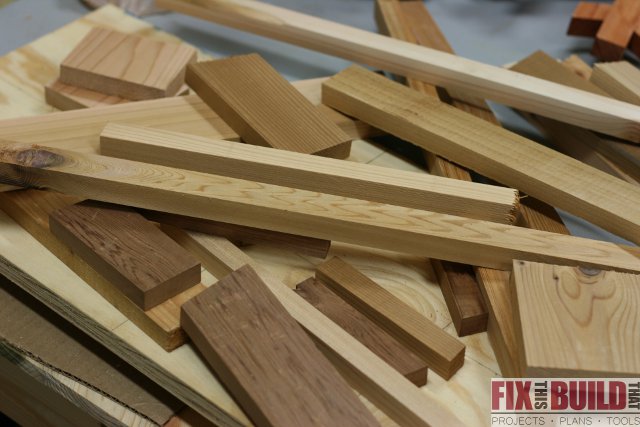
I used a lot of 1×4’s for the Ultimate Party Station and a few 2×4’s, which meant a lot of cut offs when I was done. The cool thing was that there were all kinds of different tones in the cedar I was using like the ones below.
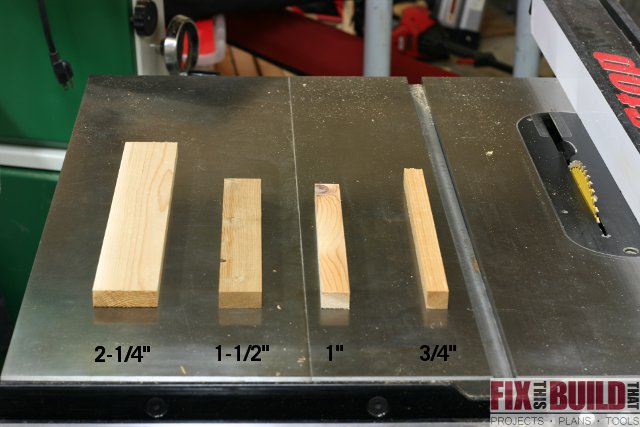
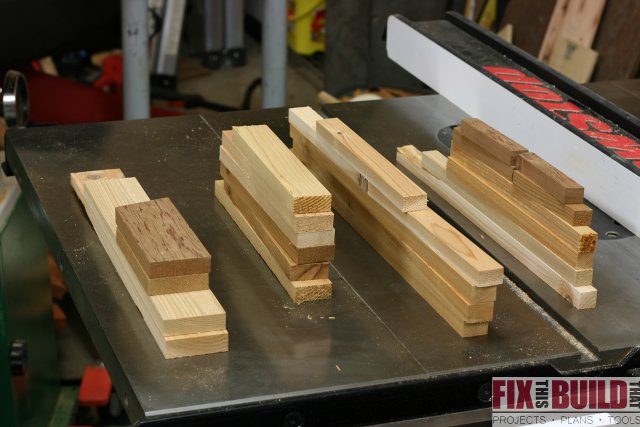
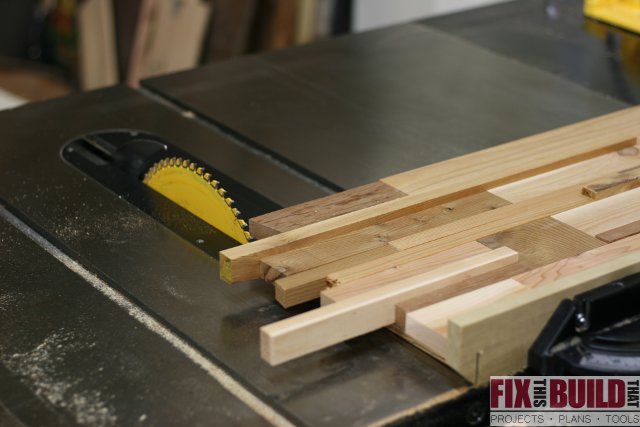
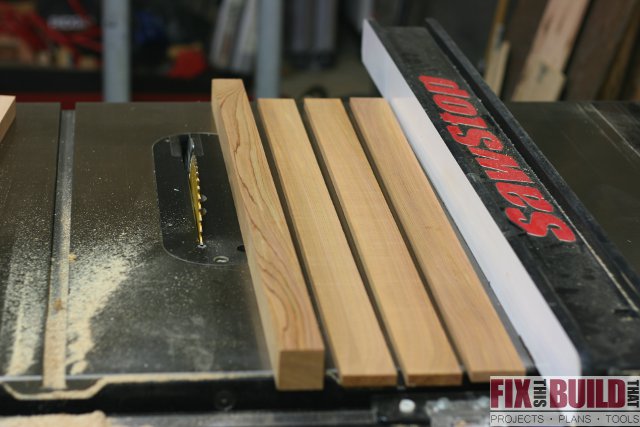
I ripped the 1×4’s to 2-1/4″, 1-1/2″, 1″, and 3/4″ sizes. These sizes are important as you will see later.
After ripping down the scraps I was left with this stack of pieces.
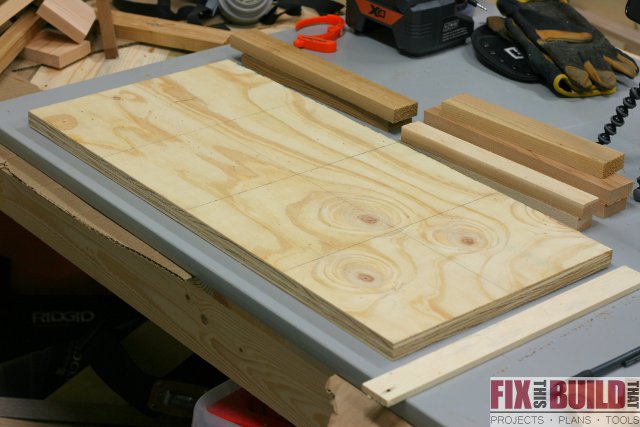
I also had a scrap piece of 3/4″ plywood that was right around 12″x24″ and it worked perfect for the backer. I wanted the scrap wood wall art to be thick so I could cut down the 2×4 and use it for edge banding. Using 3/4″ ply gives a 1-1/2″ total thickness of the main piece.
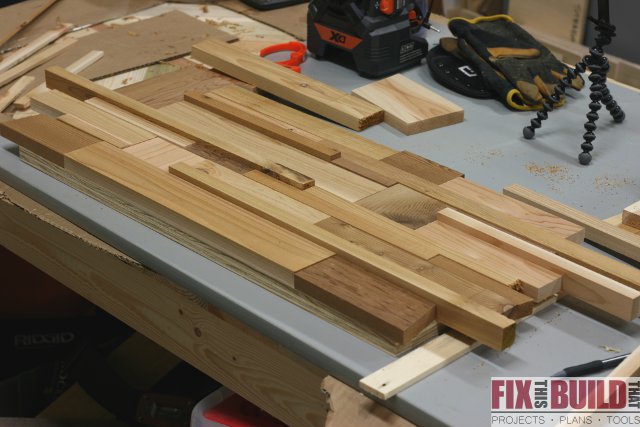
Now comes the fun part! Throw all those scraps on the board and see what comes up!
Okay, maybe I didn’t throw them all down, but this is where you can just let your creativity run wild.
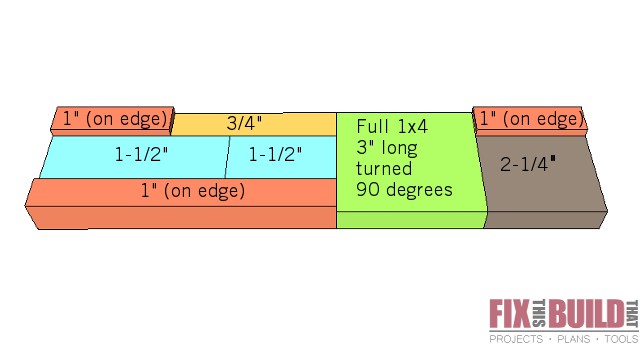
You will now see why the pieces were cut to these sizes. Using two sizes that can combine to make another size means you can vary the pieces within a row. Here is an example of how 3 rows could be made and incorporate all 4 different sizes (plus a full 1×4 piece) to add texture, character, and interest. The orangey-pink pieces (no idea why I picked that color) are 1″ pieces turned on edge so they will be 1/4″ above the rest of the field.
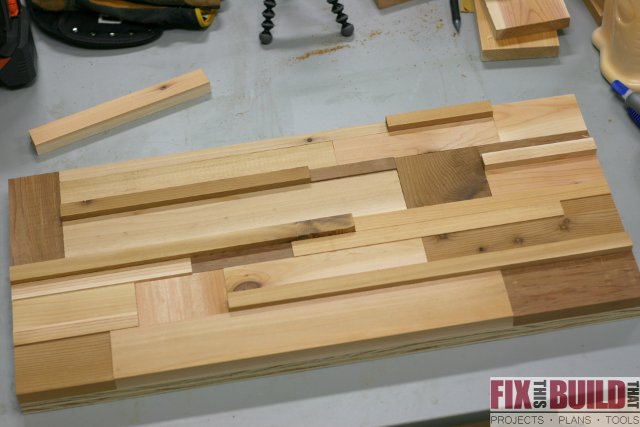
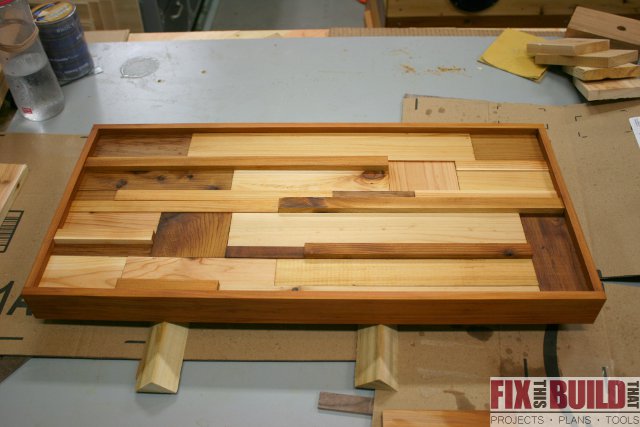
Play around with the color variations and sizes until you find a pattern you like and just go with it. Cut sizes to fit as needed and sneak up on the cuts…you can always trim a little more, but once it’s gone…it’s gone! Here is what I came up with.
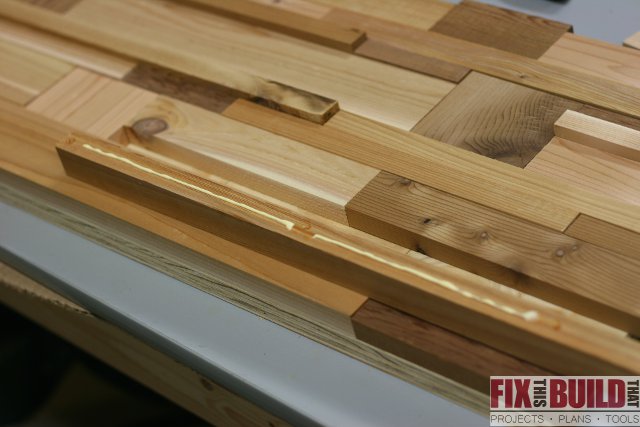
Then I started gluing down each piece one at a time. The key here is to register pieces against each other and keep straight lines.
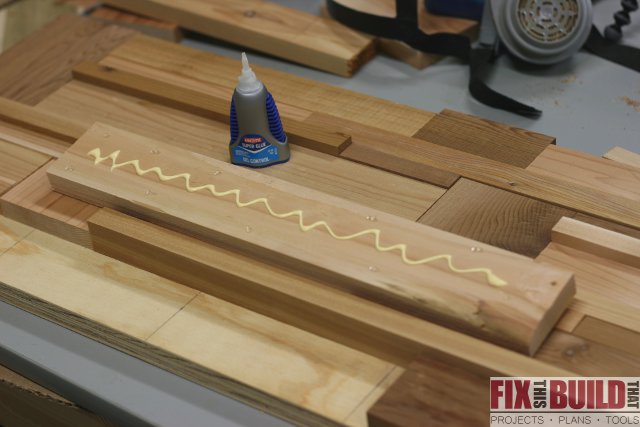
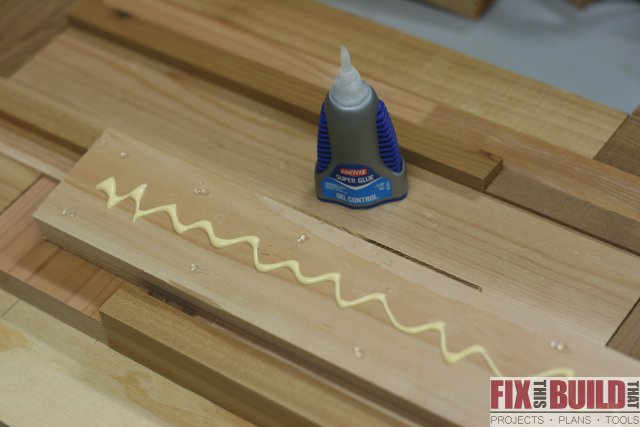
But here is the gem tip of this post. Instead of using brad nails and having holes in all the pieces, I used a combination of super glue and wood glue. I put dabs of super glue on the outside of the piece and wood glue in the center. I can push down on the piece with my hands and the super glue will bond within about 20 seconds. Then I move on to the next piece while the wood glue setups up giving a super strong bond. I read this tip somewhere and it is BRILLIANT!
I used Loctite Super Glue Gel, but any will work as long as it is the thicker gel type vs. the watery type.
For the long skinny pieces I put a dab of super glue at each end and one in the center. You really don’t need to use a lot.
From the above photo you can see I glued the first row flush to the bottom edge of the plywood. This allowed me to take the piece to the tablesaw and cut the side edges flush by registering the bottom edge on my miter gauge. You could also do this with a circular saw. Just turn the piece over and use a straight edge on the back of the plywood to make the cut.
I cut all the edges flush and was left with a nice rectangular piece ready for edge trim.
For the edge trim I used the 2×4 I had and ripped it into 3 pieces 3/8″ thick and just under 2″ wide. I used 2 pieces for the long end and cut the 3rd in half to use on the small sides. This gives a nice deep trim to the piece which I was looking for. If you want a thicker frame you can use 1×4’s ripped down to 2″.
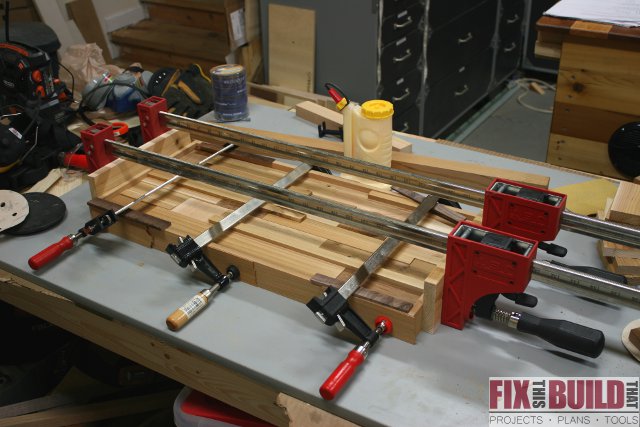
I cut the trim to fit my piece and then attached them with wood glue and clamps. I didn’t use any fasteners here either to maintain the clean look.
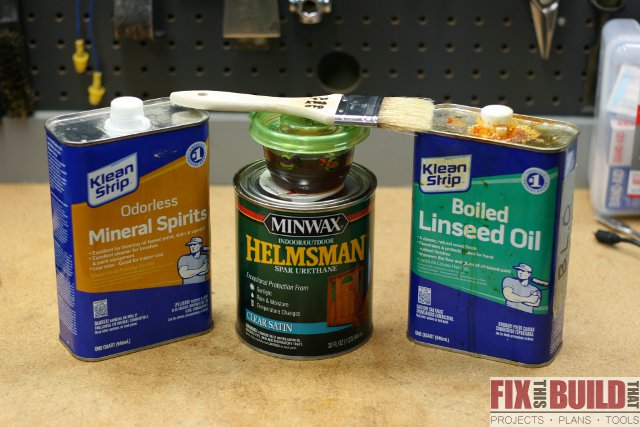
I was on the fence about how to finish the project. I used a spar urethane on the Ultimate Party Station and loved the tone it gave the wood, but I didn’t want that glossy sheen. So instead I went with an old standby of mine and mixed equal parts of the spar urethane, mineral spirits and Boiled Linseed Oil.
I apply it with a cheap brush and flood it on the surface and then wipe the excess off with a clean shop towel after a couple minutes. This gives an amazing warmth to the project and if you only use 1 or 2 coats it doesn’t build a sheen. If you want a sheen then go for 4 or 5 coats.
I finished off the project by installing some mounting hardware on the back. I used picture wire as this piece has some weight to it, and I also like the ease of hanging and leveling with wire.
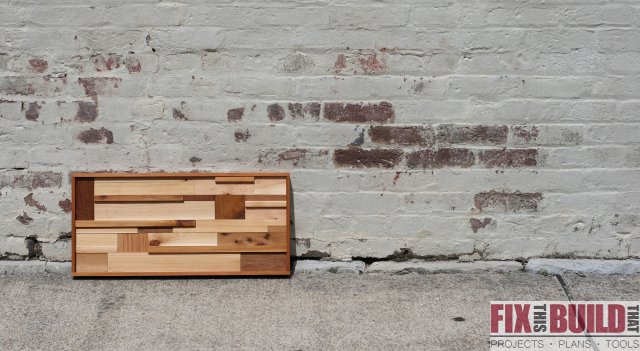
Then I took the board out on the town for some pictures!
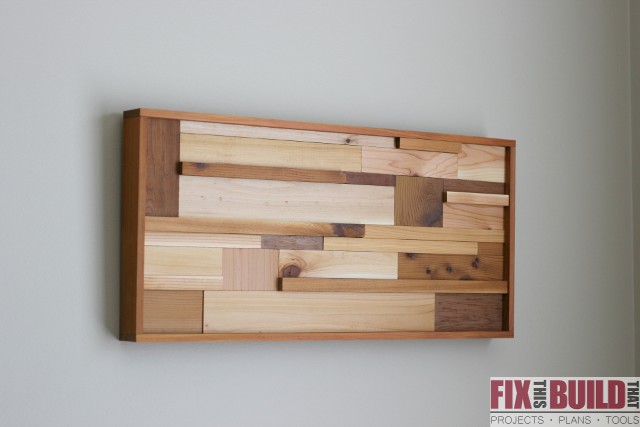
And here it is in it’s final resting place…for now…we are doing a lot of redecorating!
You can build this project easily in a weekend and use up some of those scraps. Make some different sizes and designs and use them throughout the house. If you do make one then post it and tag me on Facebook or Instagram![/vc_column_text]
Affiliate links are provided in this post for your convenience. Purchasing through these links helps support the site AT NO COST TO YOU and lets me build and share more projects and plans!



Love your project and thanks for such an indepth tutorial! Pinned & sharing! Wendi@H2OBungalow
Thanks, Wendi!
This is awesome! Thank you for the mention as well. 🙂
Thank YOU for the inspiration and blogging help along the way!