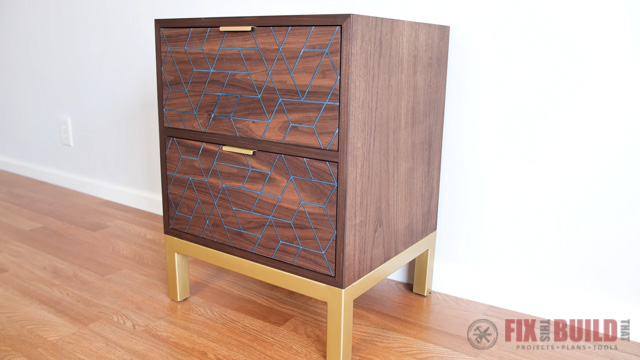
Today I’m going to show you how I built my own DIY Nightstand with Epoxy Inlay. A nightstand is something you see and use every day, and I wanted to build one that was beautiful and functional. My DIY nightstand has two drawers with plenty of room to store all of your bedside essentials.
When I built my DIY nightstand I added an epoxy inlay, a welded base and… a secret drawer. If you want to see how I added those features (especially the secret drawer), I go over it all in the video. But I’m going to focus on the actual construction of the DIY bedside table here, and I won’t go into detail about the secret drawer or welded base.
Materials/Supplies
- Walnut Plywood
- Walnut Hardwood (Drawer Fronts and Trim)
- Total Boat High Performance Epoxy (2020 15% off code: FIXTHIS)
- Rubio Pure Modified Oil Finish
- 16” Soft Close Drawer Slide
- Gold Spray Paint
- Finger Pull Drawer Handles
- 1 1/2″ Steel Square Tube
Affiliate links are used on this page. See my disclosure page for info on affiliate programs.
How to Make a DIY Nightstand
- Build the Cabinet
- Make Drawers
- Build Base
- Apply Finish and Assemble
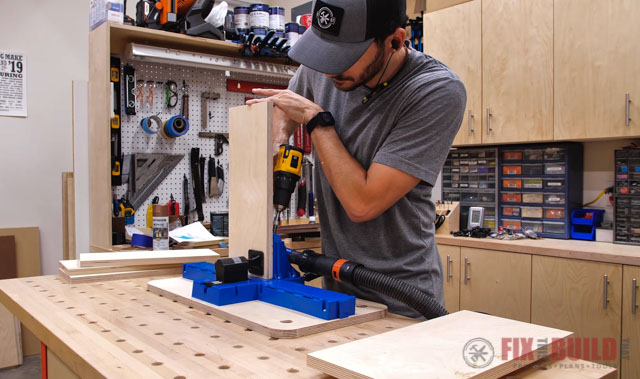
1. Build the Cabinet
I used walnut plywood with mitered corners and a dadoed center divider for the cabinet. It’s very similar to the computer desk I recently made so you can get more details on assembly over there.

When it was time to assemble I did a test fit. It’s always a good idea to do a test fit when you’re working with miters. But when I started the glue up things took a turn for the worse. It took me longer to apply the glue, one of my corner clamps exploded (see the video for my meltdown) and the cabinet was setting up out of square.
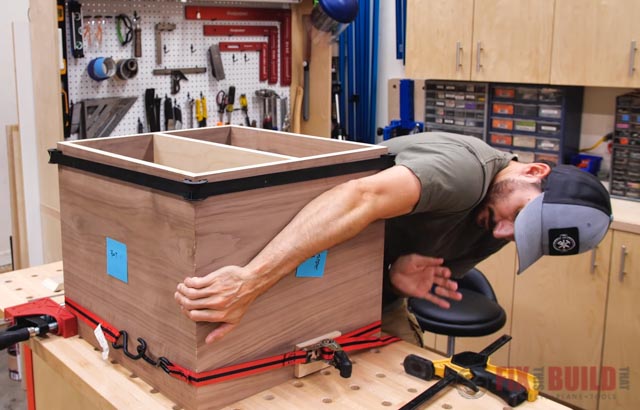
I ran around like a crazy person, added clamps and somehow it turned out okay. Two of the corners had small gaps which I was able to close. I did this by sliding the side of my screwdriver on the gap to nudge it closed. Then I filled the remaining gap with a mixture of wood glue and sawdust until they looked passable.
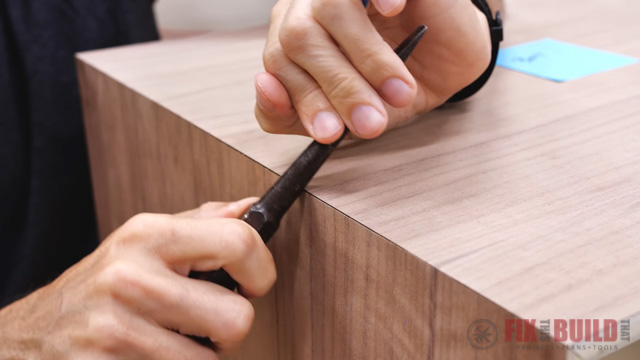
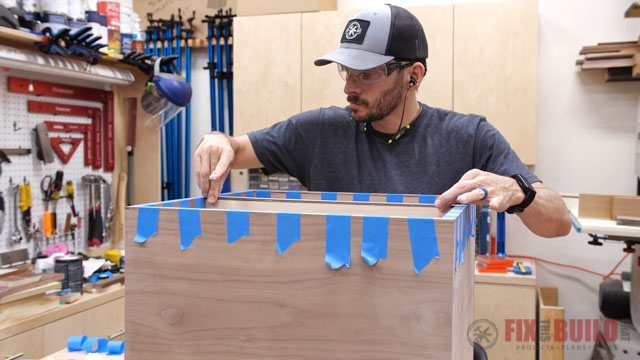
Since I used walnut plywood for the cabinet, I needed to cover the plywood edge. To do this I used my milling machines to make walnut trim pieces. Then I cut the pieces to size and secured them to the plywood edge using glue and painters tape to hold them in place while they dried.
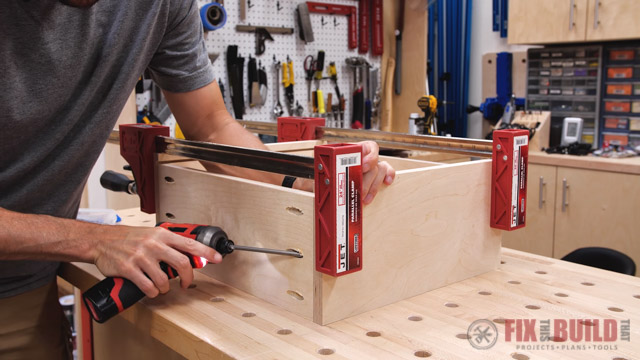
2. Make Drawers
I made the drawers for the DIY side table with pocket holes for the joinery. My Kreg K5 made this easy and they went together like a snap.
I followed the same process that I covered in How To Make Drawers in 6 Easy Steps.
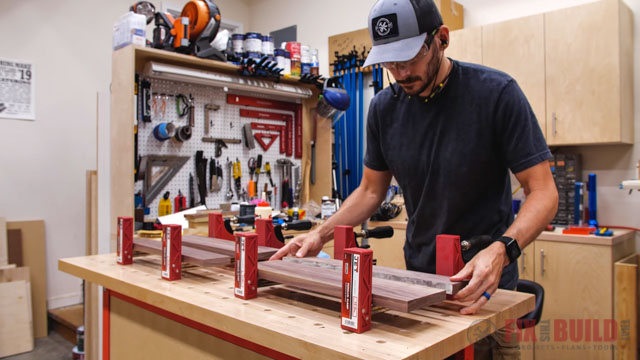
To make the drawer fronts I used solid walnut, but I didn’t have boards that were wide enough. So I glued two smaller boards together to get big enough pieces for each drawer front.
Add Epoxy Inlay to Drawer Fronts
If you don’t plan to add an inlay to your drawer fronts, you can skip this step.
I knew I wanted to add an epoxy inlay on the drawer fronts and I decided to go with the same design I used on my computer desk, at a larger scale. To do this I used Sketchup, a 3D drawing software, to draw out a grid of intersecting lines. Then I overlaid my design and deleted the lines I didn’t need until I had what I wanted. From there I brought it into Easel, the software my Inventables X-carve CNC uses.
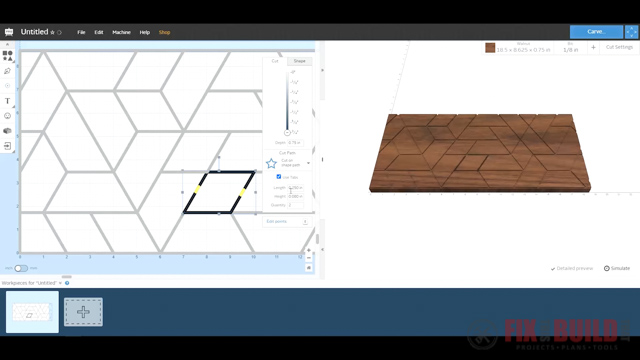
Then I set my X-Carve CNC Machine to cut the drawer fronts while I kept on working. I also cut one shape from the design much deeper than the rest to create the button I would push to open the hidden drawer. If you want to see how that worked out, check out the video.
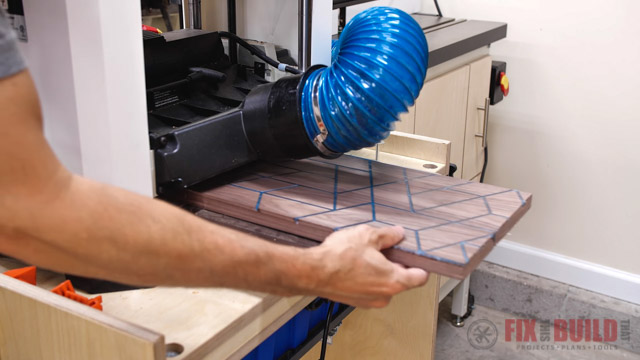
Once the CNC machine was done cutting the inlays I mixed up the epoxy. For the pour I used Total Boat High Performance Epoxy with a slow hardener and some light blue pigment. Then I carefully poured the epoxy on the drawer fronts and let them cure. When they finished curing I ran them through my drum sander and they were ready to go.
3. Build Base for Nightstand
I designed the DIY Nightstand to have a metal base that I painted gold. If you want to weld your own base make sure to watch the video; I go over the process there.
But if you want to make a version that doesn’t include welding, you can make the same base with 2x2s and pocket holes.
4. Apply Finish and Assemble DIY Nightstand
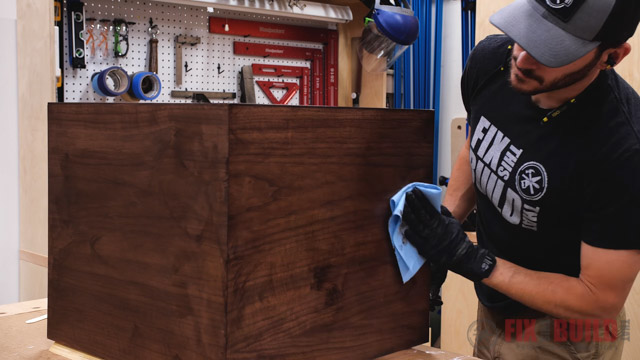
Finally I was ready to apply the finish to the DIY Nightstand. I used Rubio Monocoat to the drawer fronts and base.

That walnut really comes alive with the finish!
Once the finish was dry, I added the drawer fronts to the drawers and installed the drawer slides. Then I attached the base and the drawer pulls and the DIY Nightstand was done!

I really love how this project turned out. It’s one of the first things I see each morning, which is a great way to start the day.
Want to check out another walnut and epoxy project? My DIY Charging Station is what you’re looking for.
JET Power Tools provided me with product and/or monetary compensation as a sponsor of this build. All opinions are my own and are not filtered by the sponsor.


Did you have the dimensions for this build? Thank you for all you do for us beginners!
It looks awesome. I would like to have one, but i don’t have the means to build it myself. Is there a way that i could get the premade parts? If so that would be great.
Sorry, I’m not selling pre-made parts at this time. Glad you liked the build!