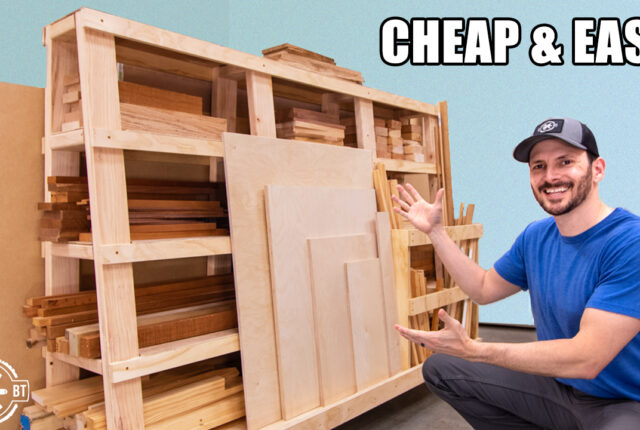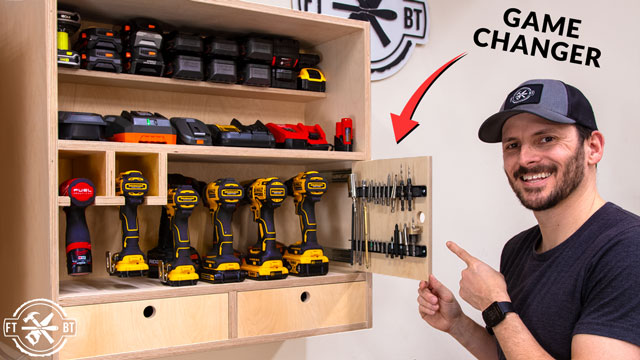
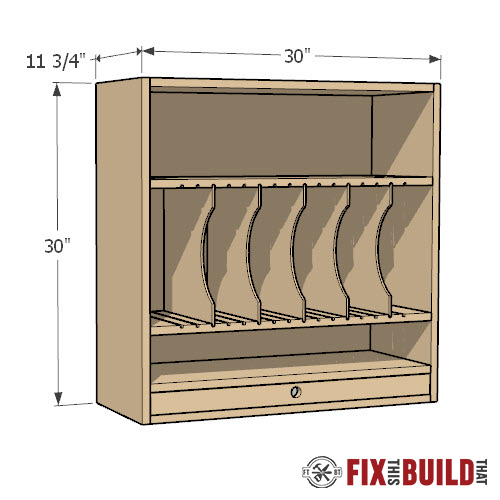
This DIY Cordless Tool Storage Cabinet will keep all of your cordless tools organized. Add in a custom blade storage drawer and you’ve got an awesome shop cabinet.
Constructed with pocket hole joinery, this cabinet can be easily made in a weekend out of 1 sheet of 3/4” and half sheets of 1/2″ and 1/4” plywood with plenty left for other projects.
Materials/Supplies
- (1) 4’x8′ sheet 3/4” Plywood
- (1) 4’x4′ sheet 1/2” Plywood
- (1) 4’x4′ sheet 1/4” Plywood
- 1-1/4” pocket screws
- 1-1/4” brad nails
Affiliate links are used on this page. See my disclosure page for info on affiliate programs.

How to Build a DIY Cordless Tool Storage Cabinet:
- Cut parts for cabinet frame
- Cut grooves to hold adjustable dividers
- Assemble cabinet and cut dividers
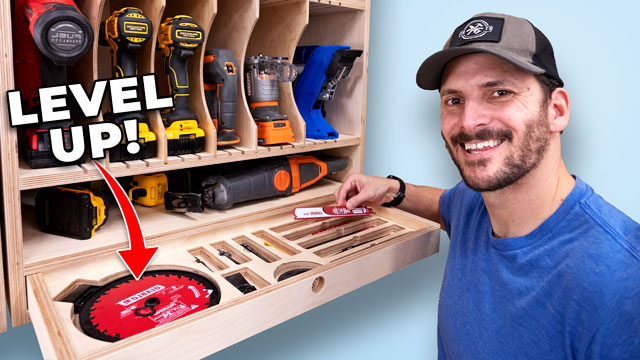
- Make drawer for saw blade storage
- Make custom saw blade storage
1. Cut Parts for Cabinet Frame
The DIY Cordless Tool Cabinet will have a rabbeted back panel which will be glued and nailed into place. This will give it a strong, tight connection and will make the cabinet really secure. After cutting the sides to size, I added the rabbet with a dado stack on my table saw.
There are five pieces that will connect the two sides; the top and bottom, and three interior shelves. I started by cutting the interior shelves to size on my table saw, they won’t need a dado. But my top and bottom pieces will need the same dado as the side panels.
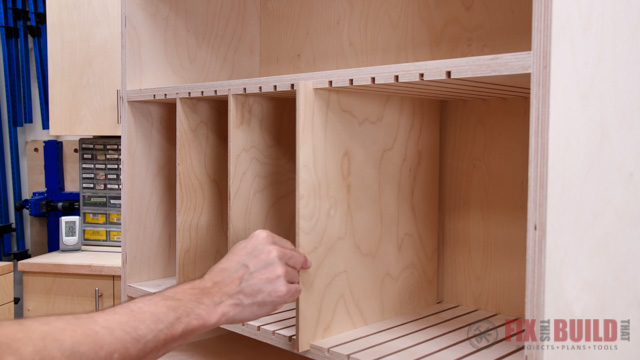
2. Cut Grooves to Hold Adjustable Dividers
I designed the DIY Cordless Tool Storage Cabinet to have flexible tool storage. This is created by cutting matching dados into the top and bottom of one openings in the cabinet. Thin wooden dividers will be inserted to separate the cordless tools. As your needs change you can adjust the dividers.
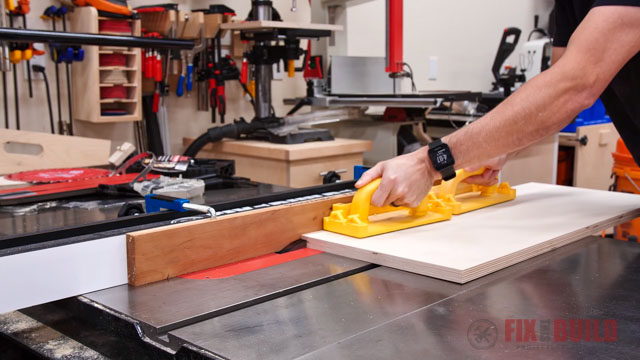
To make the matching dados, you’ll need to put a dado stack on your table saw. Then make test cuts on scrap plywood so you can get the right fit for the thin dividers. Once you have a good fit, start making the cuts on your first piece of plywood. Next make all of the needed passes and then repeat on the second matching piece of plywood. Check out the plans for complete details on this process.

3. Assemble Cabinet and Cut Dividers
Begin assembly by attaching the top to the sides using pocket hole joinery. Then use spacers to position and attach the shelves, also with pocket holes. Finally, measure between the two sides to get the size for the back. Cut the back to size, add glue and secure it with Brad nails.
The adjustable dividers are made using ¼” plywood. I cut 5 pieces to size and made sure they fit well in the grooves. Then it was time to add a cutout to each divider. I traced the cutout I had on my old panels and then cut them out on my bandsaw. You could also use a jigsaw to cut these out.
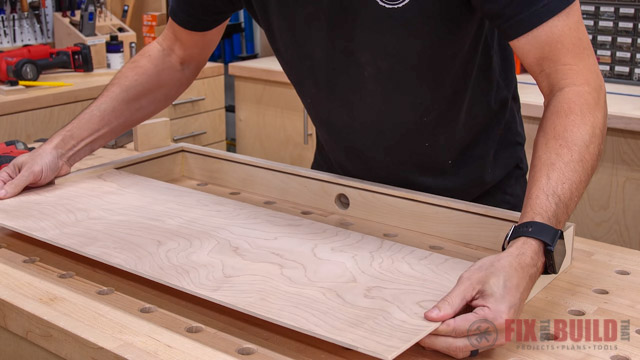
4. Build Drawer for DIY Cordless Tool Storage Cabinet
I’m adding a shallow drawer to this project which will hold my saw blades. I decided to skip drawer slides and go with a friction fit instead. The drawer frame is made from ¾” plywood. After cutting the front and side pieces, I added a groove near the bottom of each piece. This is where the drawer bottom will be inserted. Next I added rabbets at the ends of the front piece. The rabbets will allow the sides to fit nice and tight so the bottom panel can side in.
To make the bottom panel I cut a piece of ¼” plywood to size. Then I slid it into the channel at the bottom of the drawer frame. Finally I slid the back piece into place and screwed the bottom panel into the back.
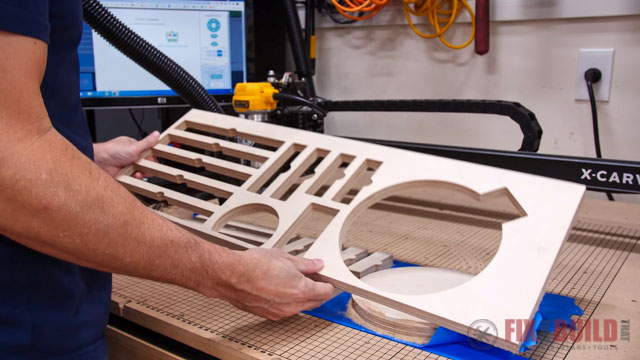
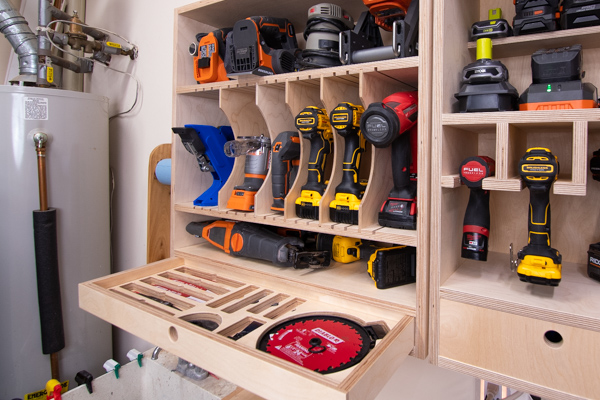
5. Make Custom Saw Blade Storage
The DIY Cordless Tool Storage Cabinet wouldn’t have been complete without saw blade organization. To design the organizer I started by laying out the different types of blades I have. Then I designed simple compartments for them to fit into. Finally I used my CNC machine to cut out the design into a piece of plywood.
With that done, I sanded all of the surfaces on my cordless tool storage cabinet and rounded over the sharp edges on my organizer. Finally I applied Halycon Clear Poly to the project and I was done!
And that’s how I built my DIY Cordless Tool Storage Cabinet. It’s the perfect place to hold some of my most used tools, and makes them easy to reach. If you liked this project check out more of my Shop Organization Projects.