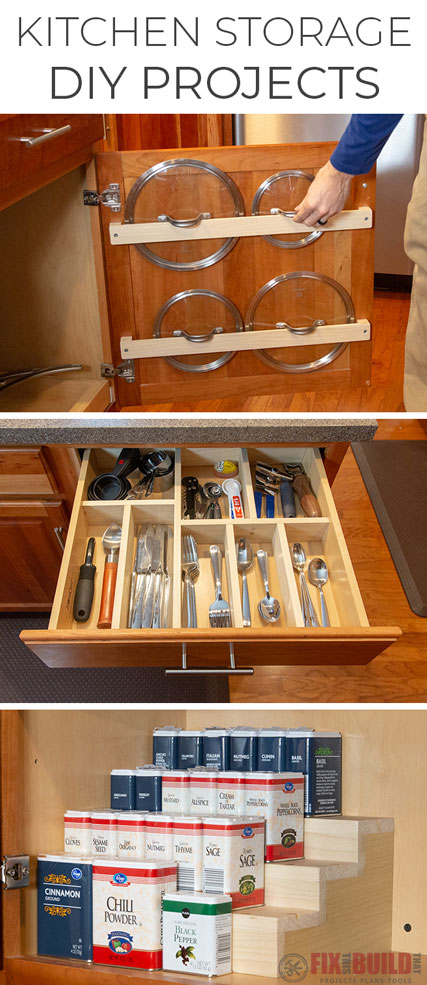
Today I’ll show you how I made a DIY Pot Lid Holder. This is the first project in my 3 Easy DIY Kitchen Organization Projects series. As with all of the projects in this series, I’m using very basic DIY tools and the only power tool is a drill. This is perfect for beginners or folks with limited tools, and is a great project to try even if you’ve never DIY’d anything before!
Tools Used
Materials/Supplies
- (3) ¼” x 1.5” x 3′ Poplar Strips
- Sanding Blocks
- Wood Glue
- Thick CA Glue
- Water-based Polyurethane
- 1-¼” Screws
Affiliate links are used on this page. See my disclosure page for info on affiliate programs.

How to Build a DIY Pot Lid Holder
- Cut the Pieces for Pot Lid Holder
- Glue and Assemble Pieces
- Drill Mounting Holes and Apply Finish
- Mount the Pot Lid Holder to Cabinet Door
We store our pots and pans in the cabinets of our kitchen island. The pots stack pretty well, but the lids are always a pain. They tend to wind up in a pile and we’re always hunting for the right one. Inspired by my recent shop cabinet builds I thought some door storage would be a perfect solution for the lids to get the cabinets organized.
1. Cut the Pieces for the DIY Pot Lid Holder
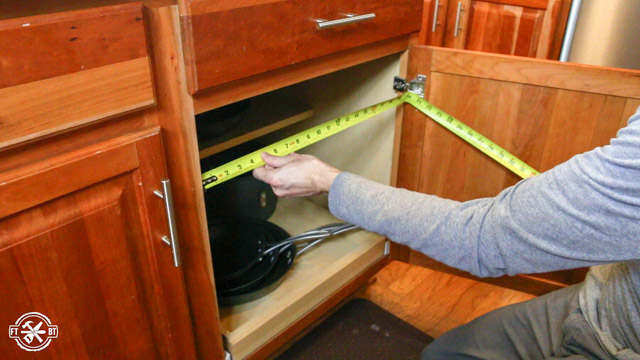
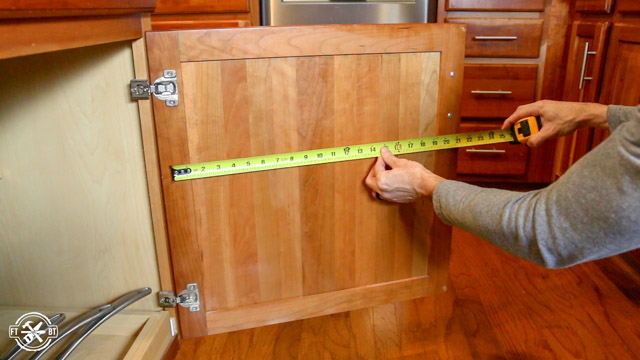
Before cutting anything, the first step is to measure the width of the cabinet opening and the distance between the sides of the doors. You’ll need to refer to these measurements later on in order to make sure you get a good fit for your DIY Pot Lid Holder.
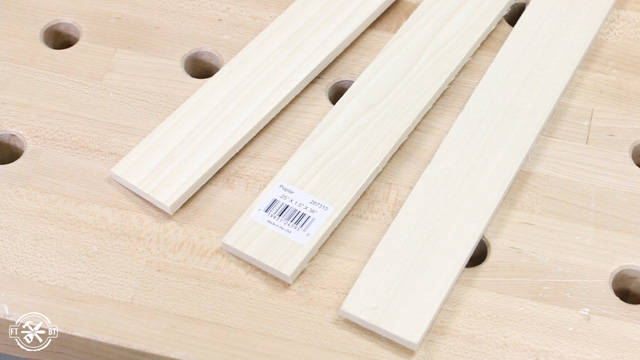
The lid racks are made from ¼” strips of poplar I got from Home Depot. Each piece is 1.5” wide and 3 feet long and the 3 of these cost under $5.
I’m making the cuts for all of the projects in this series with a miter box and saw I purchased for $14. It clamps or screws down to a work surface, and has cam clamps to hold the workpieces stationary. I began by cutting the 1” spacers for the first rack.
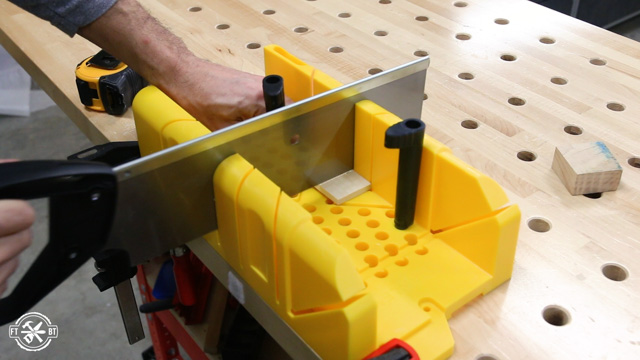
I needed six spacers, so to speed up the process I setup a stop block using the extra cam clamp and a scrap of wood. Instead of measuring 1” every time I just butted the wood against the block and made my cut. Stop blocks are helpful when you needed to make repeated cuts.
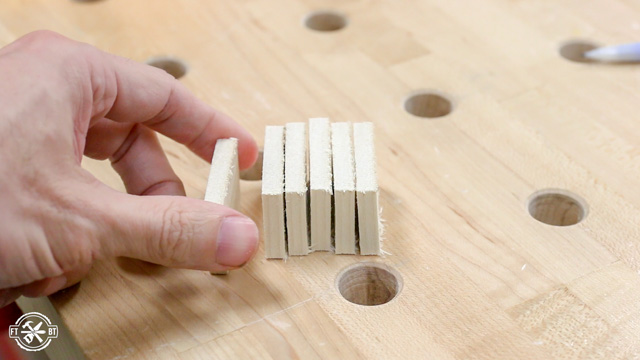
The saw leaves a good bit of tearout on the back of the cuts so I knocked them down with a 180 grit sanding block.
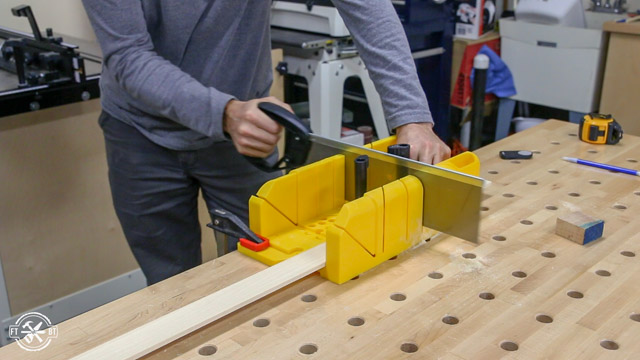
Then I cut the main part of the rack. I made this ½” shorter than the my cabinet opening which will leave ¼” on both sides for clearance. I sanded the piece smooth and knocked down all the sharp edges before assembly.
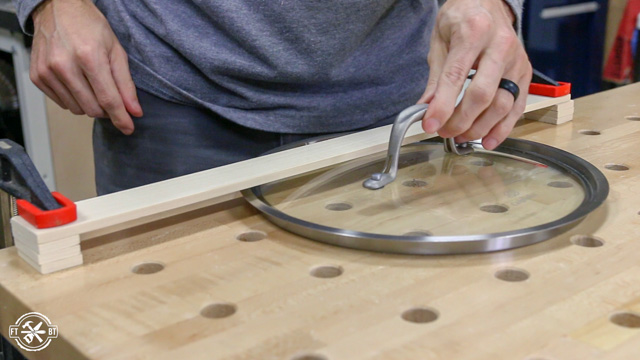
Before putting the rack together I did a quick mock up to make sure the lids fit. Three spacers were just enough for my lids. But make sure to test the clearance you’ll need for your own pot lids first. And remember to reference the free plans for this project for more information!
2. Glue and Assemble the DIY Pot Lid Holder
I glued the three spacers together using a combination of yellow wood glue and CA glue. The CA glue gives a quick hold and the yellow glue will give it strength.
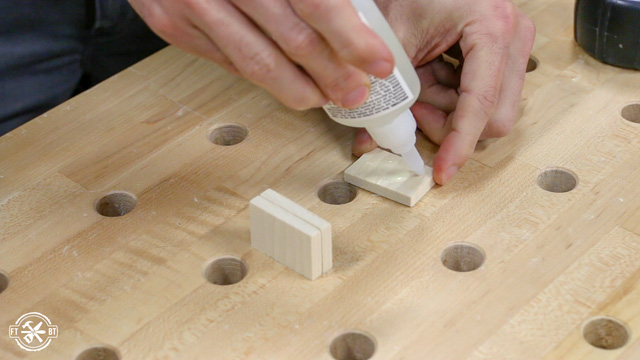
Oh, and be careful when using the CA glue, it’ll bond to your fingers faster than a tongue to a frozen flagpole.
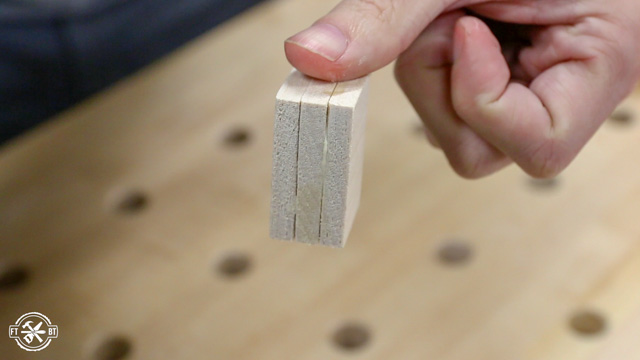
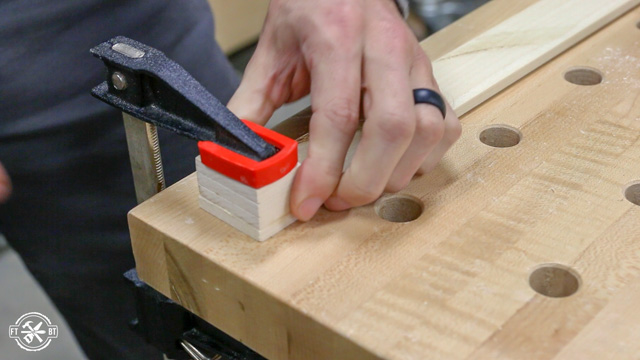
After the CA glue bonds the pieces, I smoothed the whole spacer flat on all sides with the sanding block. Then I attached the spacer to the long piece using the same method. This time I clamped it down for a few minutes just for good measure.
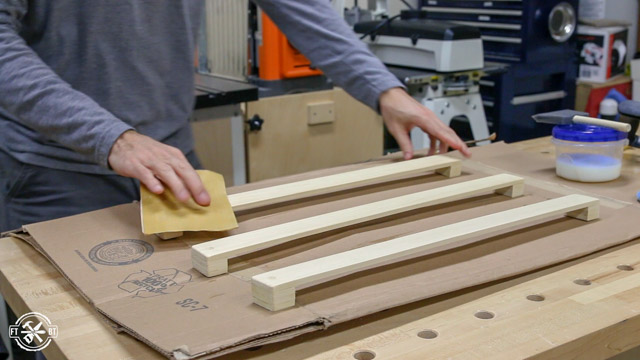
I repeated the same process to make two more racks and then sanded them all smooth after the glue was dry.
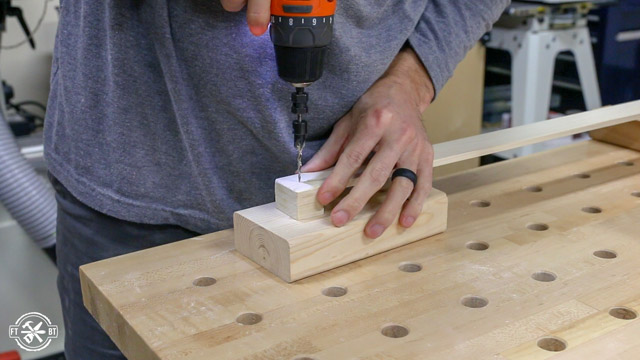
3. Drill Mounting Holes and Apply Finish
I used a countersink bit to pre-drill the holes on the DIY Pot Holder. It makes a pilot hole with the drill bit then the cutters at the base make a recessed countersunk hole. This lets the screws sit flush or below the surface when installed.
To complete this project I applied a couple coats of water based polyurethane, sanding between coats with a high grit sandpaper.
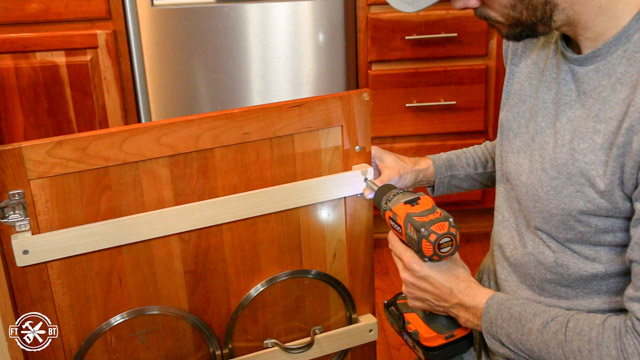
4. Mount DIY Pot Lid Holder to Cabinet Door
The racks are easily mounted to the cabinet door with screws. I’m using 1-¼” screws but if your spacers are different just make sure the screw won’t blow through the front of the door.
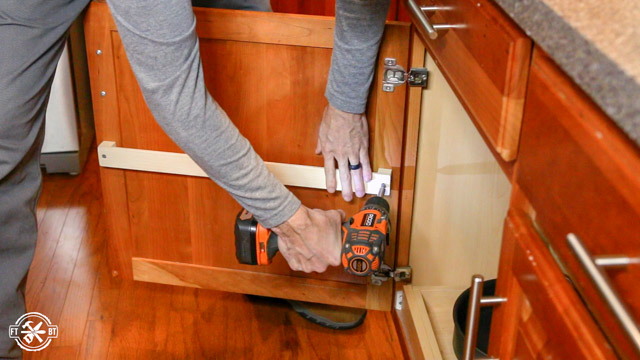
I held the rail in place and drilled a pilot hole for the screw on one side then attached it with screws. Then I positioned the other side and screwed it in place as well.
The top rack was going to hold the small lids and I moved it up enough where the smallest lid wouldn’t catch on the upper rail. Just make sure you account for pull out trays if you have those…don’t ask me why I know that.
On the other cabinet door I just used one rail in the center to hold the largest lid.
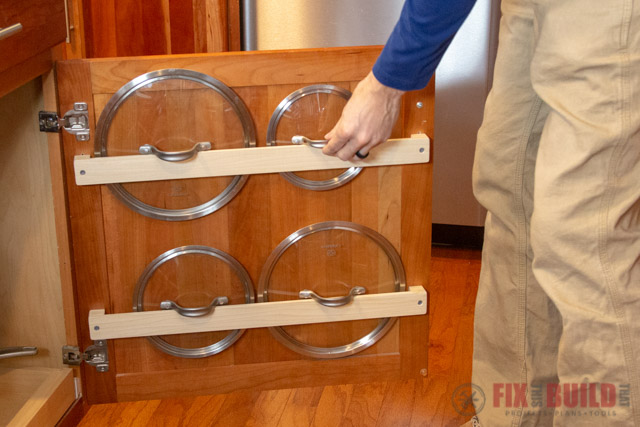
And that’s it! With some simple tools I was able to add storage and organization to my kitchen cabinets. With this simple pot lid organizer we’re now able to quickly and easily find our lids when we need them!
If you liked this project, check out the rest of the projects in the 3 Easy DIY Kitchen Organization Projects Series for more great ideas!