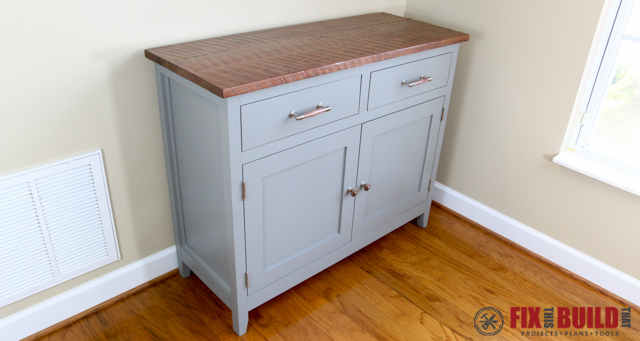
Today I’m going to show you the first of a two part series on how to build a DIY Sideboard Cabinet that looks great and will give you tons of extra storage for serving plates, extra plate sets, and all your other entertaining goodies. The top of the sideboard gives you more space in your dining room to stage desserts, utensils, or just decorate it to schnazz up the room.
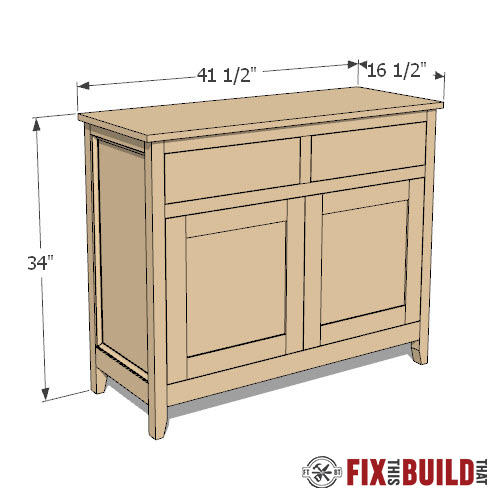
The sideboard cabinet plans are for a smaller version that is 42″ wide and will easily fit on a short wall. I added a custom barnwood walnut top to my cabinet to give it some extra character. If you don’t have access to specialty wood don’t worry, you can build it with materials from your local home center. I used pocket hole joinery for most of the build and added in some other joinery methods to help build your woodworking skills. I’ll show you how to make this DIY Sideboard every step of the way.
Materials/Supplies
- (1) 8’x4′ 3/4″ Plywood
- (1) 8’x4′ 1/4″ Plywood
- (3) 8′ 2×2 boards
- (1) 8′ 1×2 board
- (3) 8′ 1×3 boards
- (1) 6′ 1×6 board
- 2″ Pocket Hole Screws
- 1-1/4″ Pocket Hole Screws
Affiliate links are used on this page. See my disclosure page for info on affiliate programs.

This DIY Sideboard Cabinet build will be broken into two parts:
Part 1 – Building the carcass, shelf and top
Part 2 – Building drawers & doors, assembly and finishing
Building the Sides
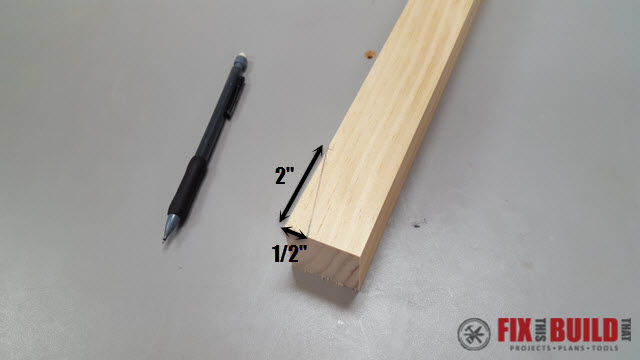
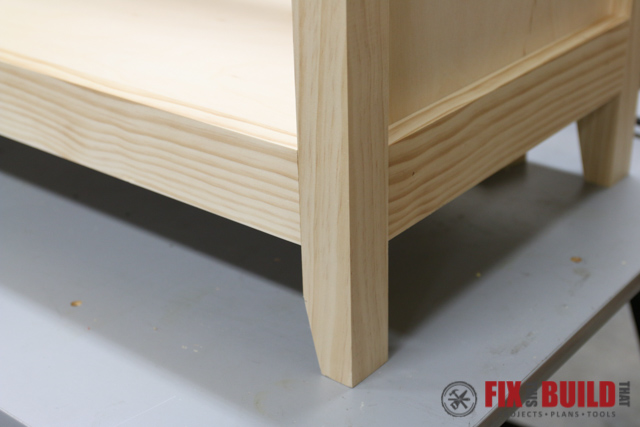
The sides are made from 3/4″ plywood, 2×2 legs and some trim pieces. We’ll start out by shaping the legs which have a few different things going on. Cut 4 legs to 33-1/4″ long.
The bottom of the legs get a taper on the inside. Put a mark on the bottom 1/2″ in from the inside of the leg and another mark on the inside of the leg 2″ up. Connect the marks with a line to define the taper.
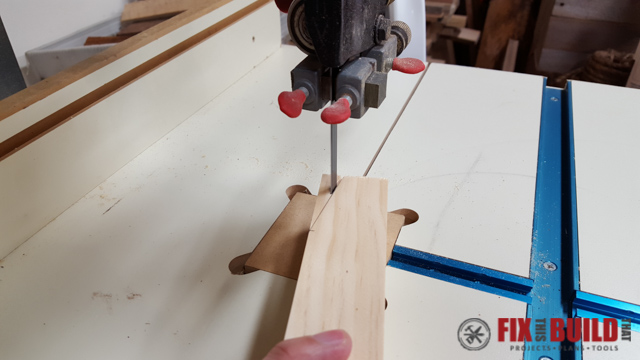
Use a bandsaw or jigsaw to cut the taper on the legs.
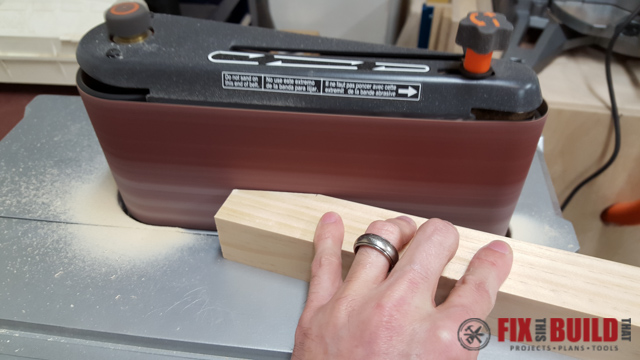
Clean up the sawmarks with a sander. My oscillating spindle sander is perfect for this job.
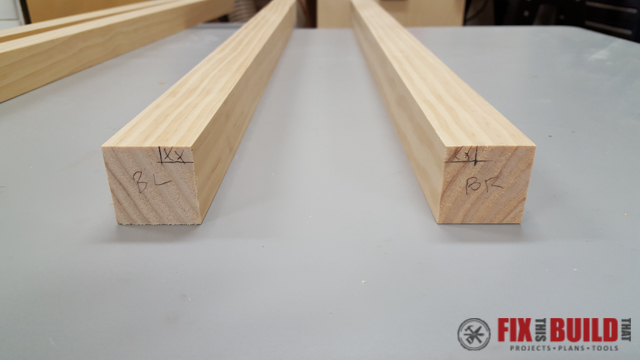
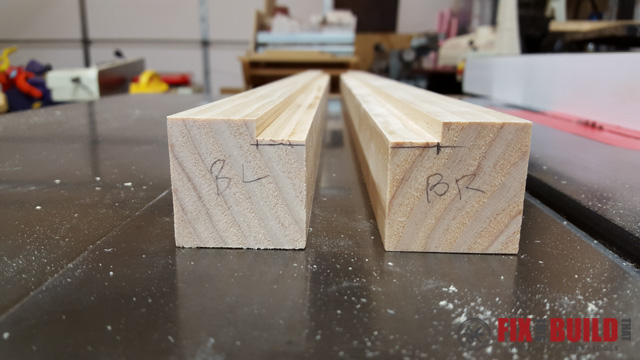
Next you’ll make a recess for the back panel on the back legs. Layout lines on the back inside corner of the back legs for a notch 1/4″ deep (actual deep should equal your plywood thickness) and 1/2″ wide. Take care in laying these out relative to your tapers. The notch and taper should be on the same side of the legs. I marked my legs back left (BL) and back right (BR) to keep things straight.
Note, you could also just nail the 1/4″ plywood back to the sideboard, but this will make the back flush and it will look that much nicer.
Cut out the notch by making two passes on the tablesaw. One cut will define the 1/2″ width and 1/4″ depth and the next cut will remove the excess material.
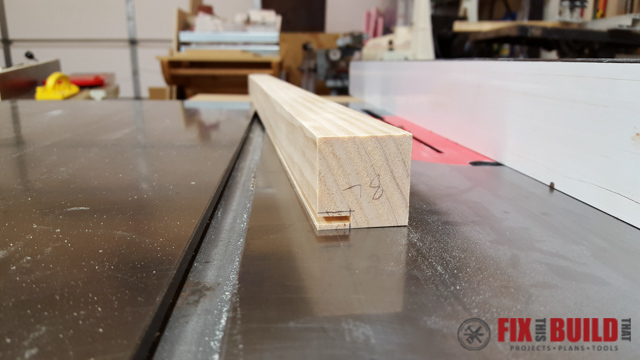
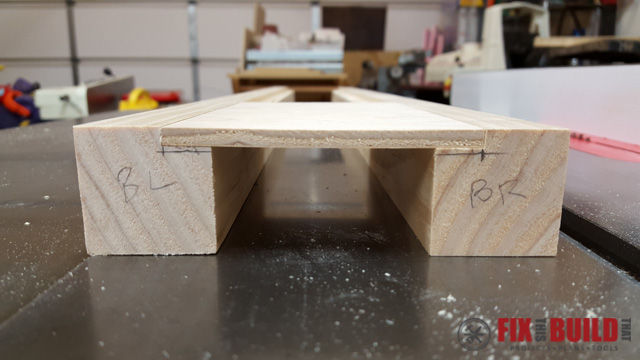
When the cuts are complete, your 1/4″ plywood should sit in the notches flush with the back of the legs. Cut to the plywood width, not your lines 🙂
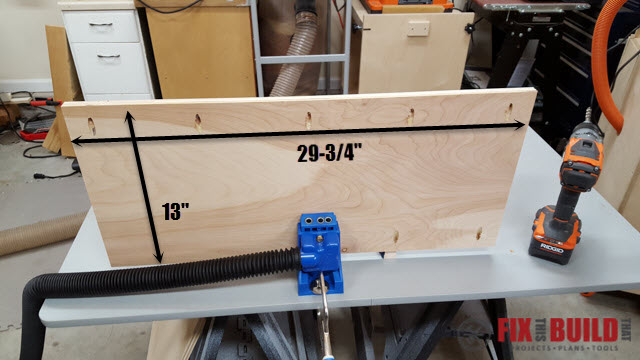
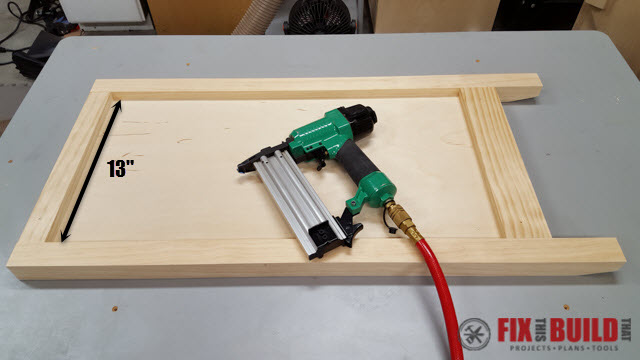
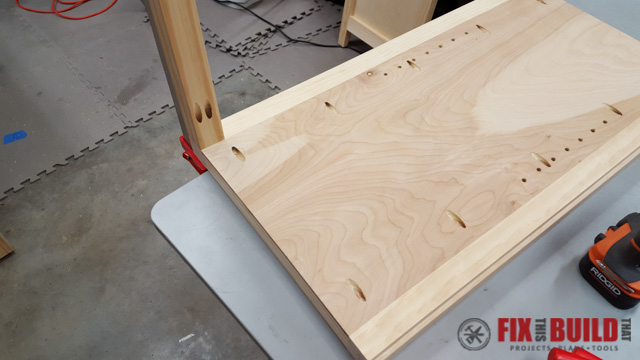
Now cut 2 sides to 29-3/4″ x 13″ out of 3/4″ plywood. Drill pocket holes along the long sides that will connect to the legs. I use a stationary pocket hole jig for my pocket holes, but there are several less expensive versions available.
Clamp the pieces in place and connect the legs to the sides with 1-1/4″ pocket hole screws. Make sure your groove for the back plywood is in the right position for each side assembly. Use 3/4″ spacers under the side to raise it even with the legs.
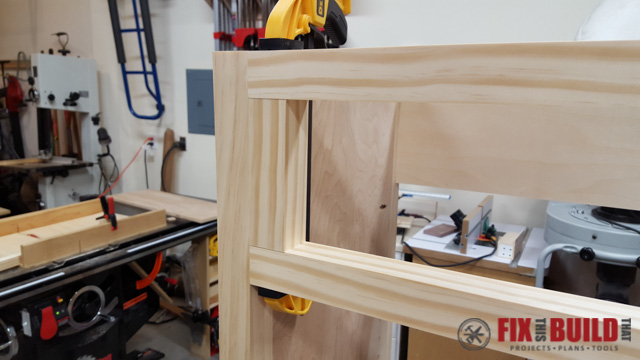
Cut 2 pieces of bottom side 13″ long trim from a 1×3 and 2 pieces of 13″ top side trim from a 1×2. Glue and nail the pieces in place flush with the top and bottom of the side plywood.
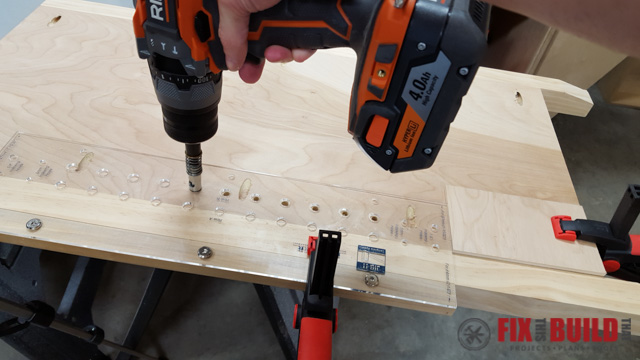
The last thing to do with the sides is to drill the adjustable shelf pin holes. I used a Rockler shelf pin jig for this application because it is longer than my Kreg shelf pin jig.
Connect the Sides and Build Frame
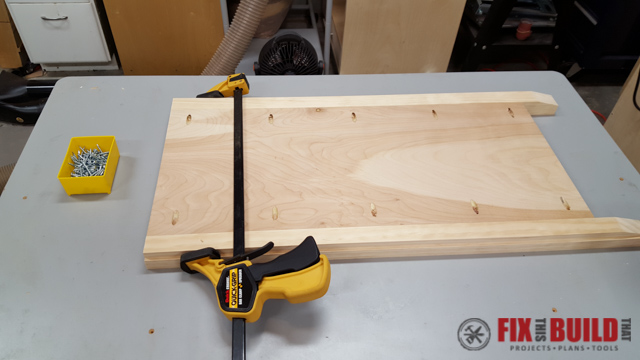
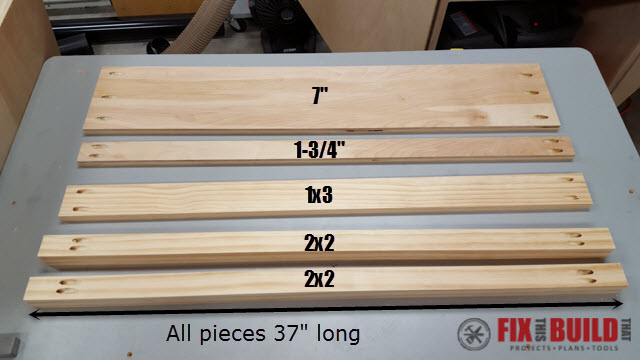
The sides are connected by a 7″ plywood back stretcher, (2) 2×2 drawer stretchers and the bottom which is trimmed with a 1×3 on the front and a 1-3/4″ plywood strip on the back. Cut all these pieces to 37″ long and drill pocket holes in the ends.
Lay a side on the table with the inside facing up and attach a drawer stretcher flush with the front and top using 2″ pocket hole screws.
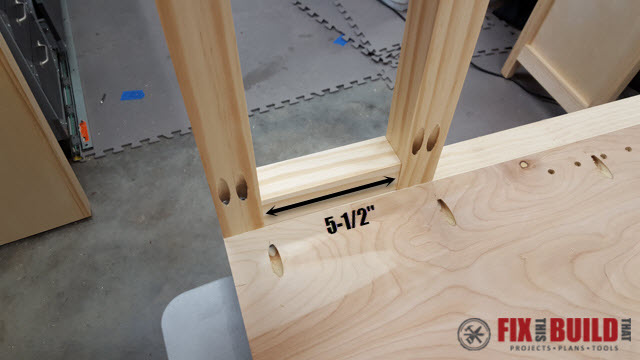
The second drawer rails is attached 5-1/2″ from the top rail to define the drawer openings. Cut a piece of 2×2 to 5-1/2″ and use it as a spacer for a consistent opening.
Secure the back stretcher to the back legs flush to the groove for the back panel and even with the top.
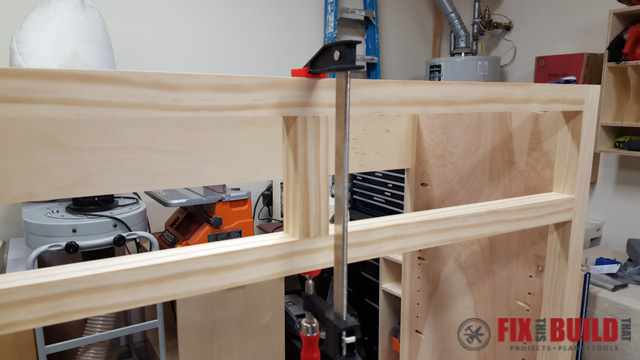
With a helper, stand up the assembly and clamp the other side to it. Connect the top stretchers first.
Use the 5-1/2″ piece for spacing again on this side.
After attaching the stretchers, drill pocket holes in the ends of the 5-1/2″ spacer and use it for the center drawer divider. Secure with 2″ pocket hole screws.
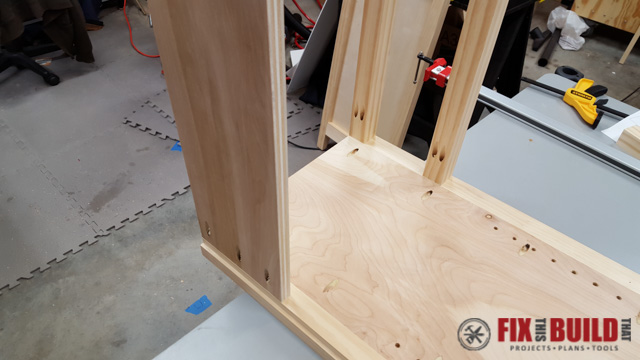
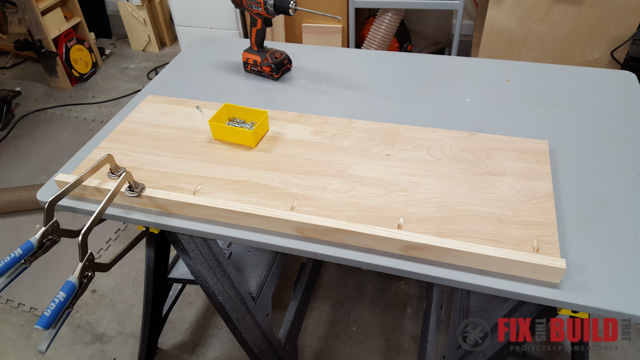
The bottom and shelf are made from 3/4″ plywood. Cut the bottom to 37″ by 15″ and drill pocket holes into the underside of ends and one long side. Attach the 1×3 bottom stretcher to the front with 1-1/4″ pocket screws.
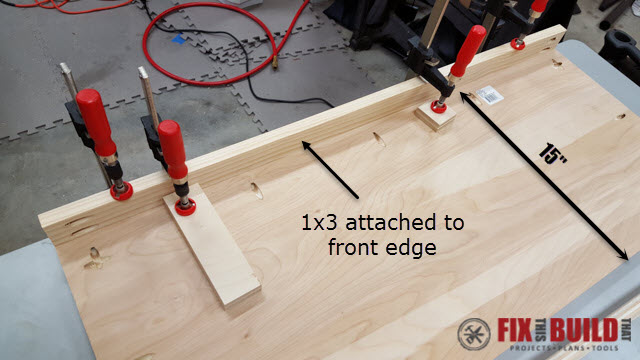
Attach the 1-3/4″ plywood strip to the underside of the bottom flush with the back edge with pocket screws.
 Attach the bottom to the sides bottom with 1-1/4″ pocket screws. The bottom stretchers should be level with the bottom side trim.
 Cut a shelf to 36-7/8″ by 13-1/4″ and drill pocket holes on the underside of one long edge. Cut a piece of 1×2″ trim to 36-7/8″ and attach it to the front edge of the shelf with 1-1/4″ pocket screws. The shelf will be installed at the end after painting.
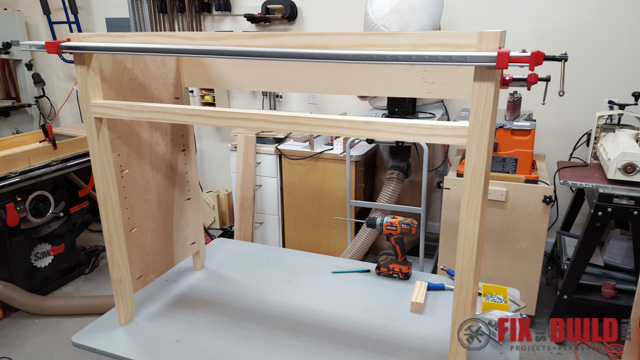
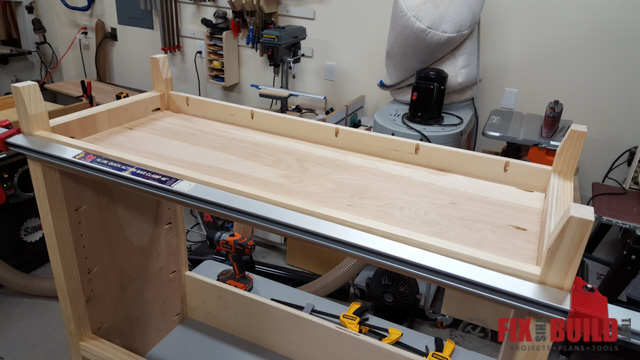
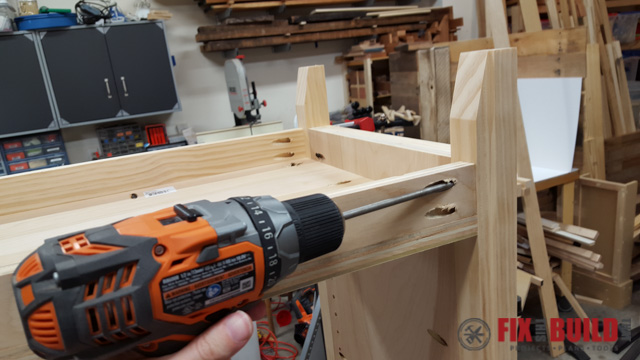
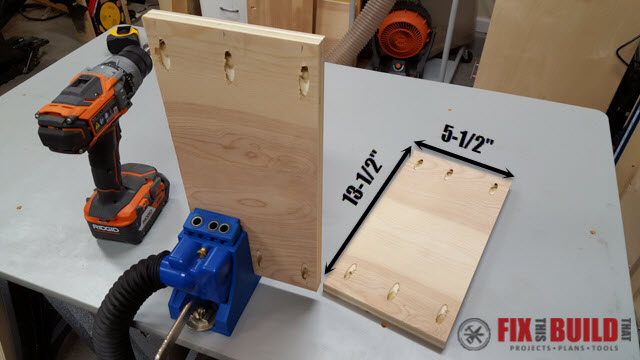
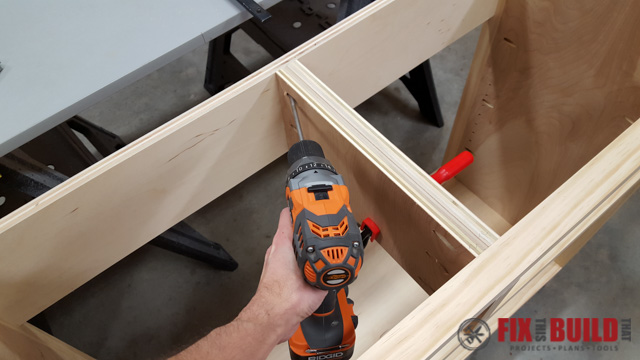
For the final part of the carcass, cut two 13-1/2″ drawer supports from a 1×6 and drill pocket holes in the ends. Note, I used plywood, but later had to use a spacer to shim out my drawer slides. Using true 3/4″ wood will avoid that issue.
Secure the drawer supports to the back stretcher and drawer stretchers. The supports should be flush with the outer edges of the center drawer divider.
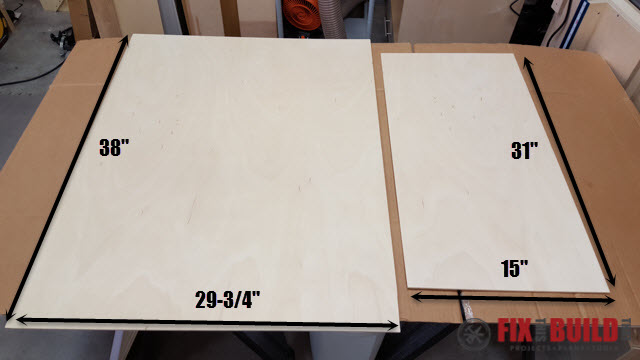
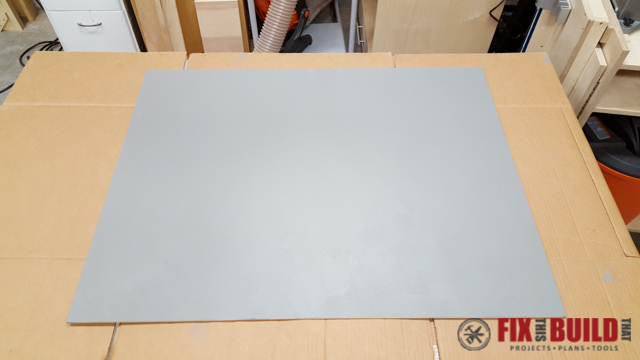
The final thing I did was to cut and prepaint the back panel and the panels for the doors out of 1/4″ plywood. I cut the back to 38″ by 29-3/4″ size since I knew exactly how big it was going to be, and cut a 31″ by 15″ piece that I would be able to get two door panels out of later and cut them down to size.
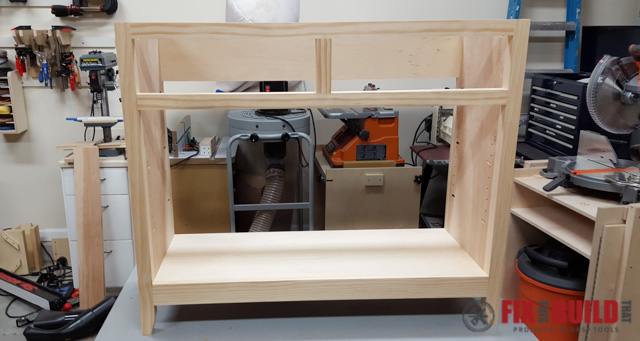
That’s it for the DIY sideboard cabinet carcass. Now go check out the conclusion of this build at DIY Sideboard Cabinet: Part 2.


I really like this sideboard. I’m going to make a modified version of this as a baking materials storage island on casters with a third compartment that is a baking rack. Just out of curiosity…you say you used 2X2 material for a bunch of this. Did you mill that from 2X8s or something? Or did you just use the good ol twisted and warped 2X2s from Lowes/HD? Regardless, what are the true sizes of those pieces? 1.5″ X 1.5″?
What grade and type of plywood did you use for this project? Furniture grade?
Pete, I used Purebond Birch plywood from Home Depot. It’s stain grade.
Might just have to be the next thing to build… we have a small(ish) kitchen that struggles to have enough room to place dishes for potlucks when we have small group meals or family gatherings. I am finishing up my shoe storage bench in the next day or 2.