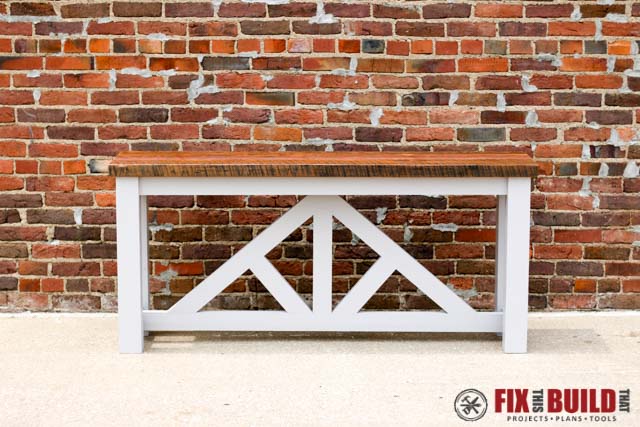
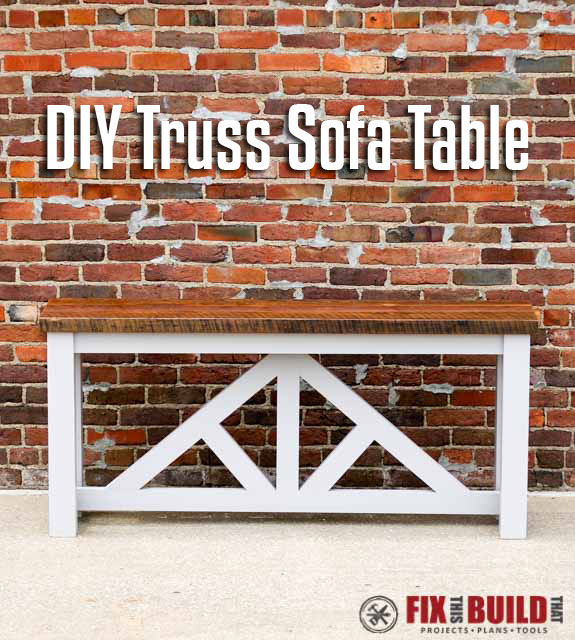
Hey, guys! Today I’m going to show you how to build a DIY Sofa Table. I’ve always loved the truss design on different timber frame houses and other outdoor structures I’ve seen it on. Then it hit me, “Use it inside!”. I love how it turned out and at 5.5′ long you can use it as a console table or sofa table. The construction is super straight forward and the materials are available at the home center or a local building/lumber supply. Add some interesting wood (like the reclaimed wood I used) for the top and you’ve got a great center piece for any space.
I’ll walk you through all the steps below and give you some tips and insights on how to make it look great even using 2×4’s. I’ll also show you some of the tools that made this build easier that I got from Rockler who is sponsored this DIY Truss Console Table build. There is a full build video below and detailed plans are available for purchase with a full cut list and parts diagram to help you build your own awesome version!
Tools Used
Materials/Supplies
- (2) 8′ 4×4 pine (or 1 10′ if available)
- (4) 8′ 2×4 pine boards
- (3) 8′ 2×6 or 2×8 boards for top
- 2-1/2″ Pocket Hole Screws
- Table top fasteners
- 3/8″ Dowels
- Water base polyurethane
- Latex Satin Enamel Paint
Affiliate links are used on this page. See my disclosure page for info on affiliate programs.

I wanted to make the design and construction of the DIY sofa table very attainable and easy to make so I used dimensional lumber for the base. You could make this whole table with just a miter saw, a pocket hole jig and a drill, but I’ll show you some of the ways I used other tools to get what I think is a better look.
Time needed: 1 day.
How to Build a DIY Sofa Table
- Build the sofa table legs and aprons
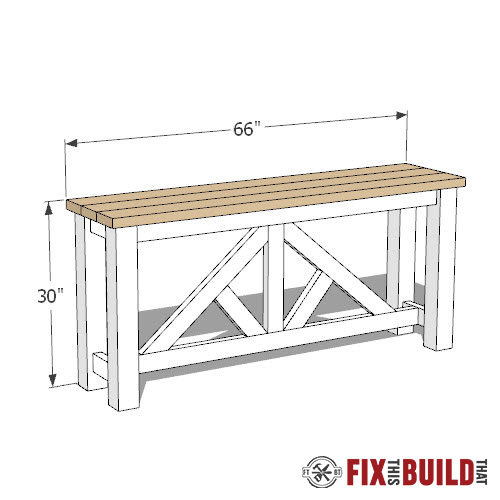
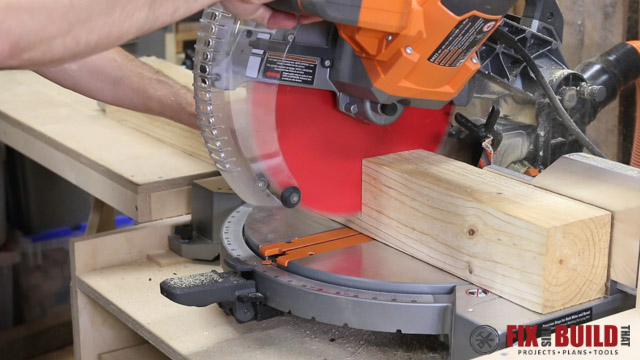
I started by cutting the legs from 4×4’s and used 2×4’s for the rest of the base. Next I cut the apron and lower stretcher pieces to final size but left the parts for the truss detail a little long so I could cut them to length later. I made my table 5-1/2′ long, 30″ tall and 16-1/2″ deep, but you can vary yours to your needs.

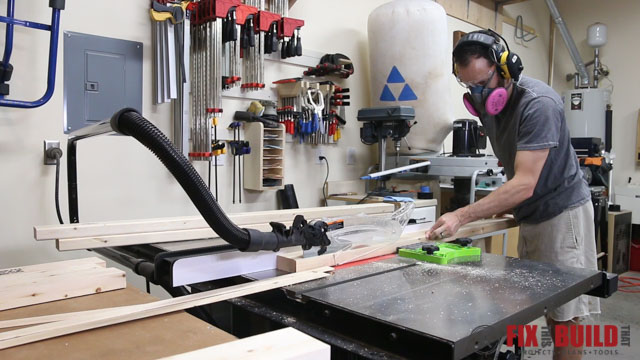
One of the things I don’t like about 2×4’s is the rounded corners. It leaves gaps when the boards are joined together and it’s just not as clean as I’d like it to be. An easy way to fix this is to cut the boards down on the tablesaw, taking 1/4″ off each side of the board. This leaves you with a 3″ wide board with square corners. You don’t have to do this, but it adds a nice touch.I set my tablesaw to 3-1/4″ and ran all the boards through on one side then set the fence to 3″ and ran them through again. Ripping them to width after cutting them down to smaller pieces makes it easier to deal with any bows and twists. This little detail might not seem like much but makes a world of difference in my opinion.
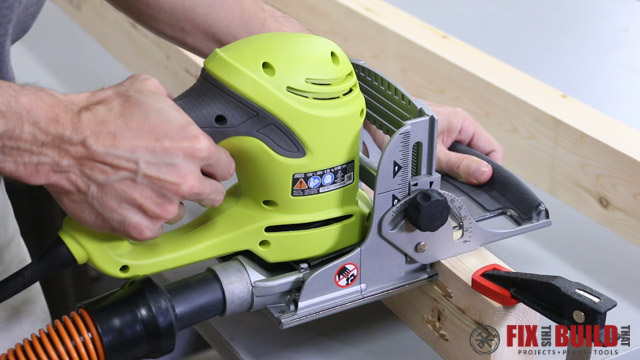
I also went ahead and cut some slots into the top apron with a biscuit joiner. The slots will hold these tabletop fasteners to secure the top.
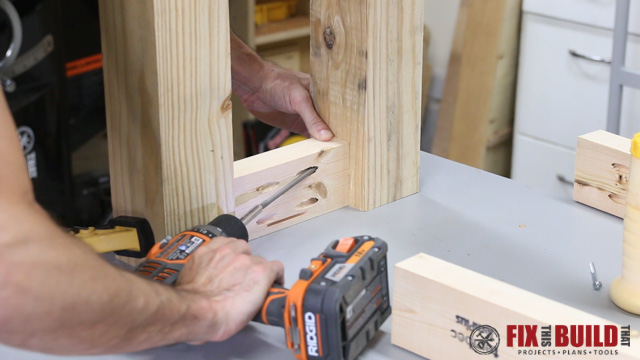
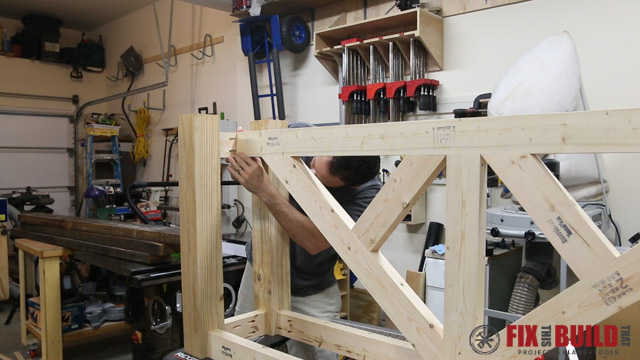
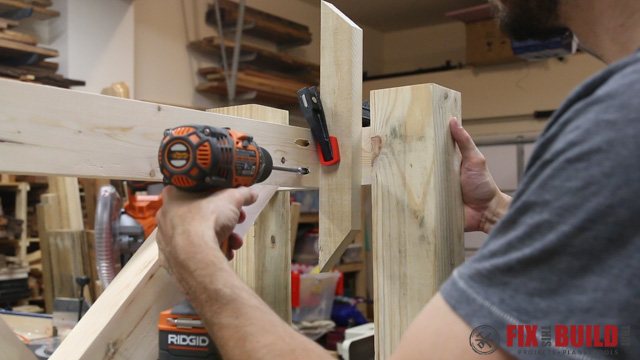
I started assembling the base with the sides. Then I drilled pocket holes in the short and long apron parts that will hold the top. I flipped the legs upside down then glued and screwed the short apron parts to the center of each leg with 2-1/2″ pocket screws. I’ll attach the lower side stretchers between the legs later after I’ve positioned the truss detail.
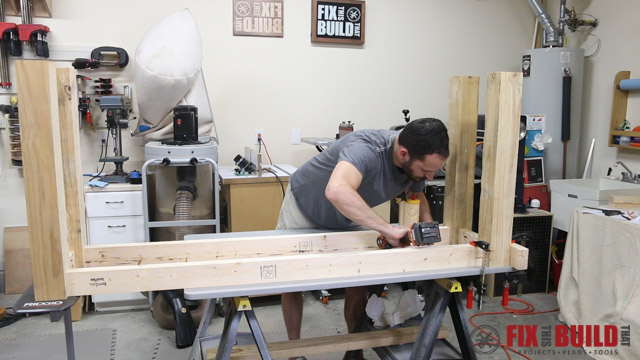
I attached the front and back aprons to one side, again centering the apron on the table leg. Next I clamped the aprons to the table and then clamped a block behind the leg to keep it from moving backwards.
I installed a support bracket between the front and back aprons. The bracket will tie in the truss detail later and is mounted flush to the bottom of the aprons.
- Build the truss detail
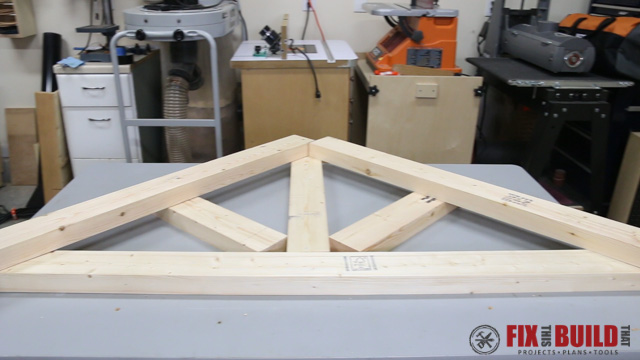
Here is a mock up of what I wanted to do on the base for the DIY sofa table. The lower stretcher has a center riser with two angled outer supports and two inner supports.
To start assembling the truss, I drilled holes in both the vertical riser and the inner supports with my pocket hole jig. I attached the riser to the center of the lower stretcher and now I could start cutting the angled outer supports of the truss.
I cut a 50 degree miter on one end of each outer support. Then I lined up the support and marked the length flush with the top of the center riser. And then I cut a complimentary 40 degree miter on the other end. If your miter saw doesn’t go to 50 degrees you can just cut 45 degree angles here and you just won’t have as much width to the truss.
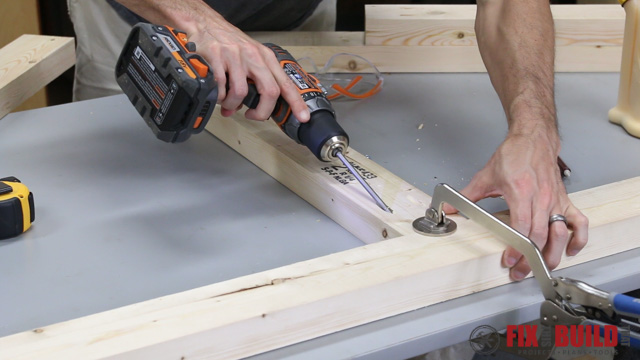
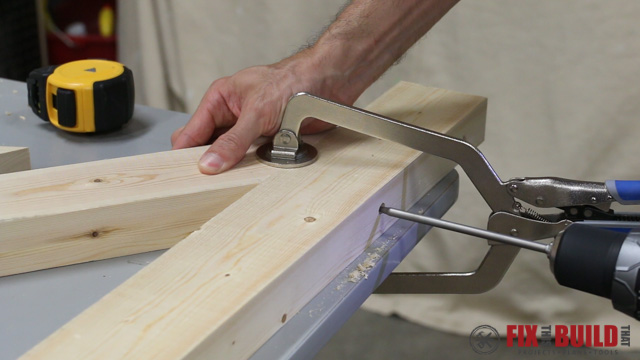
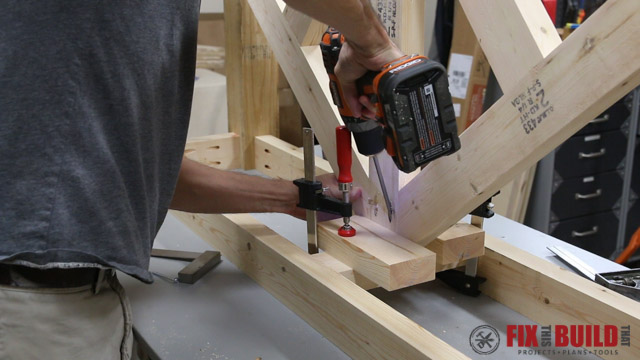
I cut each outer support to size then used a 3/8″ forstner bit to drill holes in the lower stretcher to attach the supports. These bits leave a nice clean hole and I used blue tape to mark the right depth for my 2-1/2″ screws.
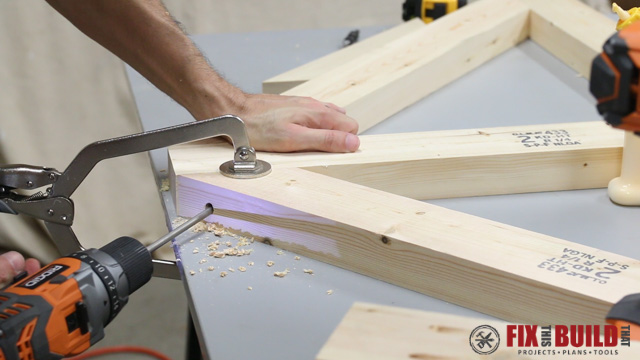
I glued the joints, clamped the supports in place with a face clamp and secured the screws into each one. Then I clamped the tops of the supports and drilled and secured each side using more 2-½” screws.
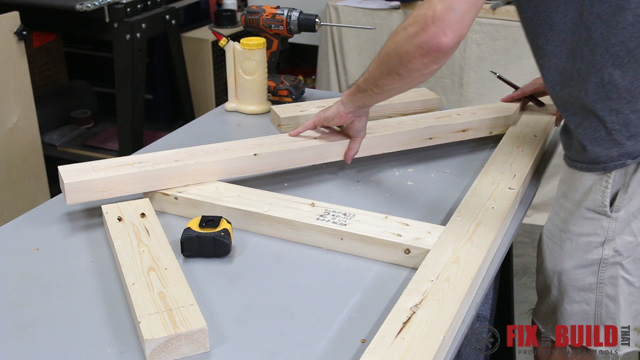
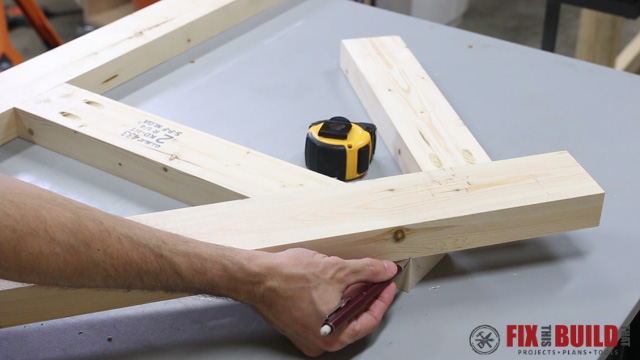
The last part of the truss is the inner supports. To get the right length I butted the square end against the outer supports and marked where it met the center riser. Thanks to geometry, this angle is the same as the last one at 40 degrees.
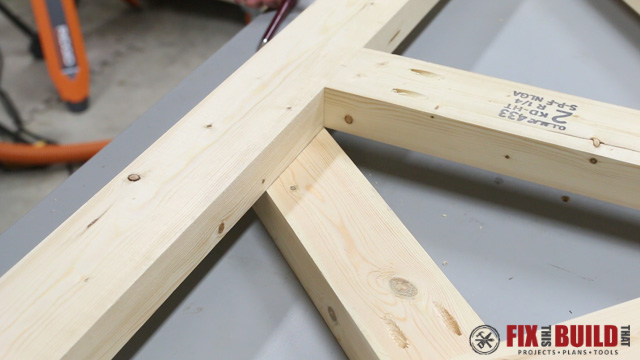
I cut the supports to length and secured the mitered ends of the support from underneath. Then I secured the other end with pocket screws to finish the assembly.
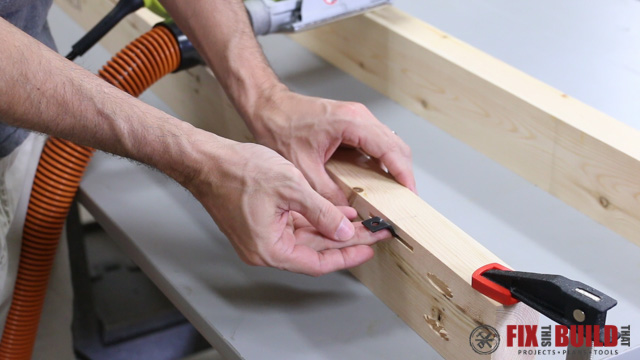
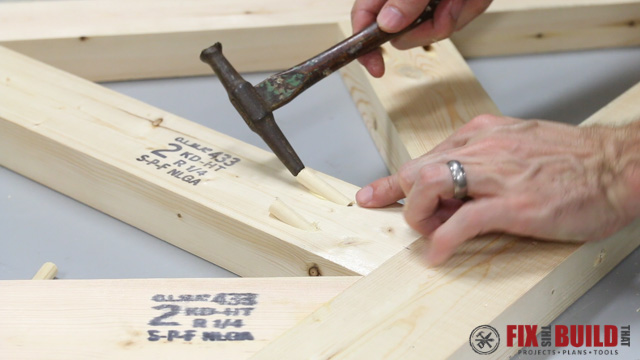
The back side of the truss with all the pocket holes won’t be seen, but I went ahead and filled all the holes with ⅜” dowels. This is my favorite method of the 6 Ways to Plug/Fill Pocket Holes that I tested. The glue dries quickly and you can cut the all the plugs with a flush trim saw.
- Attach the truss detail to the table base
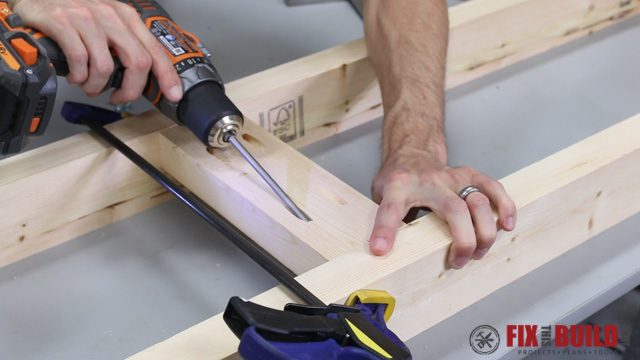
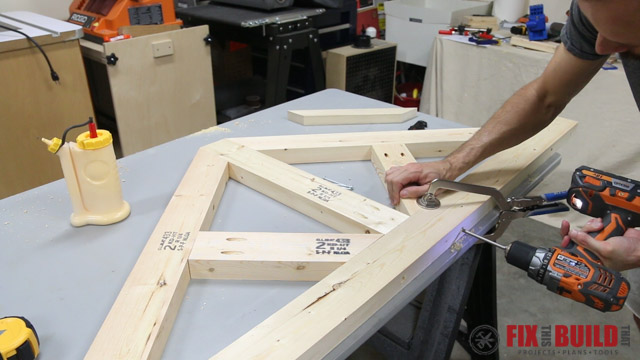
I flipped the table base upside down on my worktop and laid out where the truss should be mounted. The reason I didn’t attach the lower side stretchers first was to get a flush fit between all the lower pieces. I clamped and screwed the truss assembly into place then clamped the side stretchers in flush.
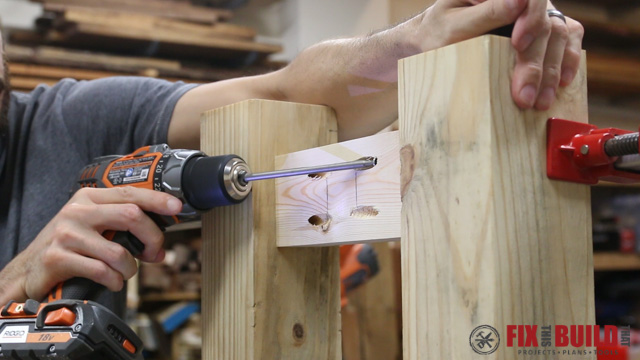
With the side pieces clamped in place I removed the truss assembly to install the the lower side stretchers. I put 4 screws into each side piece and then plugged them with dowels.
I sanded the plugs flush then screwed the truss assembly back into the top and secured it to the side stretchers.
The last thing I did to the DIY sofa table base was to plug the remaining pocket holes. Then I gave the whole base a good sanding at 80 and 150 grit. I’m really happy with how the truss feature on the sofa table turned out. It could make a mean console table!
- Build the sofa table top
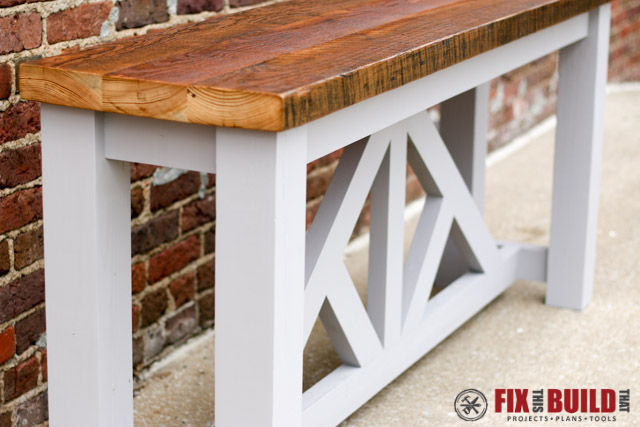
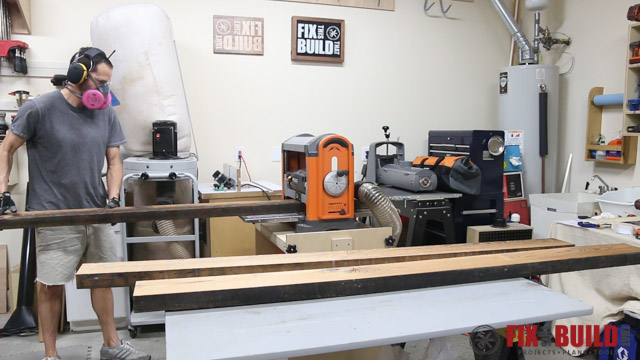
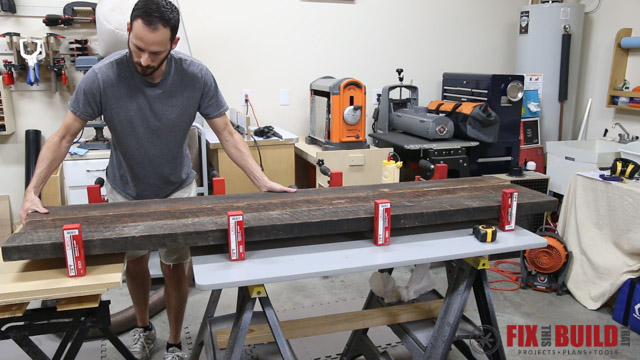
For the top I’m using some reclaimed douglas fir 2×6’s I got from a house in East Nashville. If you have minimal tools you can just use three 2×6’s or you could use three 2×8’s and rip the rounded edges off for the top.
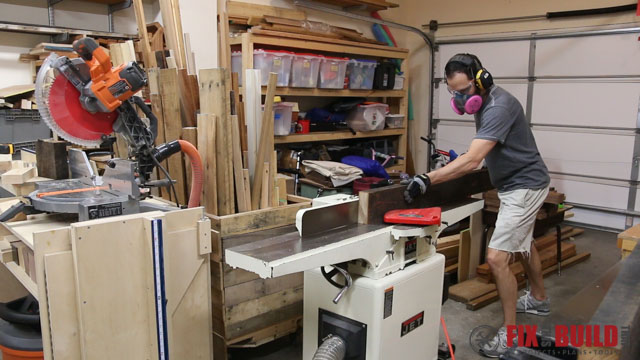
To keep as much character as possible on these boards I decided to only plane one side of each board and leave the other face gritty. I chose the flattest face of each board and ran them through the planer with that side facing down. Then I ran all the boards through my planer until I got down to new wood on the underside of all three of them.I took them to the jointer next and referenced the flat face against the fence and jointed one straight edge on each board.
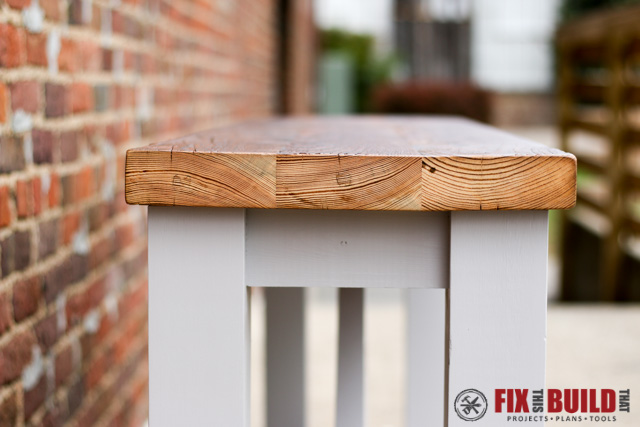
I wanted to leave the character on the outer edges of the outside boards as well so I only cut a second straight edge on the center board at the tablesaw.
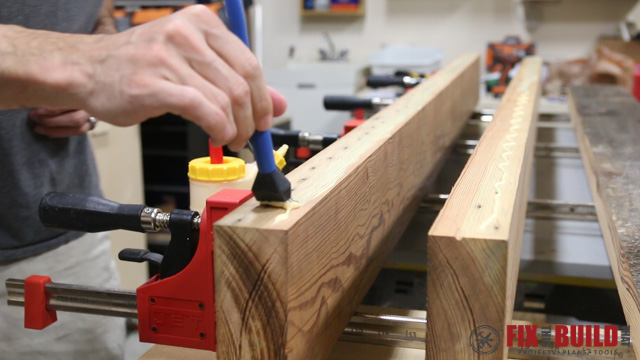
To glue up the top for the DIY sofa table I didn’t use any biscuits or dowels, just wood glue. I used a silicone brush to put the glue on the lower 3/4 of each board to try and avoid glue squeeze out on top. These brushes are great for getting the glue just where you want it. I left the wood in the clamps overnight.
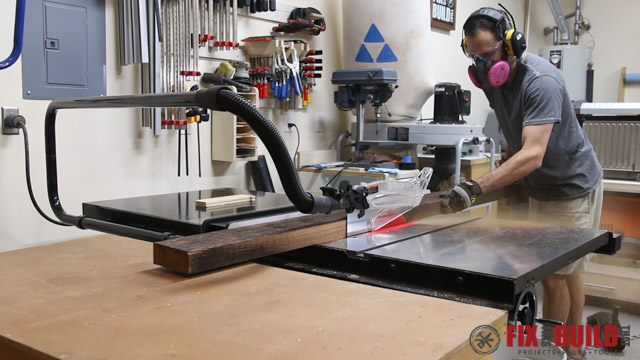
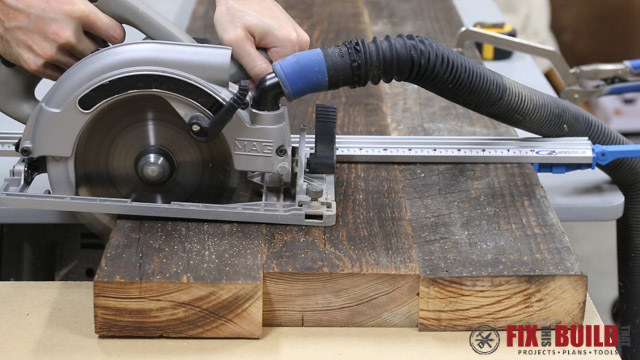
After the glue was dry I cut the top to length using a circular saw and an edge guide. My regular shop vac hose didn’t fit my saw so I switched over to the universal small port hose from Rockler. The rubber boot fit right on there and helped cut way down on the sawdust cloud. If you are using fresh wood then just cut them to length before glue up.
- Finish and assemble the sofa table
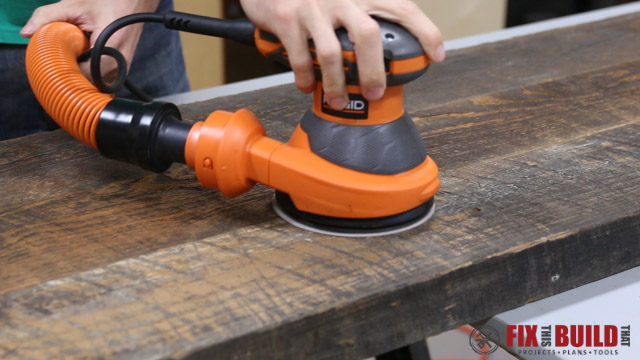
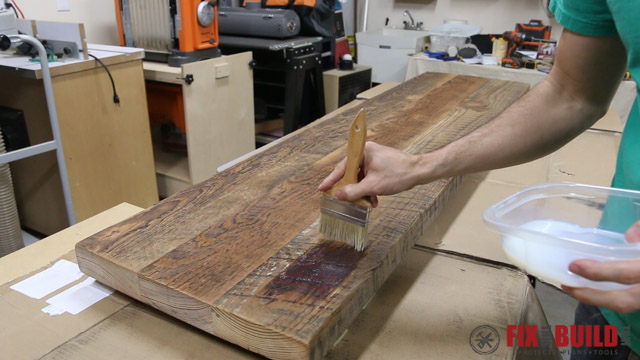
To keep the character but be prepped for finish, I do a light sanding with 80 grit. I’m just trying to expose new wood on the top but still see the grime in the gouges and saw marks. Then I come back with 150 grit to get everything smooth to the touch.
I used a water based polyurethane to finish the top and put on two strong coats with a chip brush.
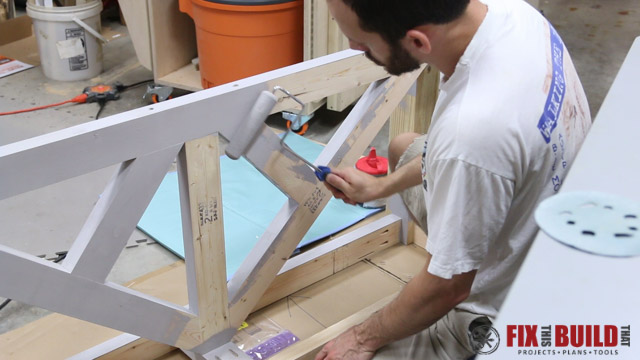
The base was painted a medium gray with a satin latex enamel.
I attached the top with some tabletop fasteners and the DIY sofa table was all wrapped up.


If you want to build your own there are detailed plans available with a full cut list and parts diagram. You can check out my other furniture builds on my Furniture Projects page too.
Rockler Woodworking and Hardware provided me with product and/or monetary compensation as a sponsor of this build. All opinions are my own and are not filtered by the sponsor.


