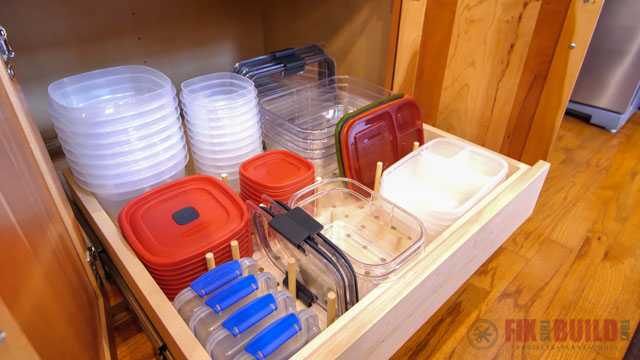
Need to organize your tupperware? I’ve got you covered! With some planning, basic tools and a little effort you can make your own DIY tupperware organizer.
I designed my tupperware organizer to be used in a base cabinet. That’s why I begin by building a pull out drawer. Pull out drawers make it so much easier to reach everything in a base cabinet. And by adding taller sides and a simple pegboard system you’ll have the perfect spot for your tupperware storage.
Tools Used
- Table Saw (or Circular Saw)
- Kreg K5 Pocket Hole Jig
- X-Carve CNC Machine -optional
- Easel CNC Software (sign up for free account) -optional
- ISOtunes Bluetooth Earbuds
- Miter Saw Stand
- Flip Top Tool Stand
Materials/Supplies
- 3/4″ Plywood
- Pegboard Cut to Size
- Dowel Rods Cut to Desired Length
- Birch Edge Banding
- Woodriver Socket Chisels
- Wood Glue
- Water Based Poly
- 22” Drawer Slides
Affiliate links are used on this page. See my disclosure page for info on affiliate programs.
How to make a DIY Tupperware Organizer
- Build a pull out drawer
- Add Pegboard to drawer
- Mount tupperware drawer
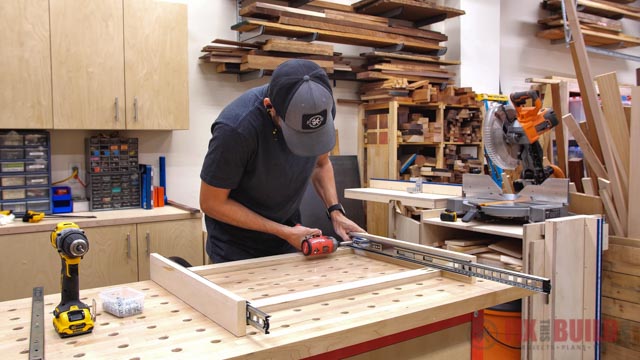
1. Build Pull Out Drawer
To see exactly how I built the pull out drawer for my tupperware, check out my DIY Under Sink Storage project. I built the tupperware drawer using the same methods as the lower pull out tray for that project.
The only changes I made for the tupperware drawer were;
- Dimensions: I changed the dimensions of the tupperware drawer to fit my cabinet
- Materials: The tupperware organizer is made using ¾” plywood
- Sides: The tupperware drawer sides are 3-¾” high
- Pegboard: I added a ¾” pegboard in the base of the tupperware drawer
- Finishing: For a clean look I added edge banding to tops of drawer parts & insert
Assembly Info
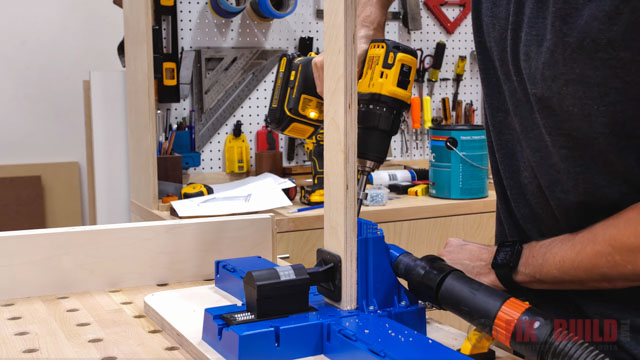
I used pocket holes when I assembled the tupperware drawer. Because the sides of the drawer are ¾” pocket holes are really easy to use.
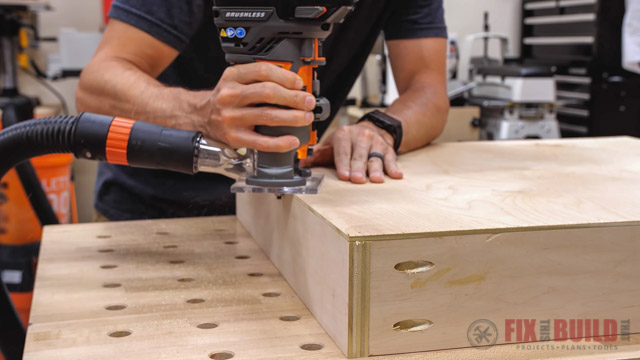
Then I glued and nailed on the bottom. Finally I chamfered the bottom edges of the drawer and put 2 coats of finish on everything.
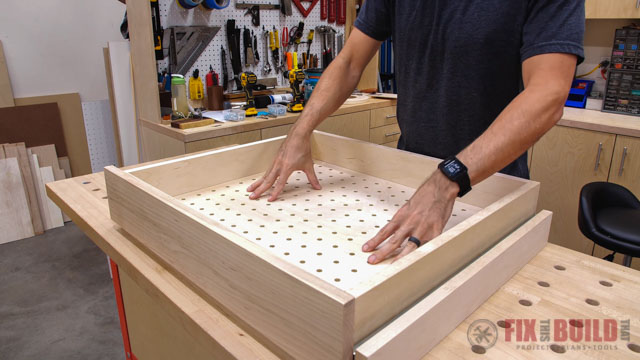
2. Add Pegboard To Drawer
The key to making the DIY Tupperware Organizer work is inserting a piece of pegboard in the base of the drawer. By strategically placing dowel rods in the pegboard holes you can easily adjust your tupperware organization.
As with most things in life there’s an easy way to add the pegboard, and a harder way…
Easy DIY Method: Use Premade Pegboard
To use premade pegboard for this project just cut it to fit snugly inside of your drawer. Then you’ll need to add some spacers to hold the pegboard off of the bottom of the drawer. Finally you’ll just add dowels that fit in the holes and you’re in business!
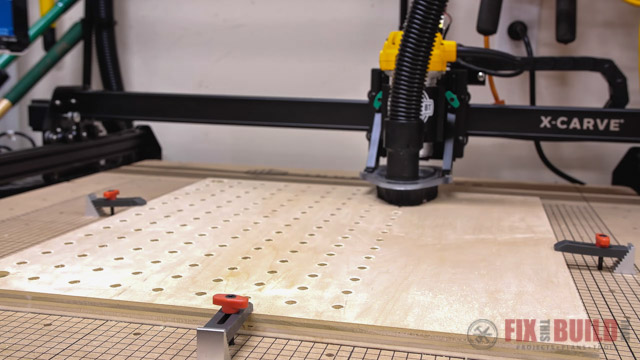
More Complex Method: Make Your Own Pegboard
I made my own custom pegboard by cutting a ¾” piece of plywood so that it would fit snugly in the base of the drawer. Then I took the piece of plywood to my CNC and programed it to cut the holes I needed to create my own pegboard.
So why would I choose to make a pegboard when I could use a premade pegboard instead?
- Tool Availability: I own a CNC machine and this is a perfect application for it.
- Flexibility: I’m not limited by the spacing on a premade pegboard. Making my own pegboard allows me to decide how far apart to space the holes and how big they should be.
- Materials: I’m able to choose the type of plywood to use for the pegboard.
Impossible Method: Make Pegboard with Hand Drill
My pegboard turned out to be 13”x15” which means I needed to drill 195 holes. I could have marked out the locations for each hole and tried to drill them by hand. But I’m not that crazy!
Seriously when you’re using a hand drill to make a perfectly vertical hole it’s a pretty tricky process. And it gets even harder when you have 195 perfect holes to drill. If you don’t have access to a CNC I would recommend using premade pegboard.
3. Mount Tupperware Drawer
Finally I attached drawer slides to the insert.
Then the tupperware drawer gets mounted on the insert, and a solid maple front goes on the front of the drawer. I did this on my other pullout trays too; using a solid wood front really does make it look a lot nicer. And then I could put the pegboard in place and see how it looked.
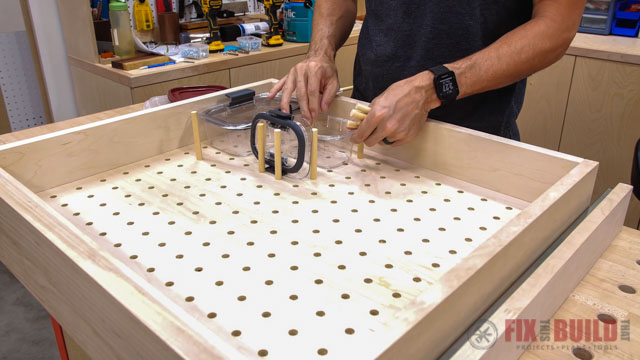
Cut Dowels
To make my own dowels I cut a 4 foot long ⅜” dowel rod into 3 ½” pieces. This left me with about 13 dowels to use in my DIY Tupperware Organizer. I also cut some 1 ½” dowels to have a shorter option. You can put these in any configuration to organize your tupperware. And if you need to switch things up in the future you can easily move them into a different spot.
Finally I took the drawer inside and mounted it in the cabinet without a hitch. It did need a little shim on one side to get it level, but it slides great.
And that’s how I build the DIY Tupperware Organizer. This system really lets you configure your tupperware however you choose and it’s easy to adjust. Looking for more kitchen organization projects? My Kitchen Drawer Organizer is another great DIY organization project.


